
EVERGOODS is the brainchild of Jack Barley, formerly of GORUCK, and Kevin Dee, formerly of Patagonia. They launched their Kickstarter campaign back in June of 2017 and raised over $160,000 during their pre-sale period. If you’re curious about their Kickstarter campaign you should check out our interview with them back in ADR Podcast Episode 005.

EVERGOODS set out to create two brand new packs: the CPL24 (featured in this post) and the MPL30. The months of work from Jack and Kevin their two packs released and we’re excited to say that we’ve got both in hand.
This is a preview post which means a ton of pictures and our general thoughts about the bag. This isn’t a review… that will come once we’ve had time properly test out the bag and put it through its paces.
EVERGOODS CPL24 First Look Video
Video is something we are newly expanding into. If you have a Gmail or YouTube account we would love if you’d subscribe. Enjoy the video? Please give it a like! Have any questions? Feel free to comment on the video or on this post.
CPL24 Review Video
If you are curious what I think about the CPL24 after using it for months then make sure to check out the review video above!
CPL24 Ultra Red Unboxing Video
If you’re curious what unboxing the red version of this backpack looks like then check out the video above.
EVERGOODS CPL24 First Look Pictures & Analysis

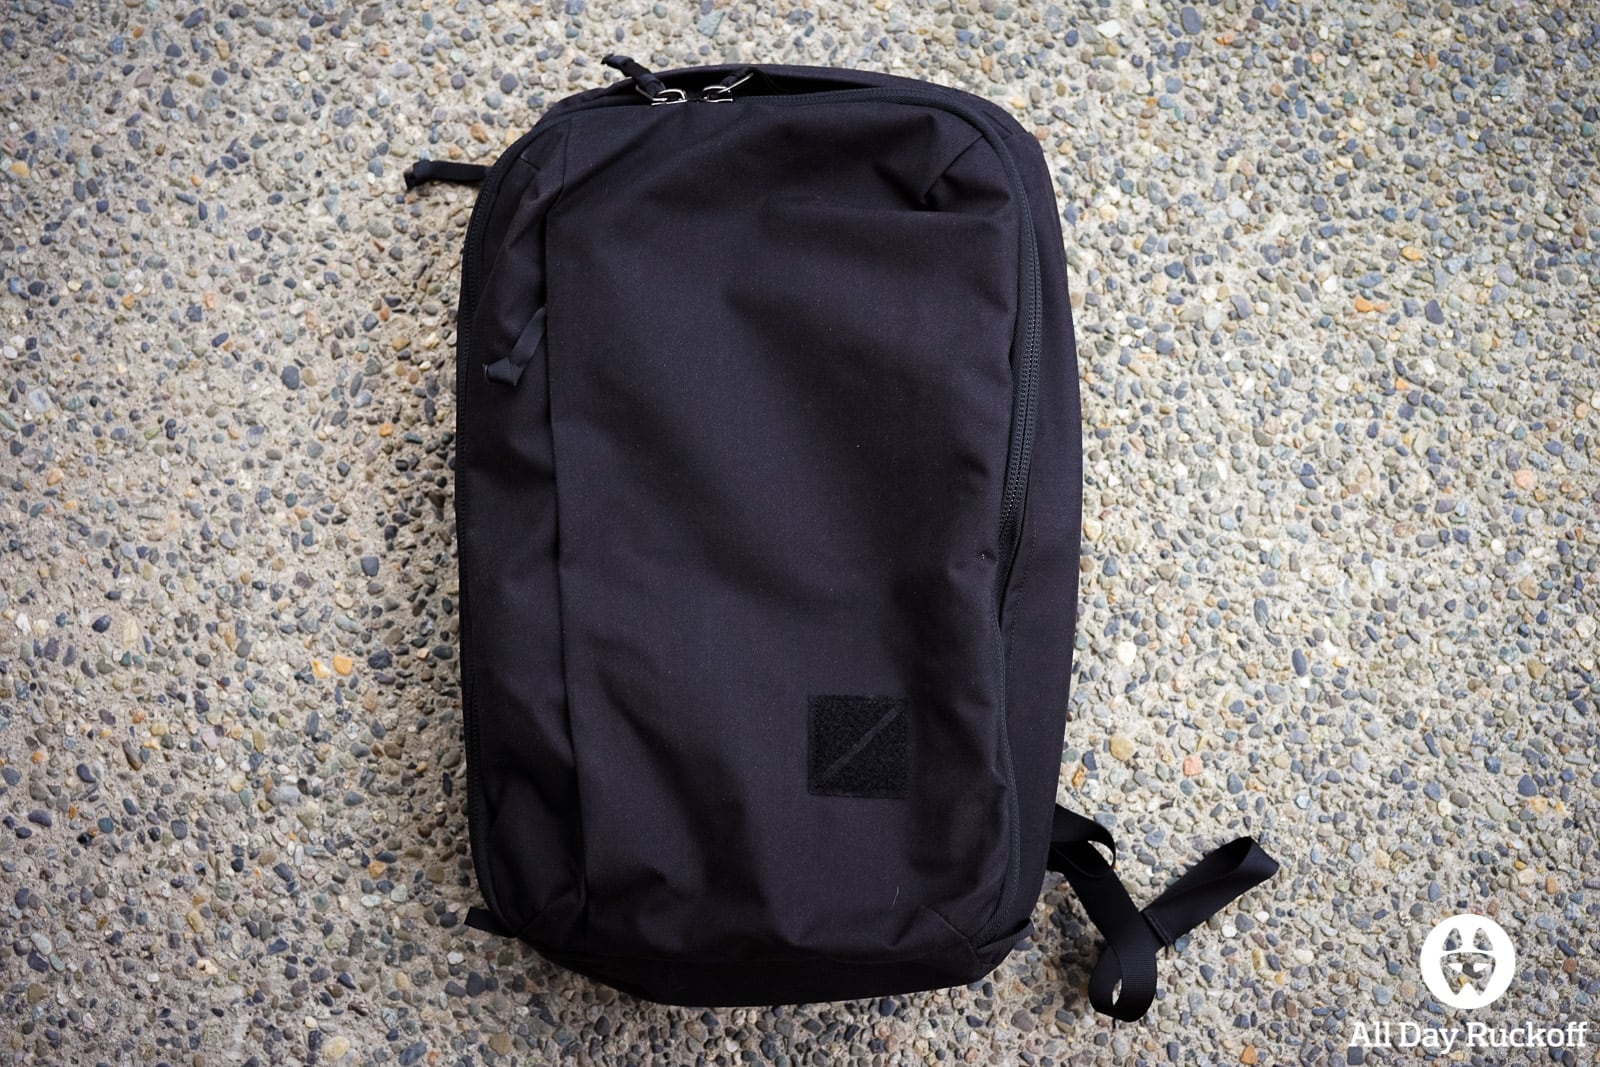
The front of the pack is very, very sleek. The only identifies on the front are the vertical zipper pocket and the Velcro patch area.
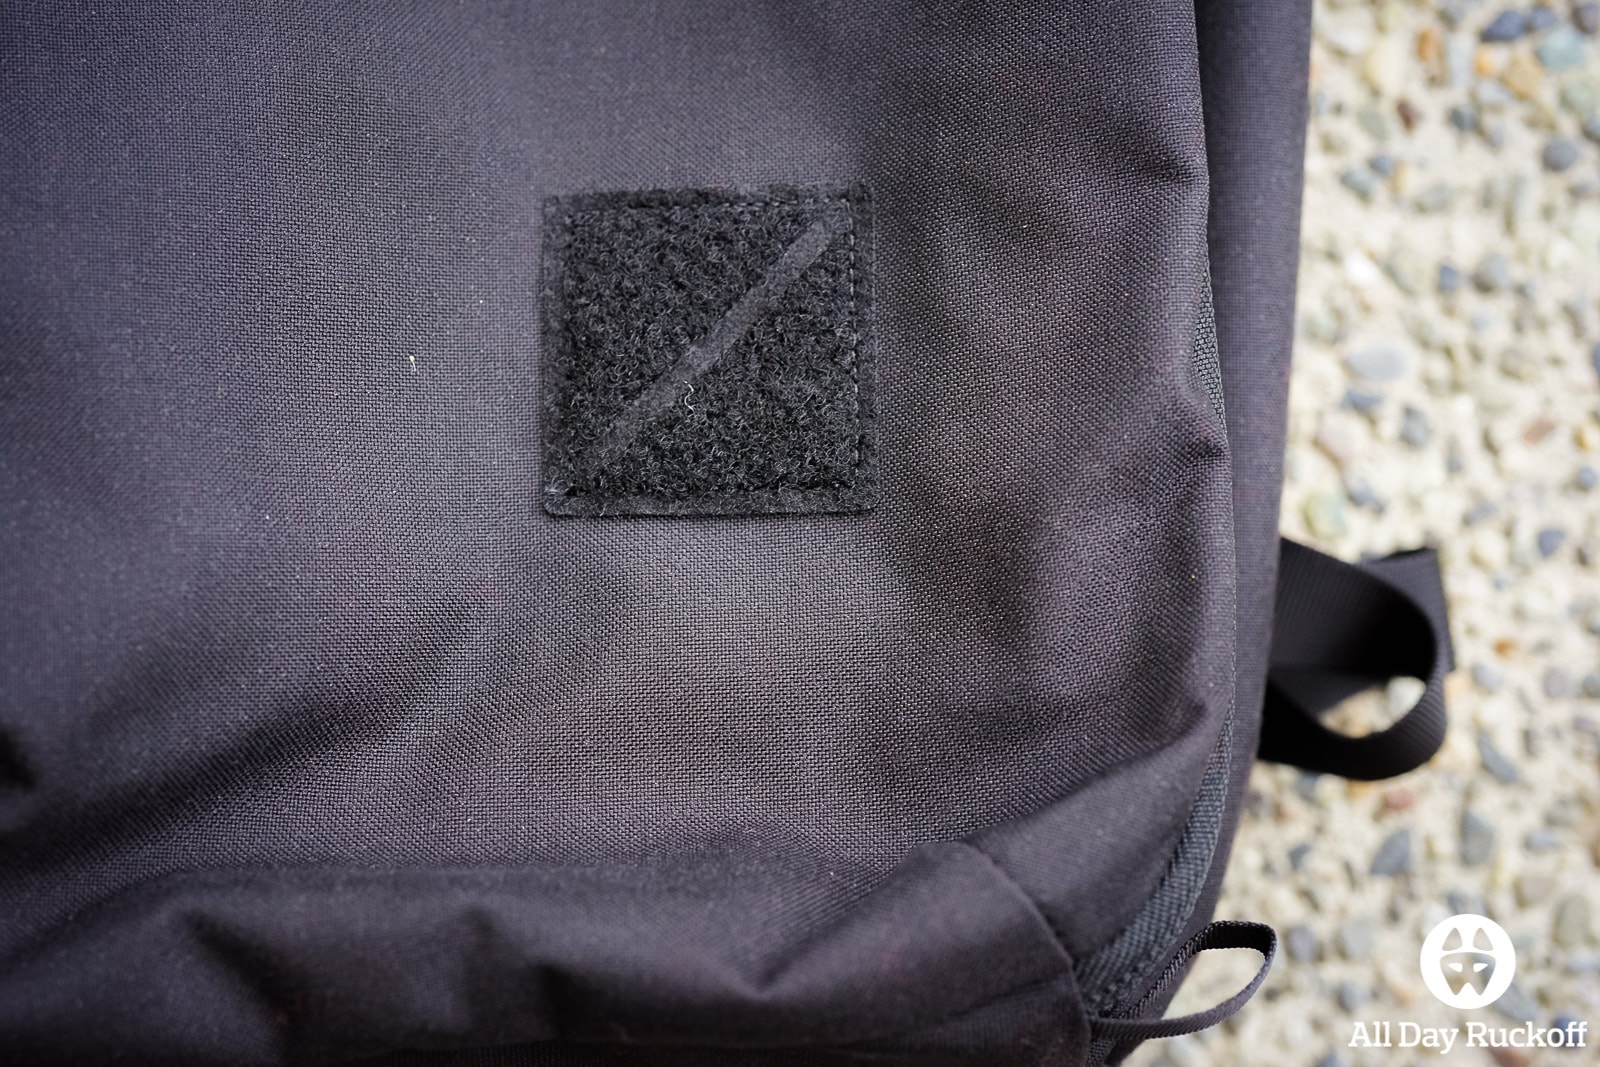
The Velcro area has the EVERGOODS “check” logo sewn directly into it.
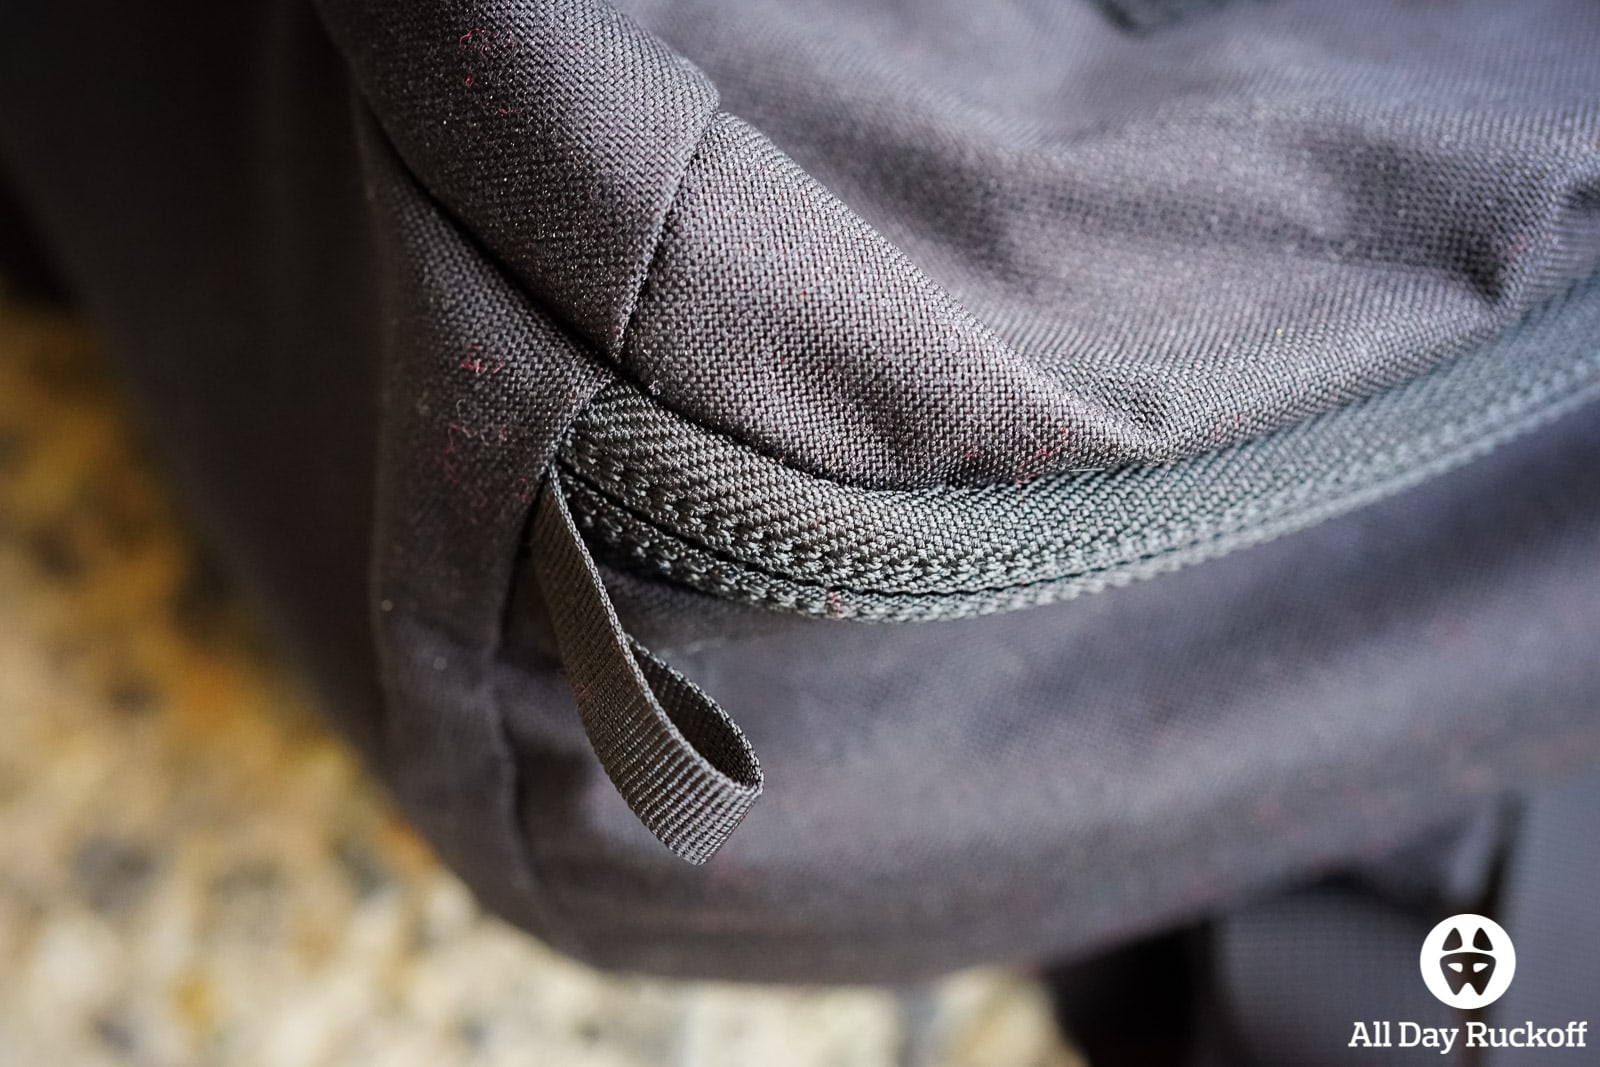
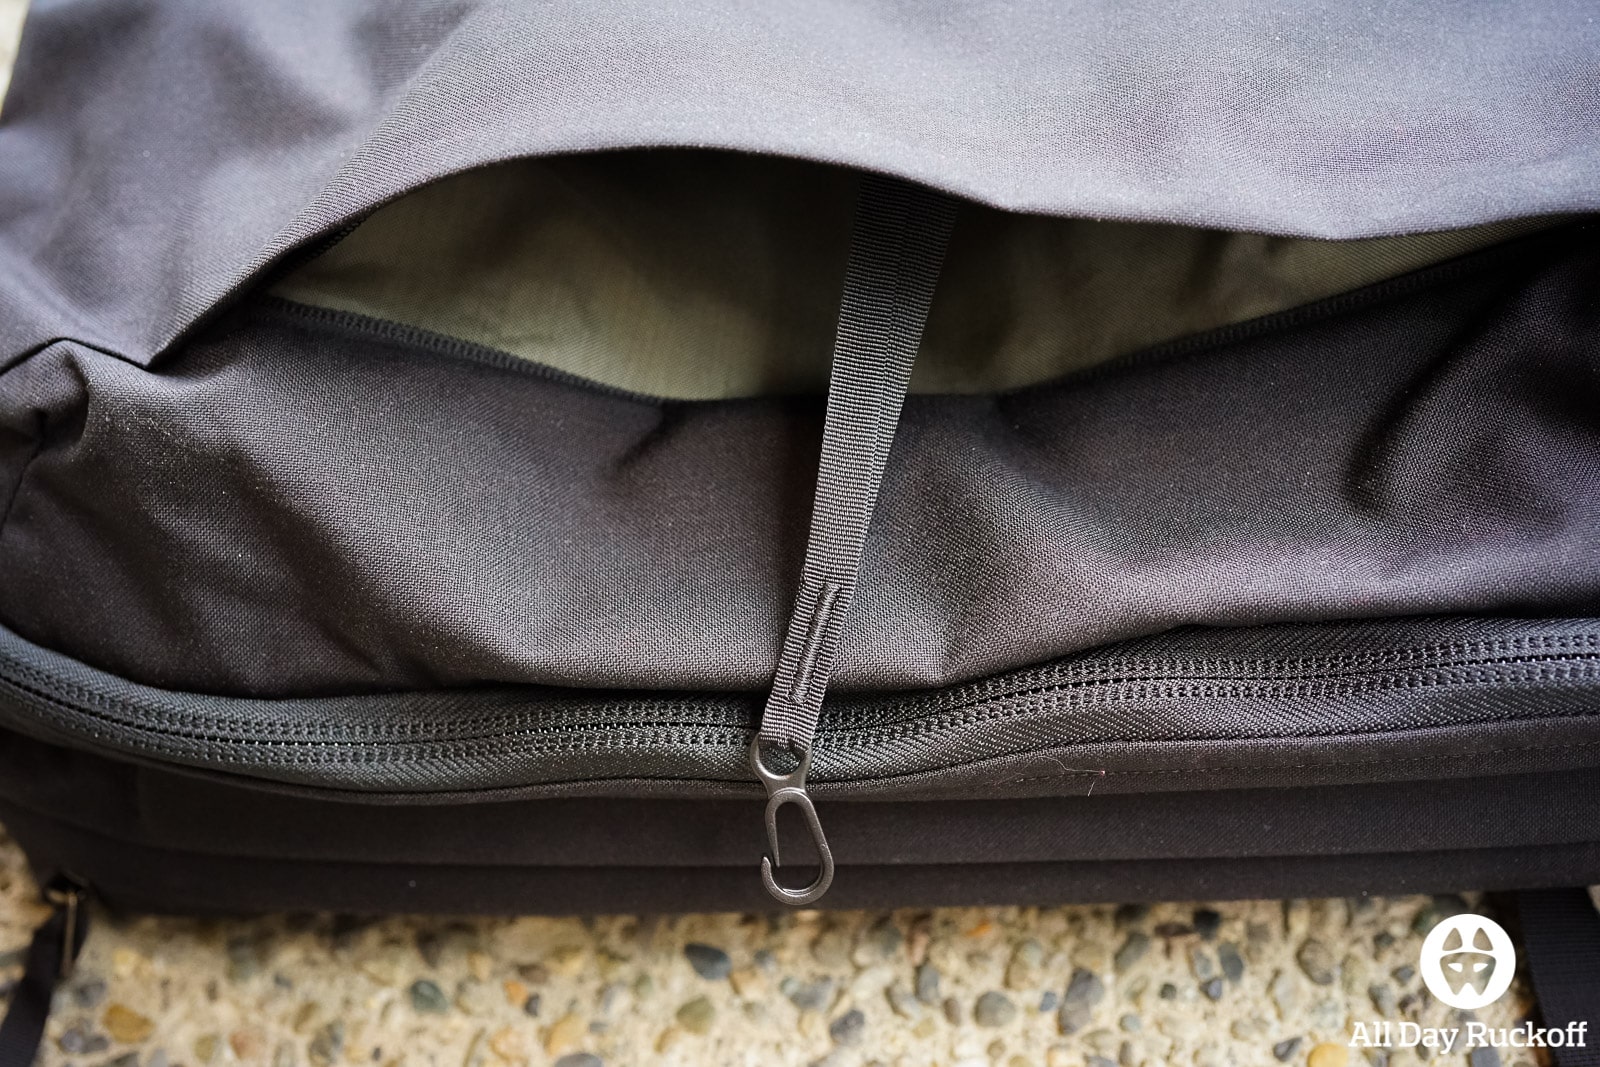
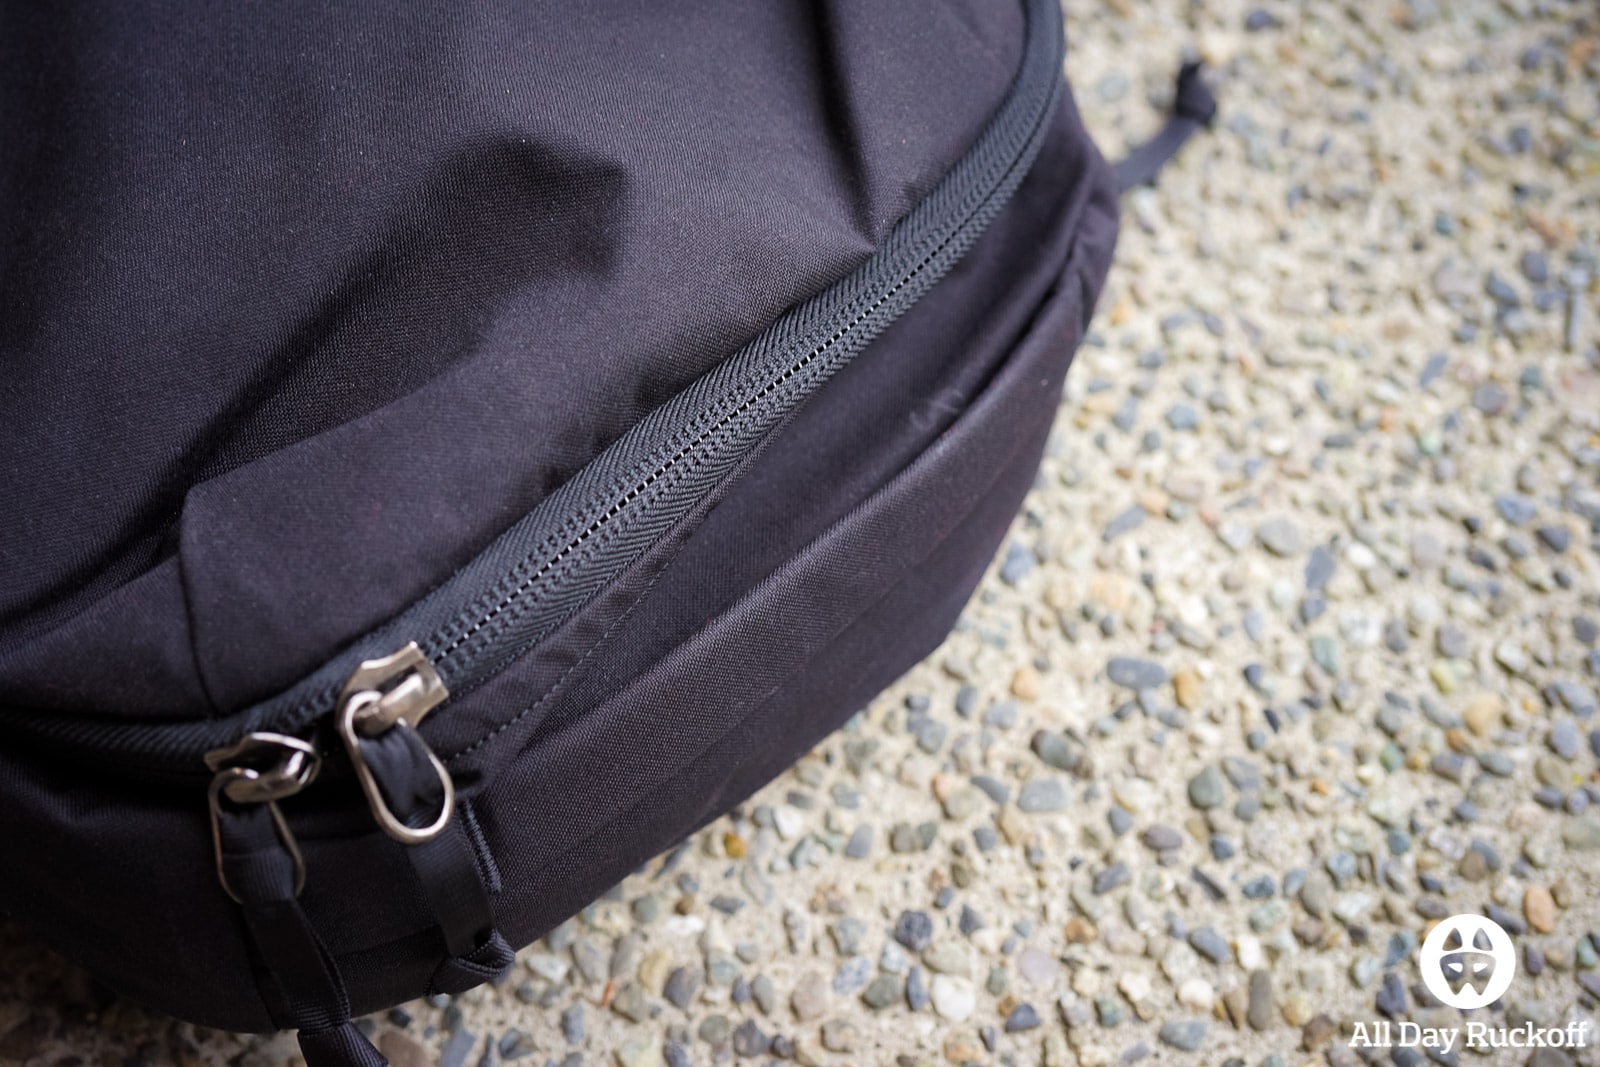
There’s looped webbing on each side of the pack at the base of the zipper. This is very handy to grab if you’re trying to zip the pack closed quickly.
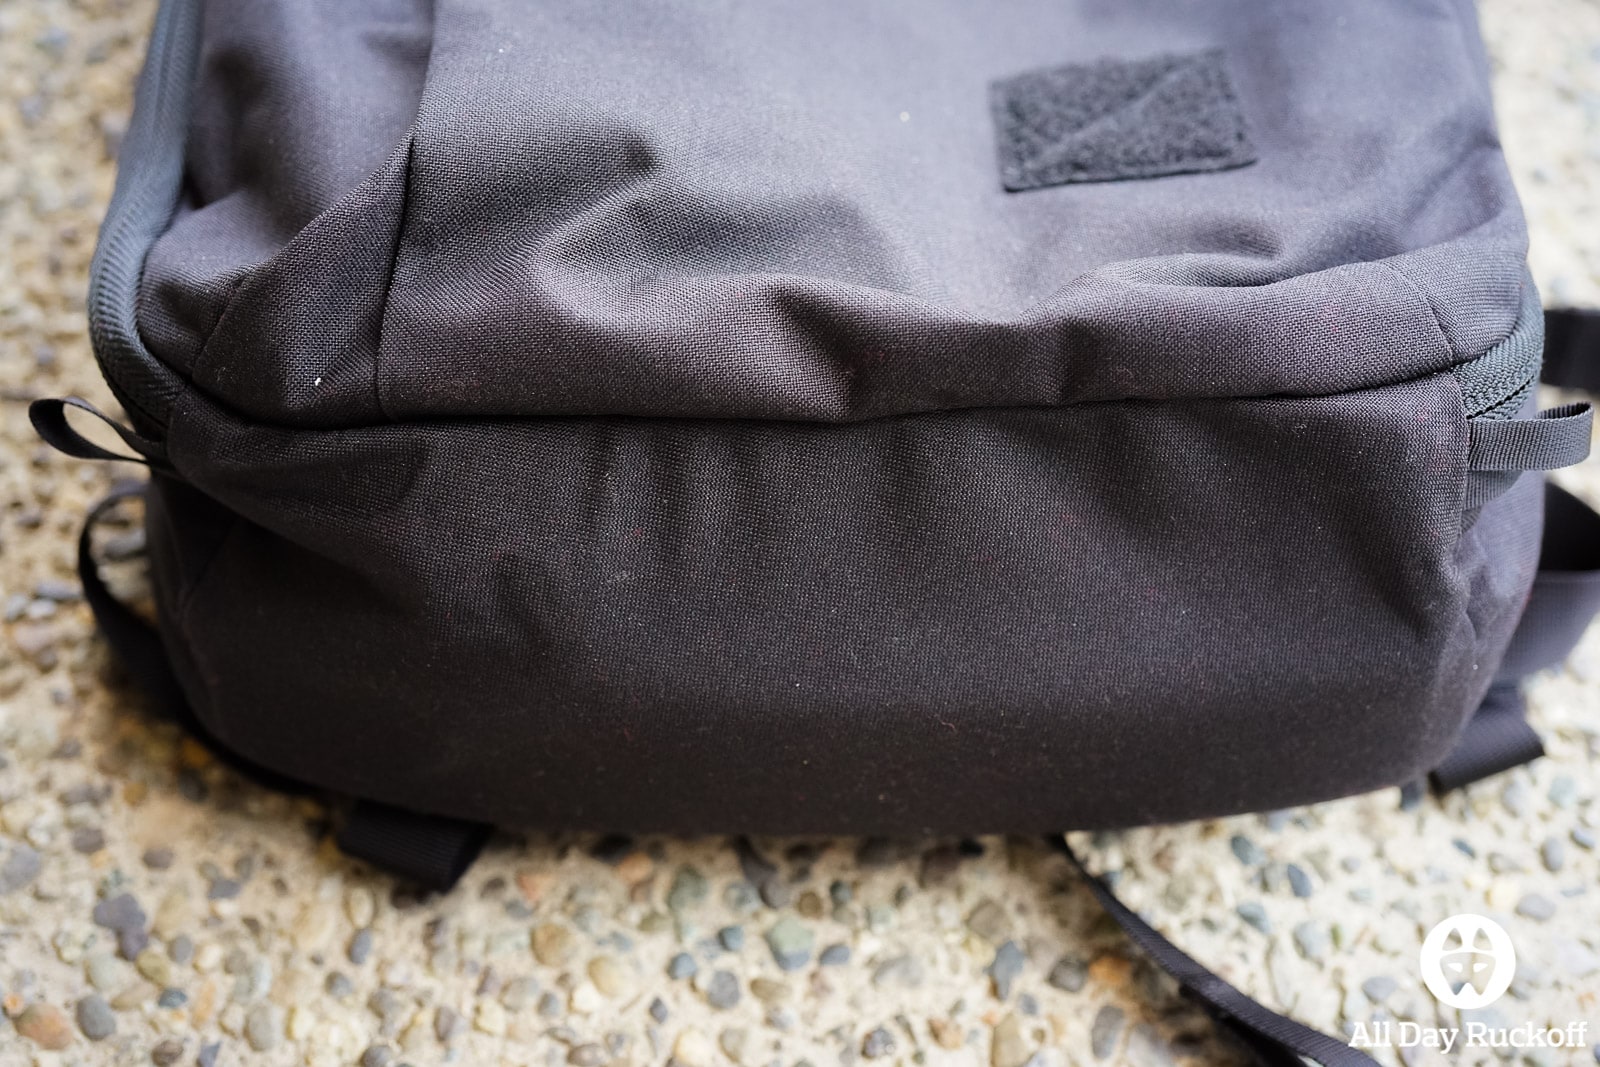
Here you can see the looped webbing on each side as well as the bottom of the pack. The bottom of the pack is made out of the same 500d HT Nylon that the rest of the pack is made out of.
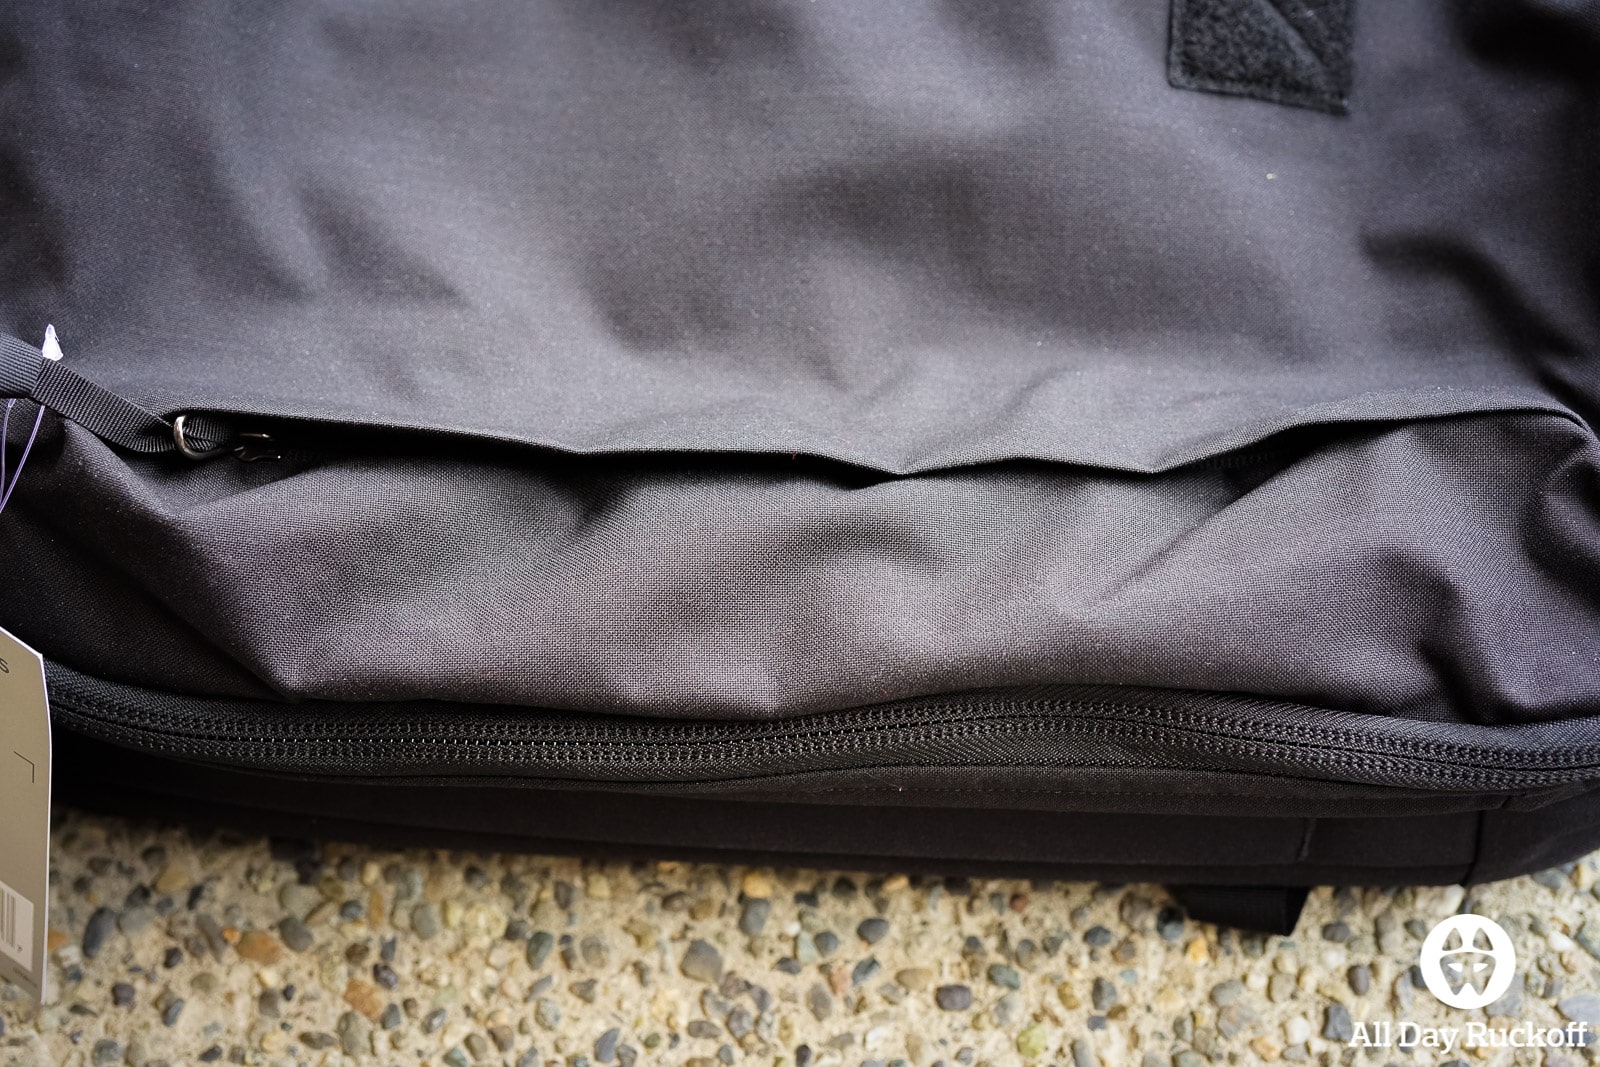
The vertical zipper leads into the sole pocket on the outside of the pack. The zipper is aligned this way so that you can access the inside of this pocket regardless of if the pack is vertical or horizontal.
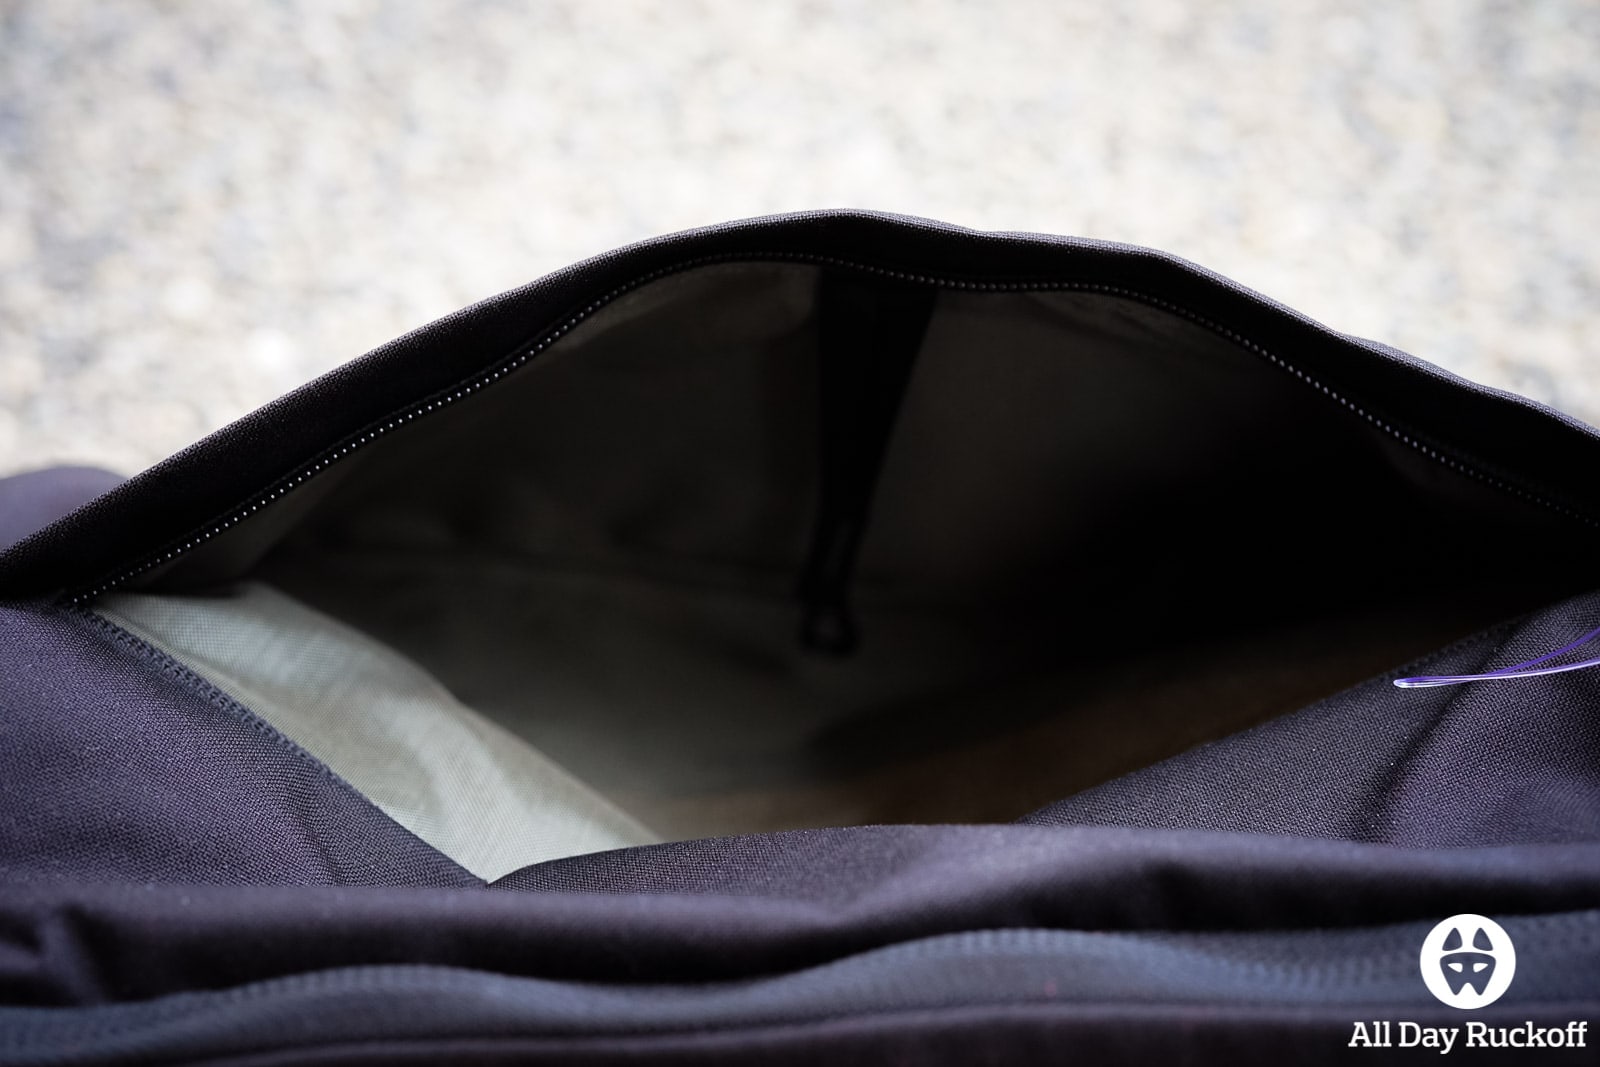
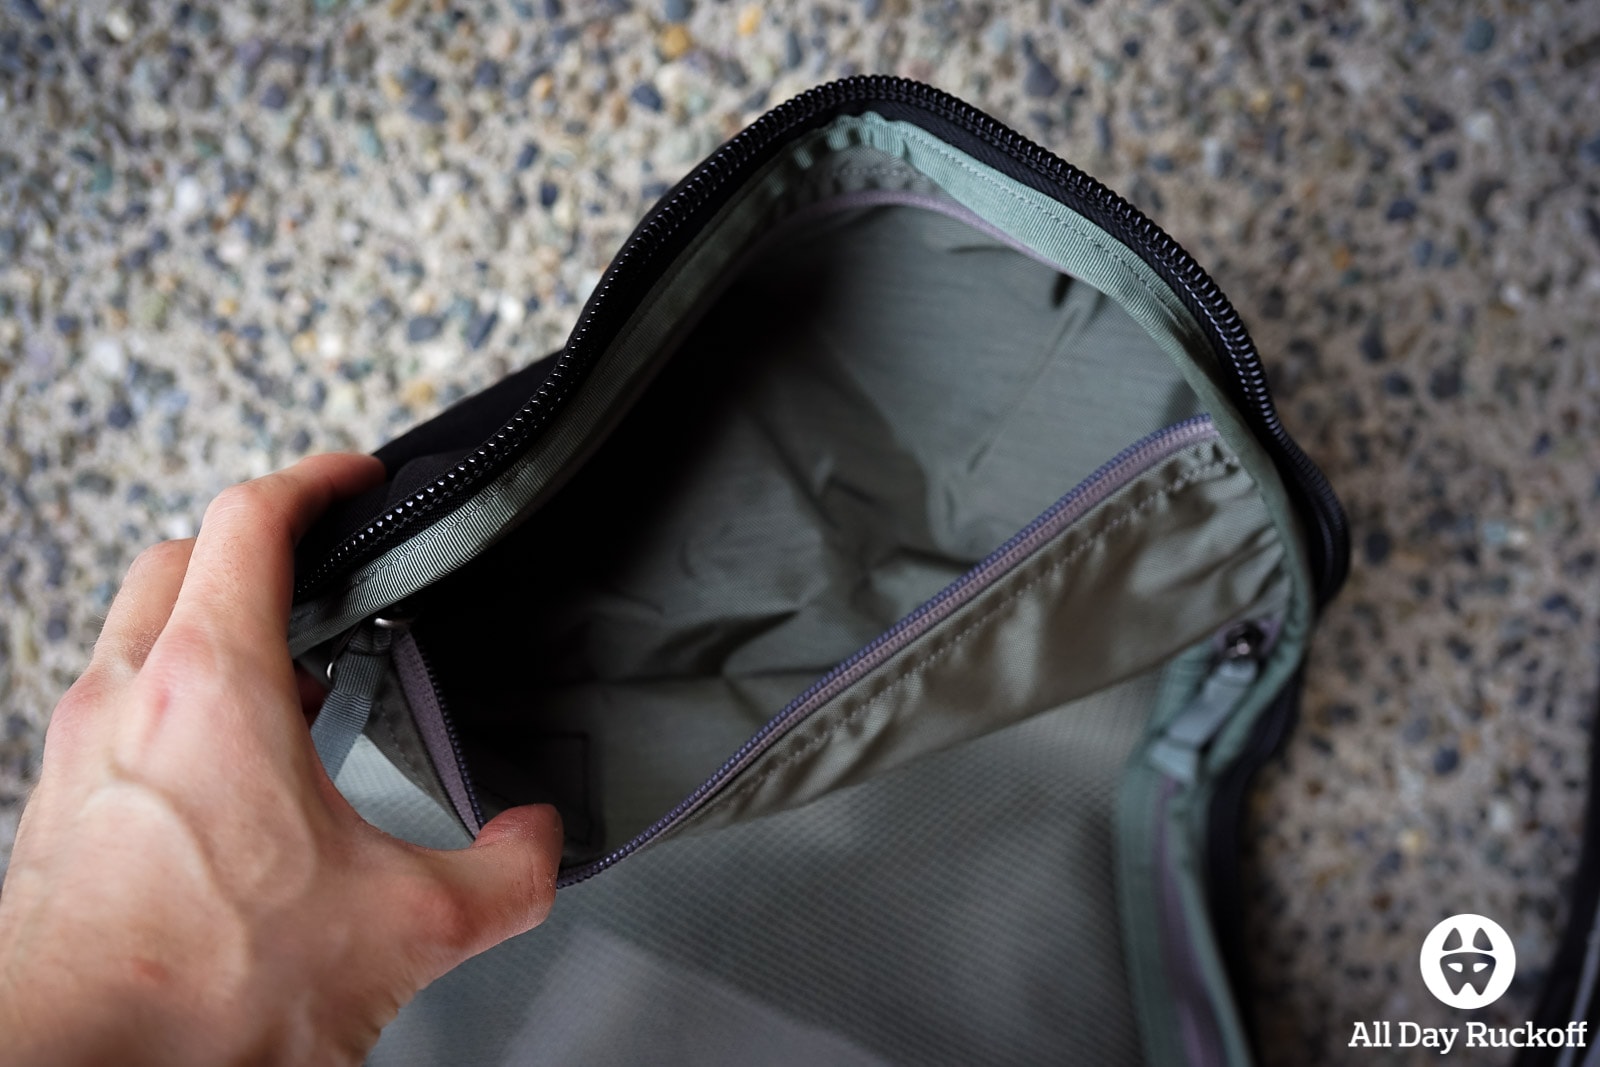
The zipper opens and reveals a fairly deep pocket that should be great for things that you might need to get at quickly. This is the first picture that shows the interior lining which is a 420d HT Nylon.
Included in this pocket is a small clip attached to a piece of webbing which seems decent for a small flashlight or maybe some keys. My one gripe on this pocket is I wish there was either an internal D ring or other small clip to attach something to. Tom Bihn is famous for putting dozens of those on their packs and they are indeed handy.

Right below is the pocket (when looking directly into it) is this grab handle. It’s on the left side of the pack (when looking at the back of the pack) and can be used to carry the backpack like a briefcase. Grab handles are especially handy for pulling a pack out of the trunk of a car as well.
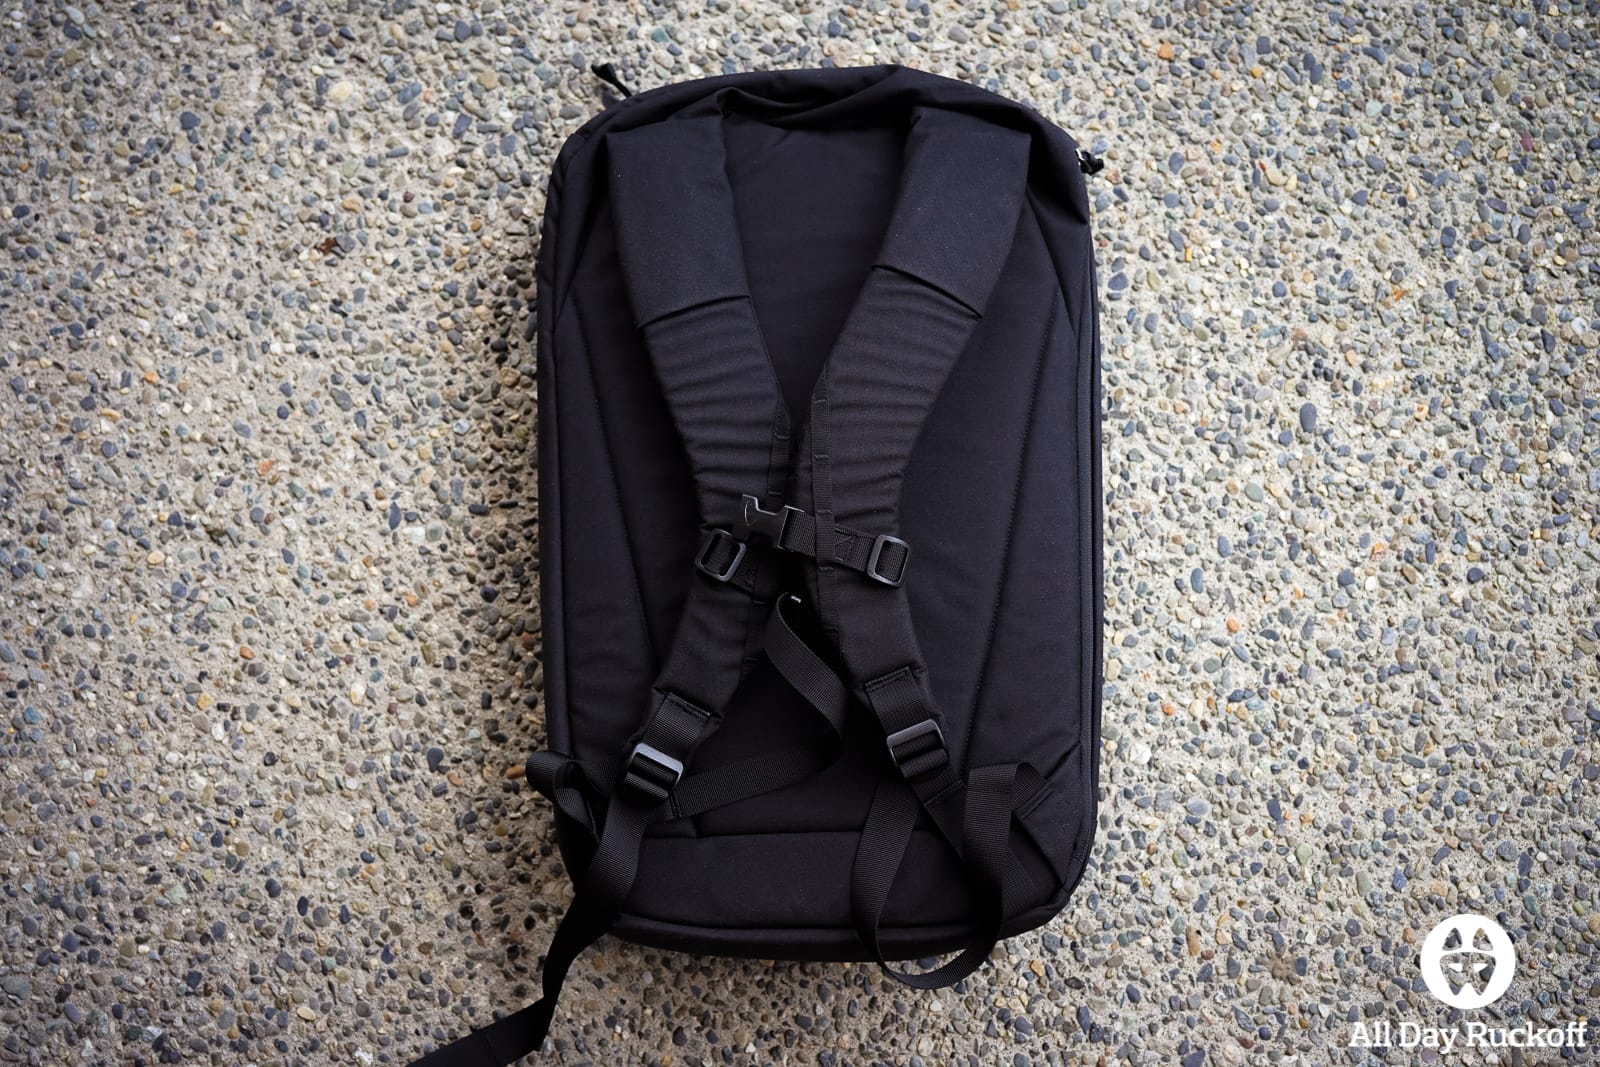
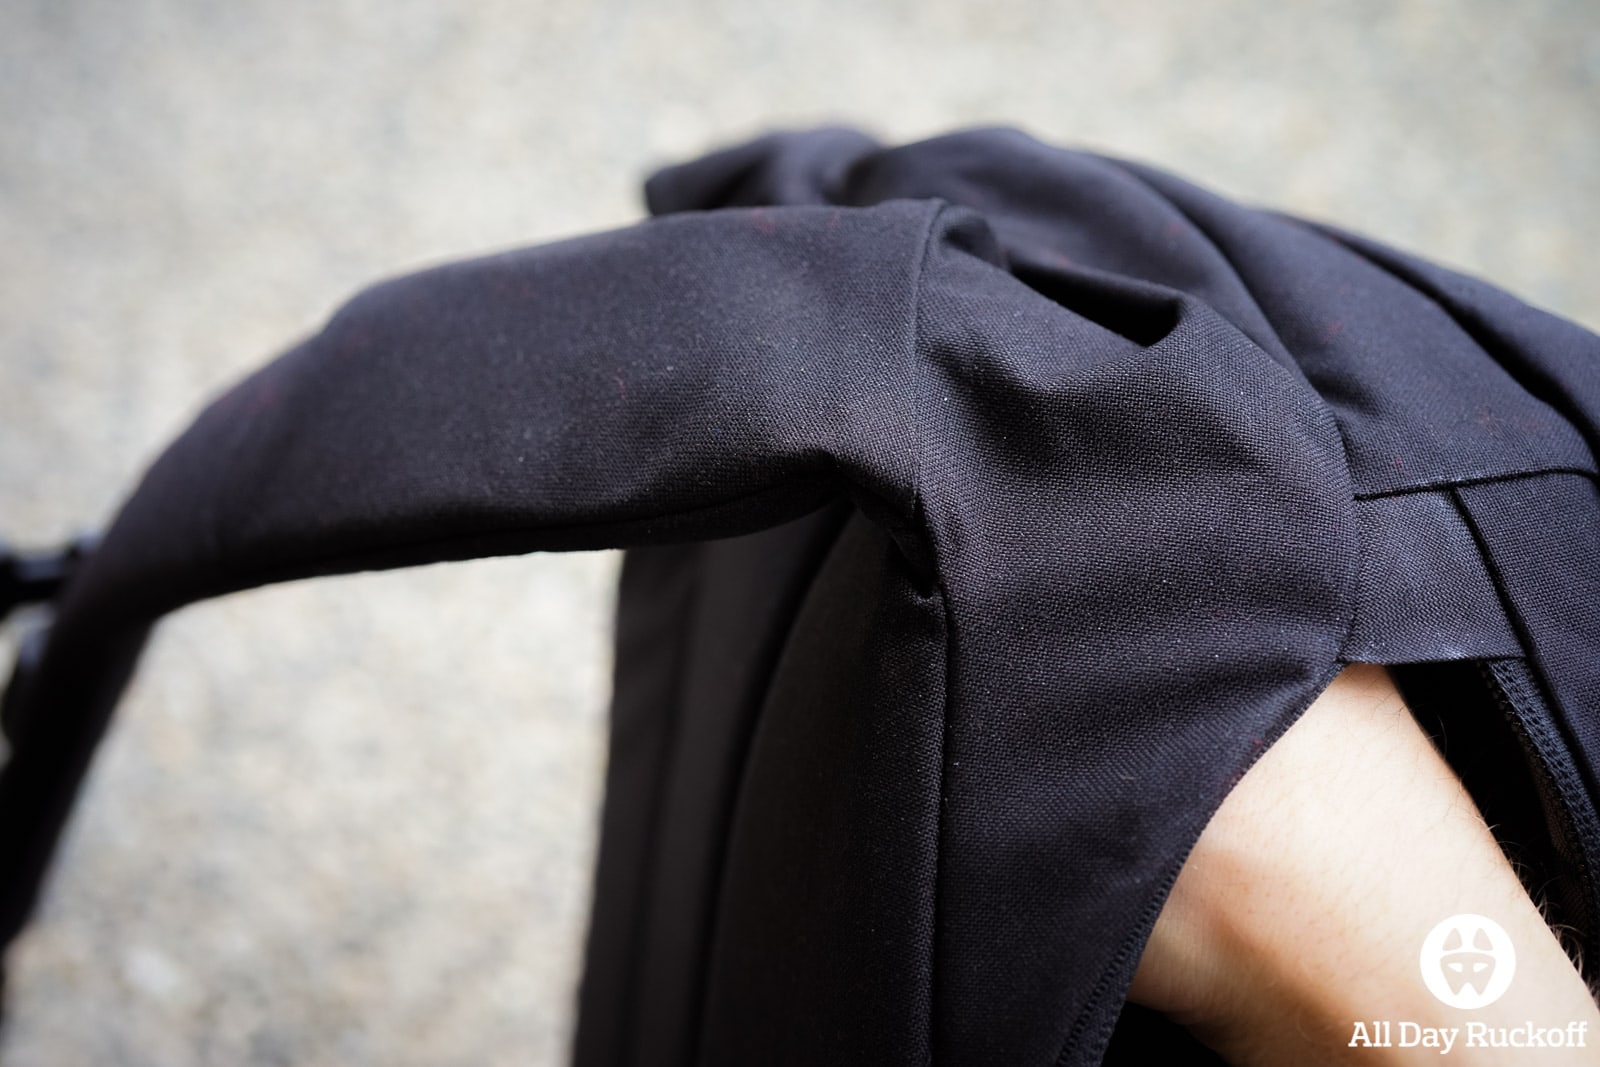
The shoulder straps on the pack feature a nice curve that fits well when in use. There’s one seem on each shoulder strap…
… that can be used for routing a hydration hose outside of the laptop/hydration area onto the shoulder strap.
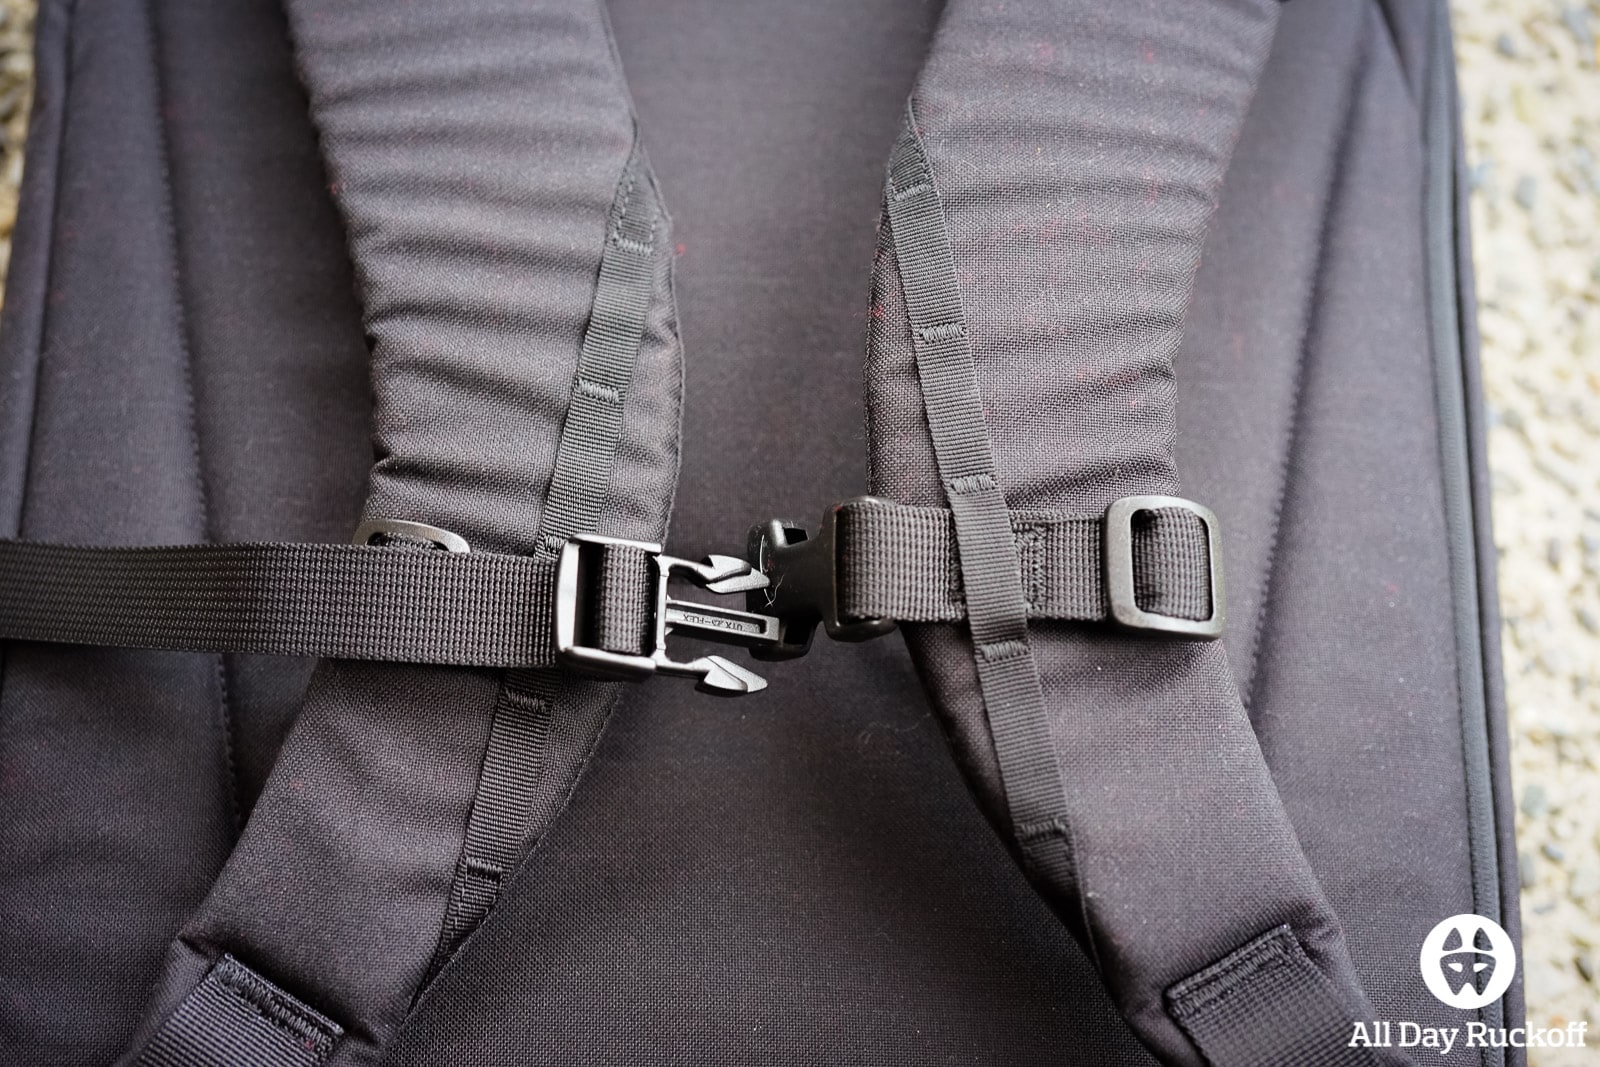
The pack comes with a sternum strap that can be adjusted to four different positions based on the opening in the webbing. I really wish the CPL24 featured MOLLE webbing, or at least a thicker strap used for the webbing, so that I could fit my Peak Design Capture Clip Pro in there for a camera.

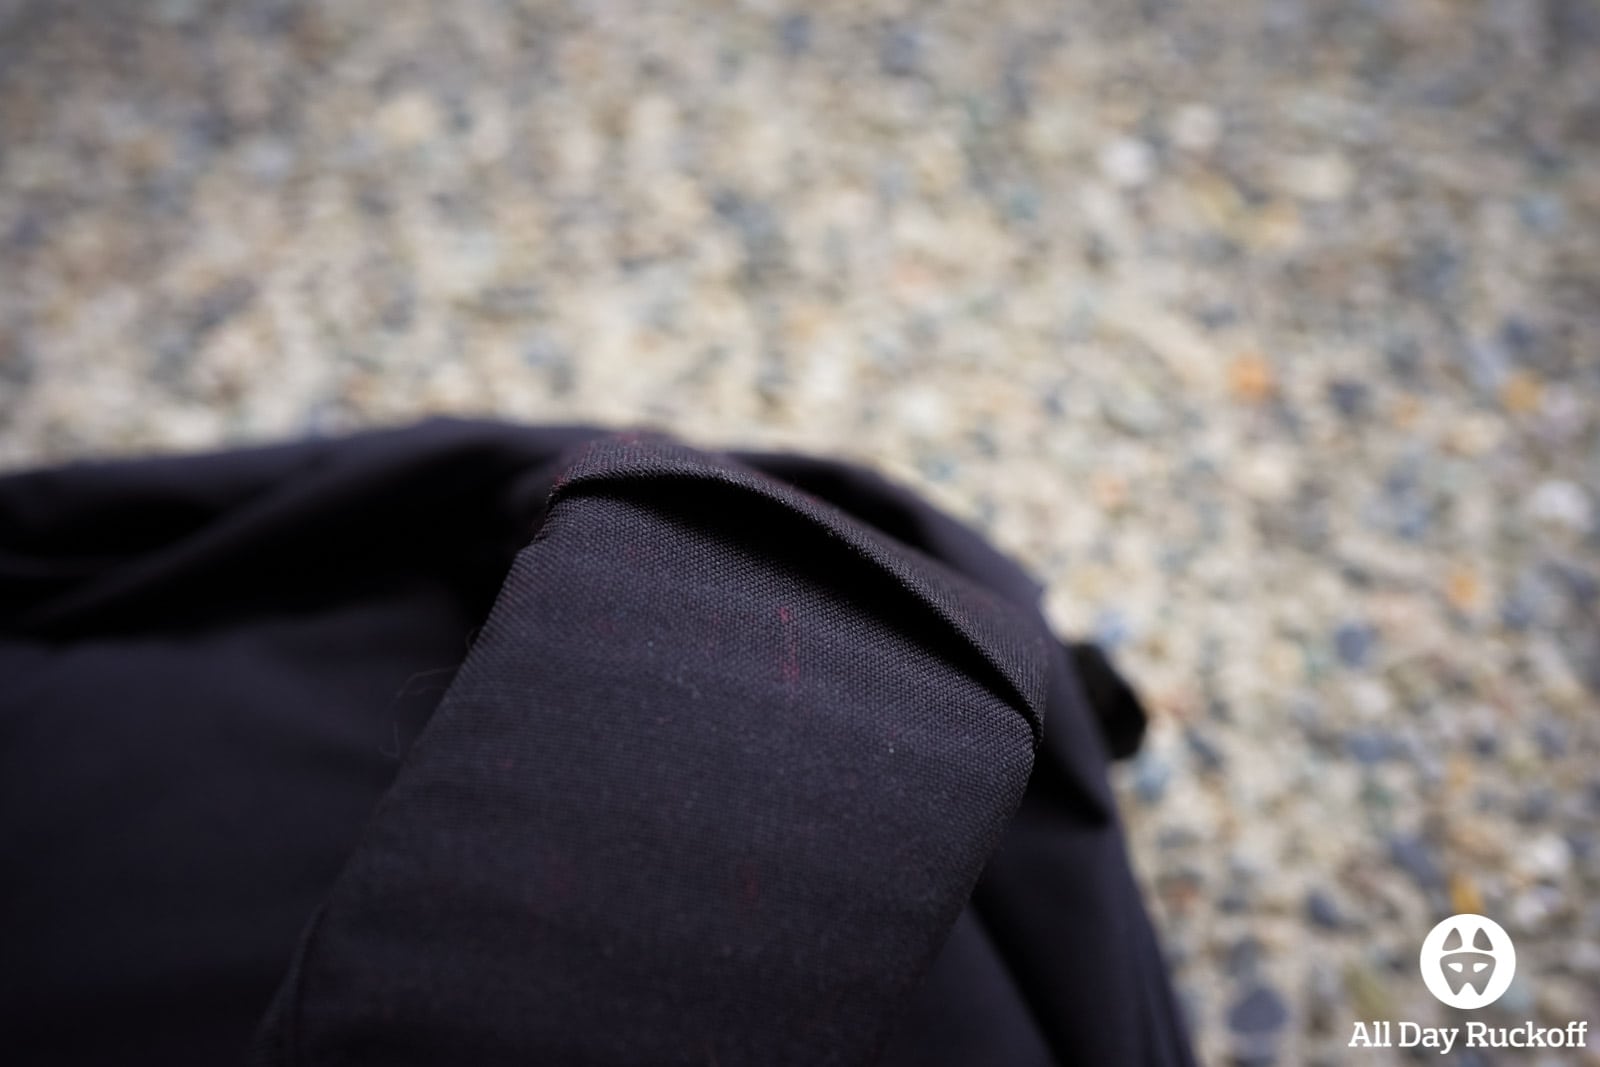
The shoulder straps are sewn into pack via two Nylon wings. You’ll notice some red in the picture and that’s not the fault of the camera or the lens. I had a red hoodie that was near the pack (didn’t even wear it with the pack) and somehow the fuzz from it attached itself to the CPL24. I’m interested to see if this becomes a trend…

The back of the pack features the same 500d HT Nylon that the rest of the bag is made out of. I’m very curious if this heats up in the summer… I guess only time will tell on that one.
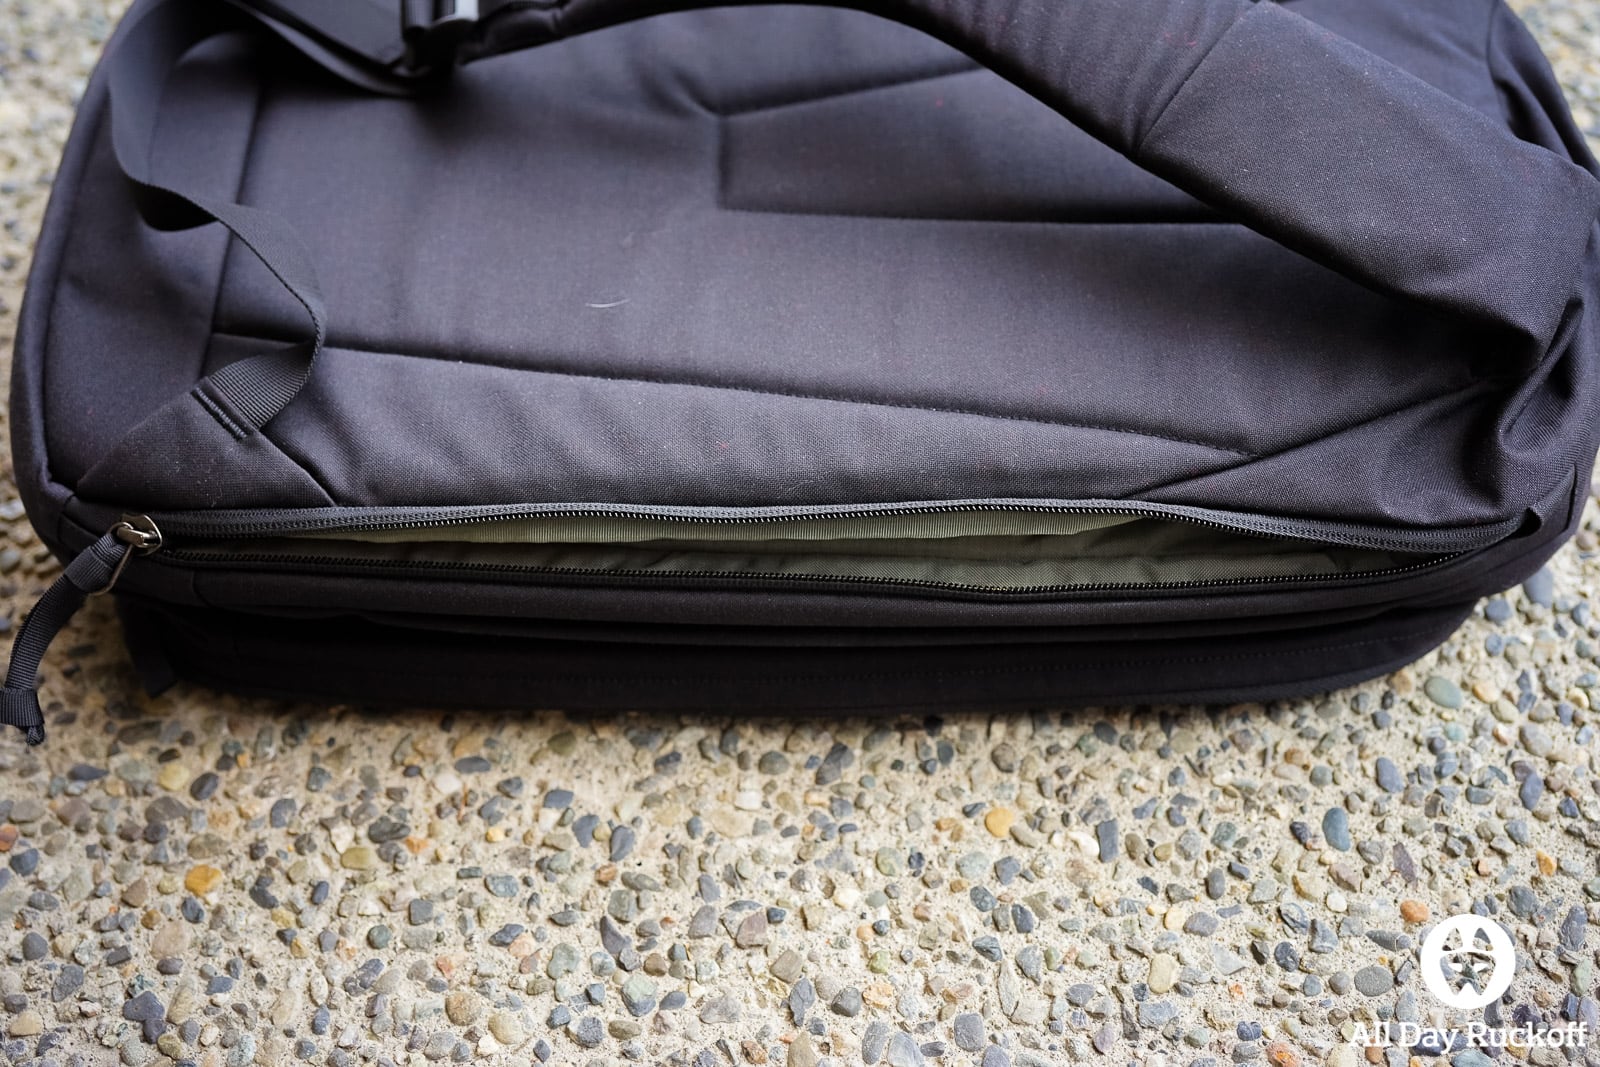
The side of the pack features a zipper that leads into the laptop/water bladder pocket.
It’s a deep pocket and should have absolutely no issue holding a 15″ laptop without issue. Not shown is a small loop of webbing sewn into the top of the laptop/bladder area that you can use to hang a water bladder from.
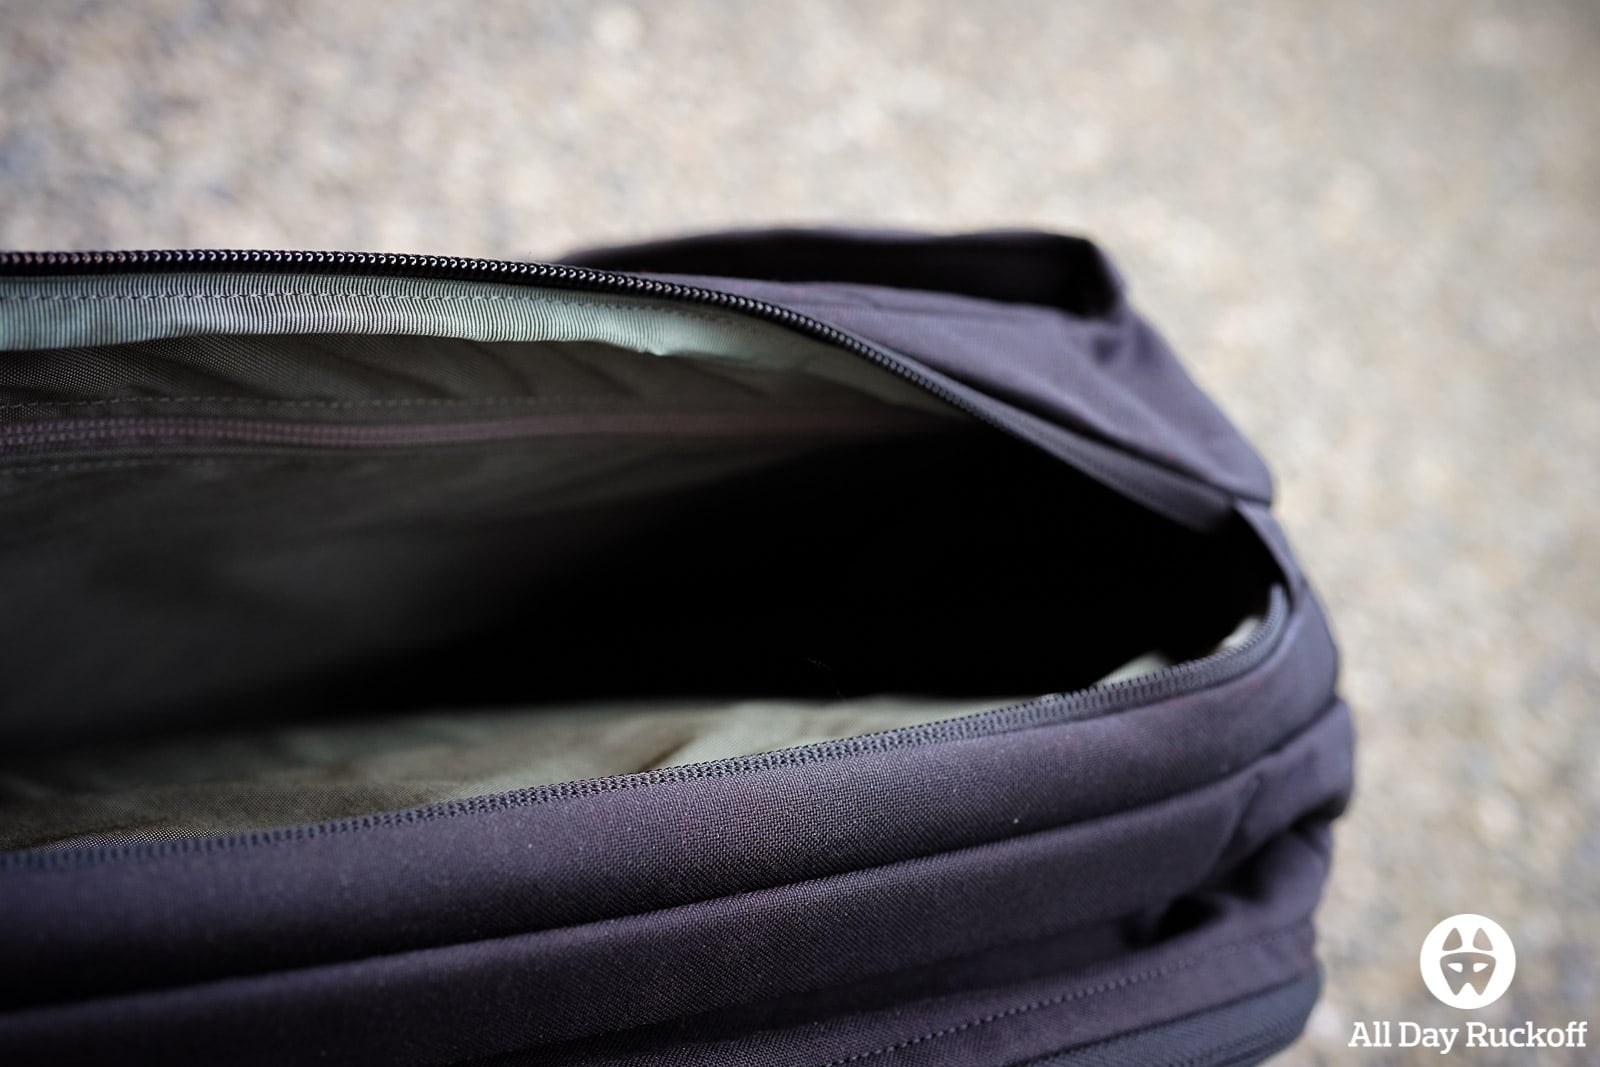
You can pretty clearly see that there’s a zipper on the inside of the backpack that leads to the HDPE frame sheet on the pack.
Unzip that inner zipper and the frame sheet is right there.
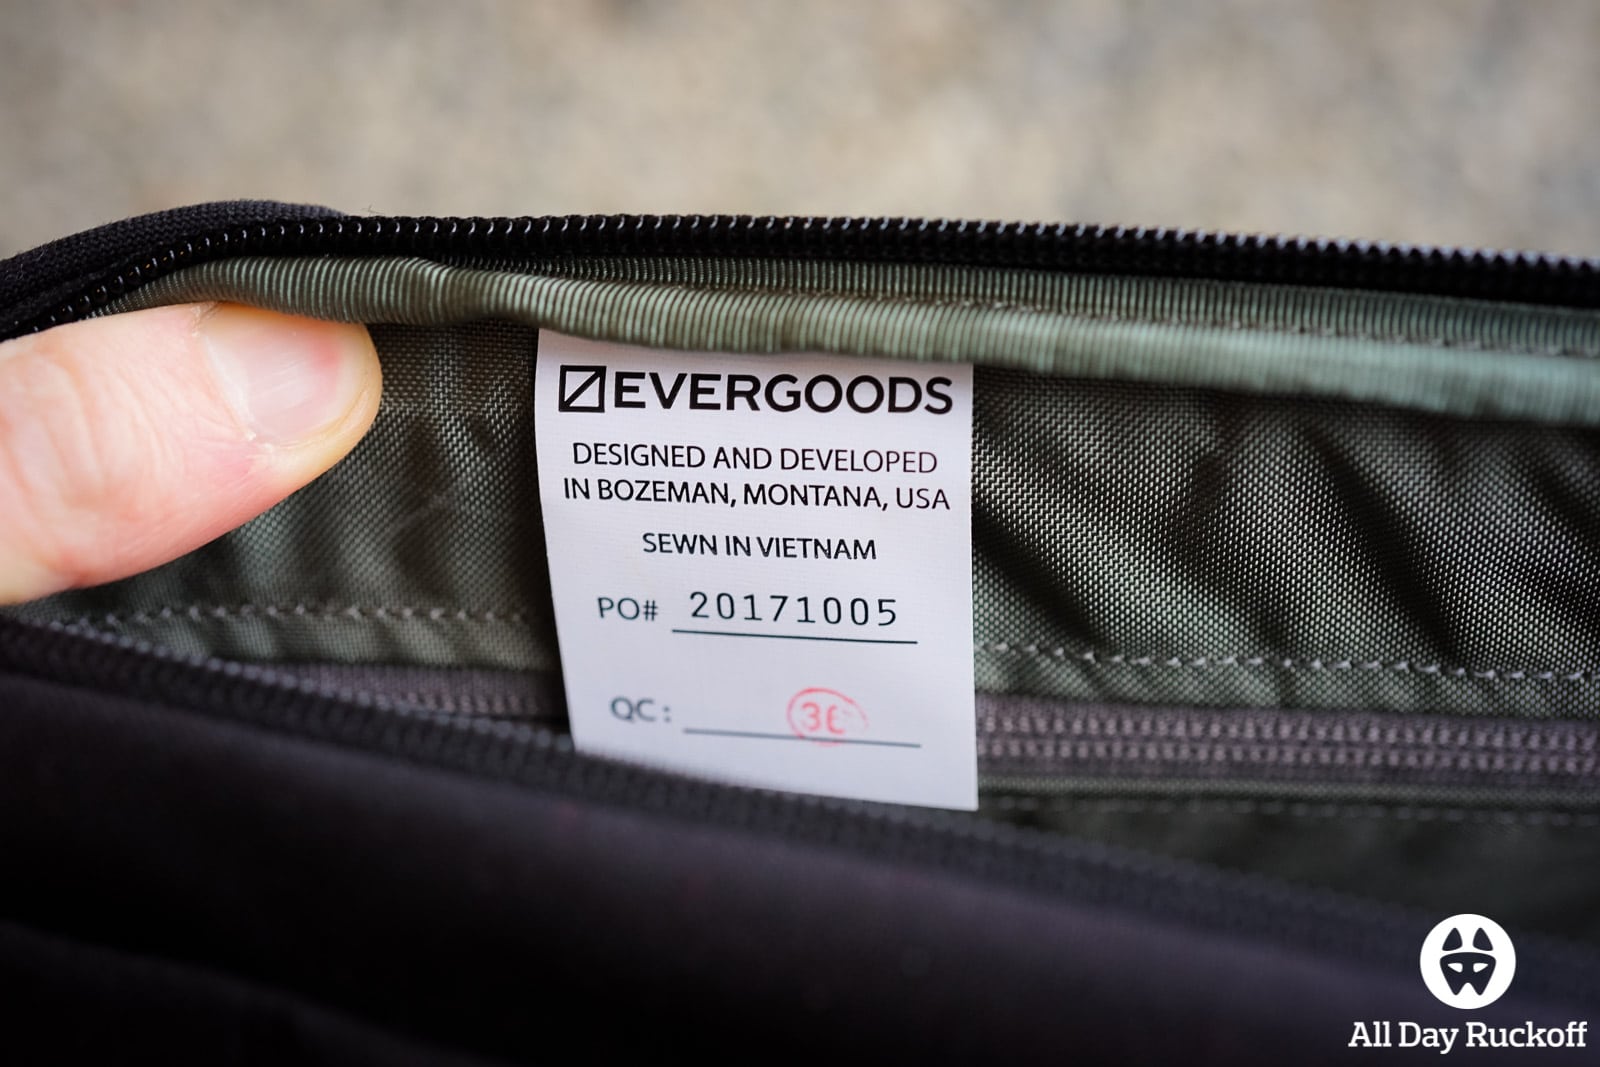
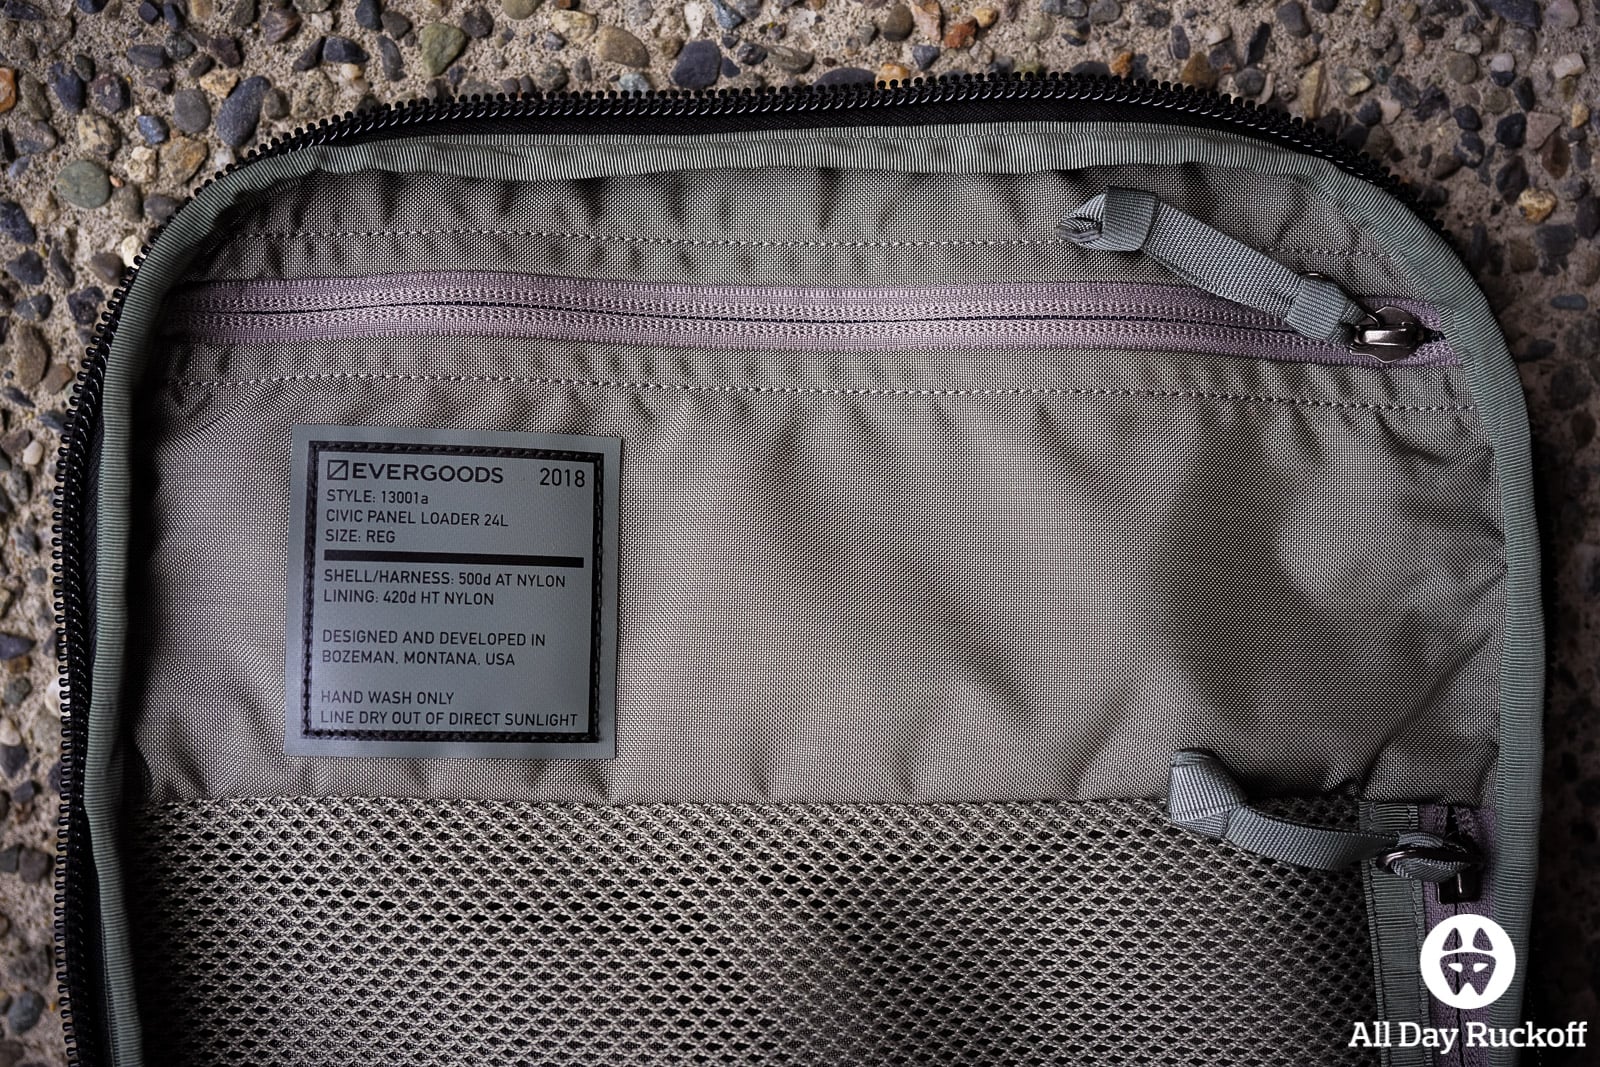
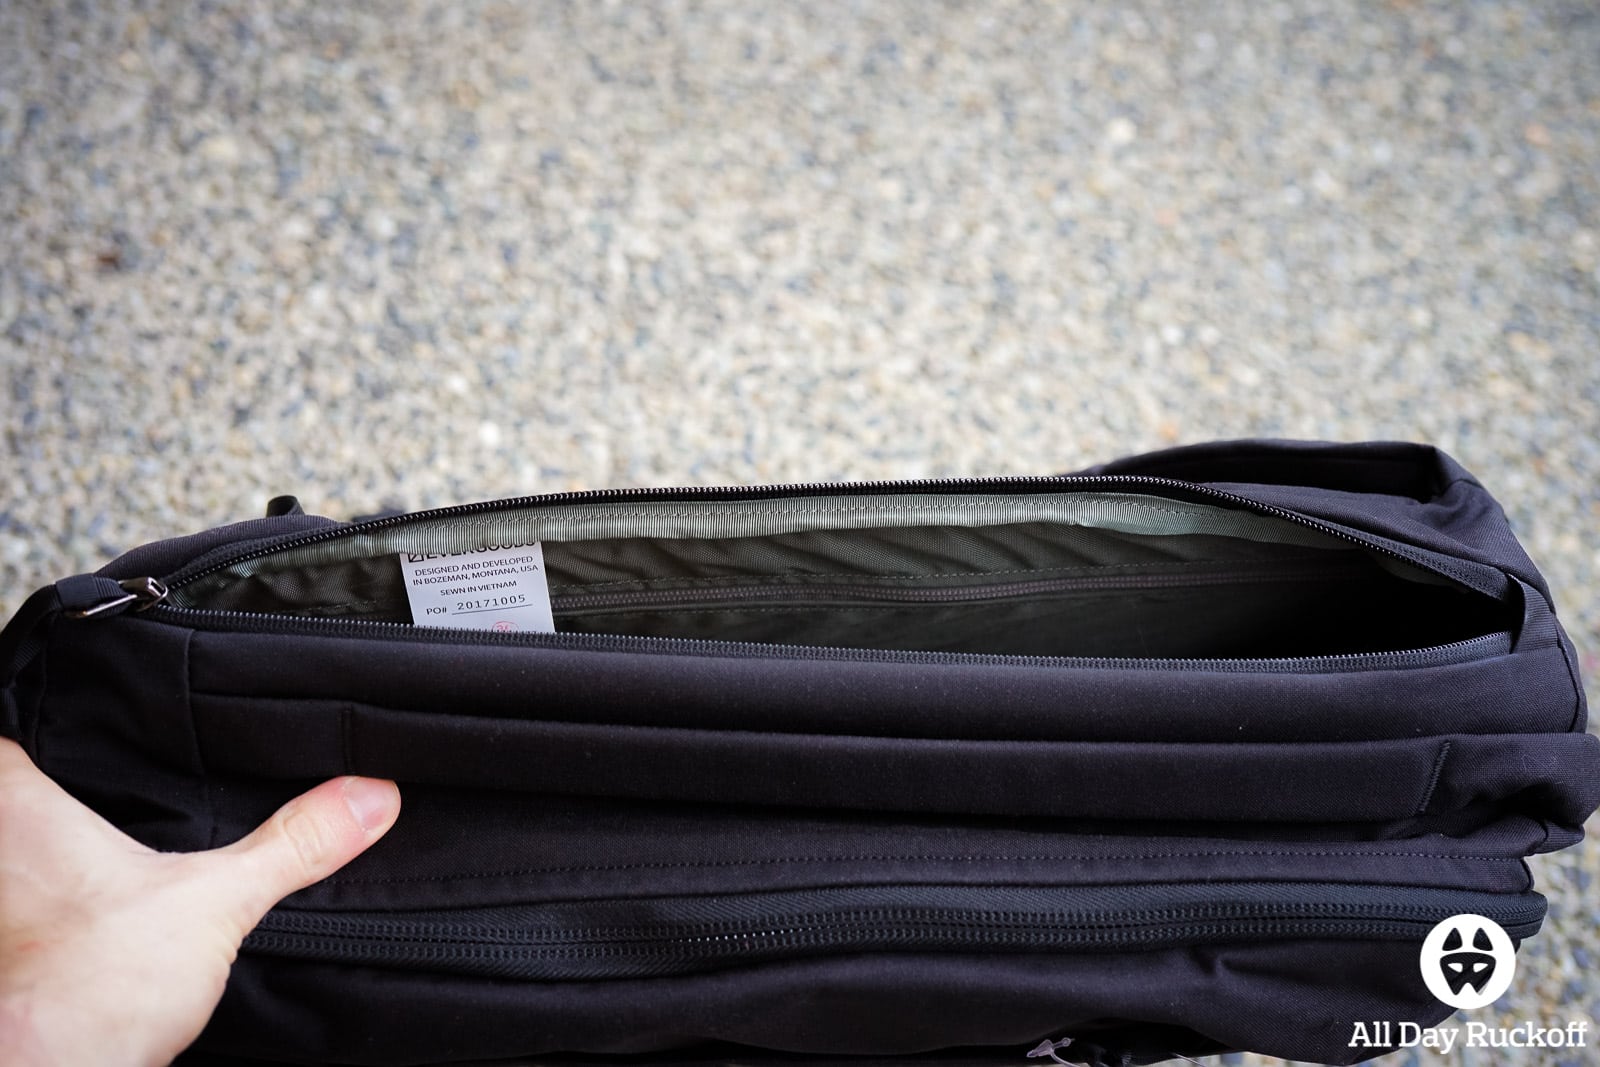
Here’s a clean picture of the tag sewn into the inside of that laptop/bladder area.
Here’s a quick view of how the hose on the hydration bladder would travel out of the laptop/bladder area to the front of the pack.
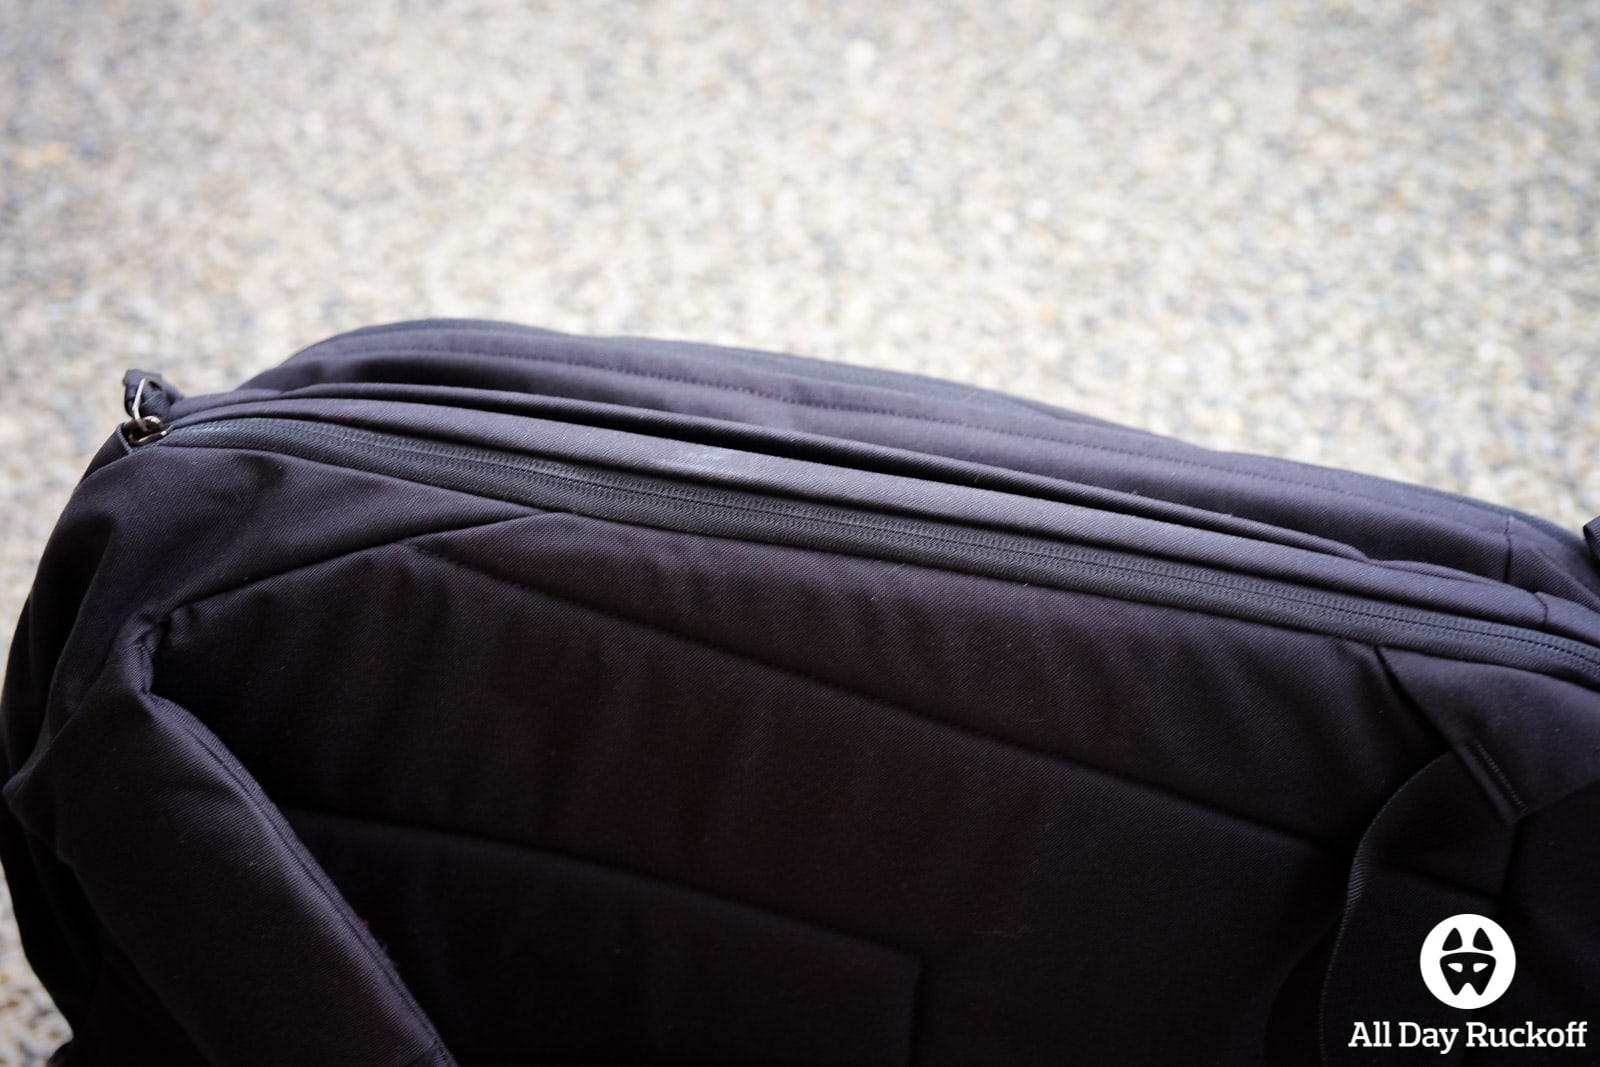
The side carry handle on the CPL24 blends incredibly well into the pack… you can hardly see it in the above picture.
The top of the pack features a grab handle that’s very similar in the design to the side carry handle.

A quick trip to the bottom of the pack before we head inside… I love clam shell openings on backpacks and am so glad that the EVERGOODS CPL24 has it. After using the GORUCK GR1 for ages I have a very hard time working with packs that don’t have a clam shell opening.

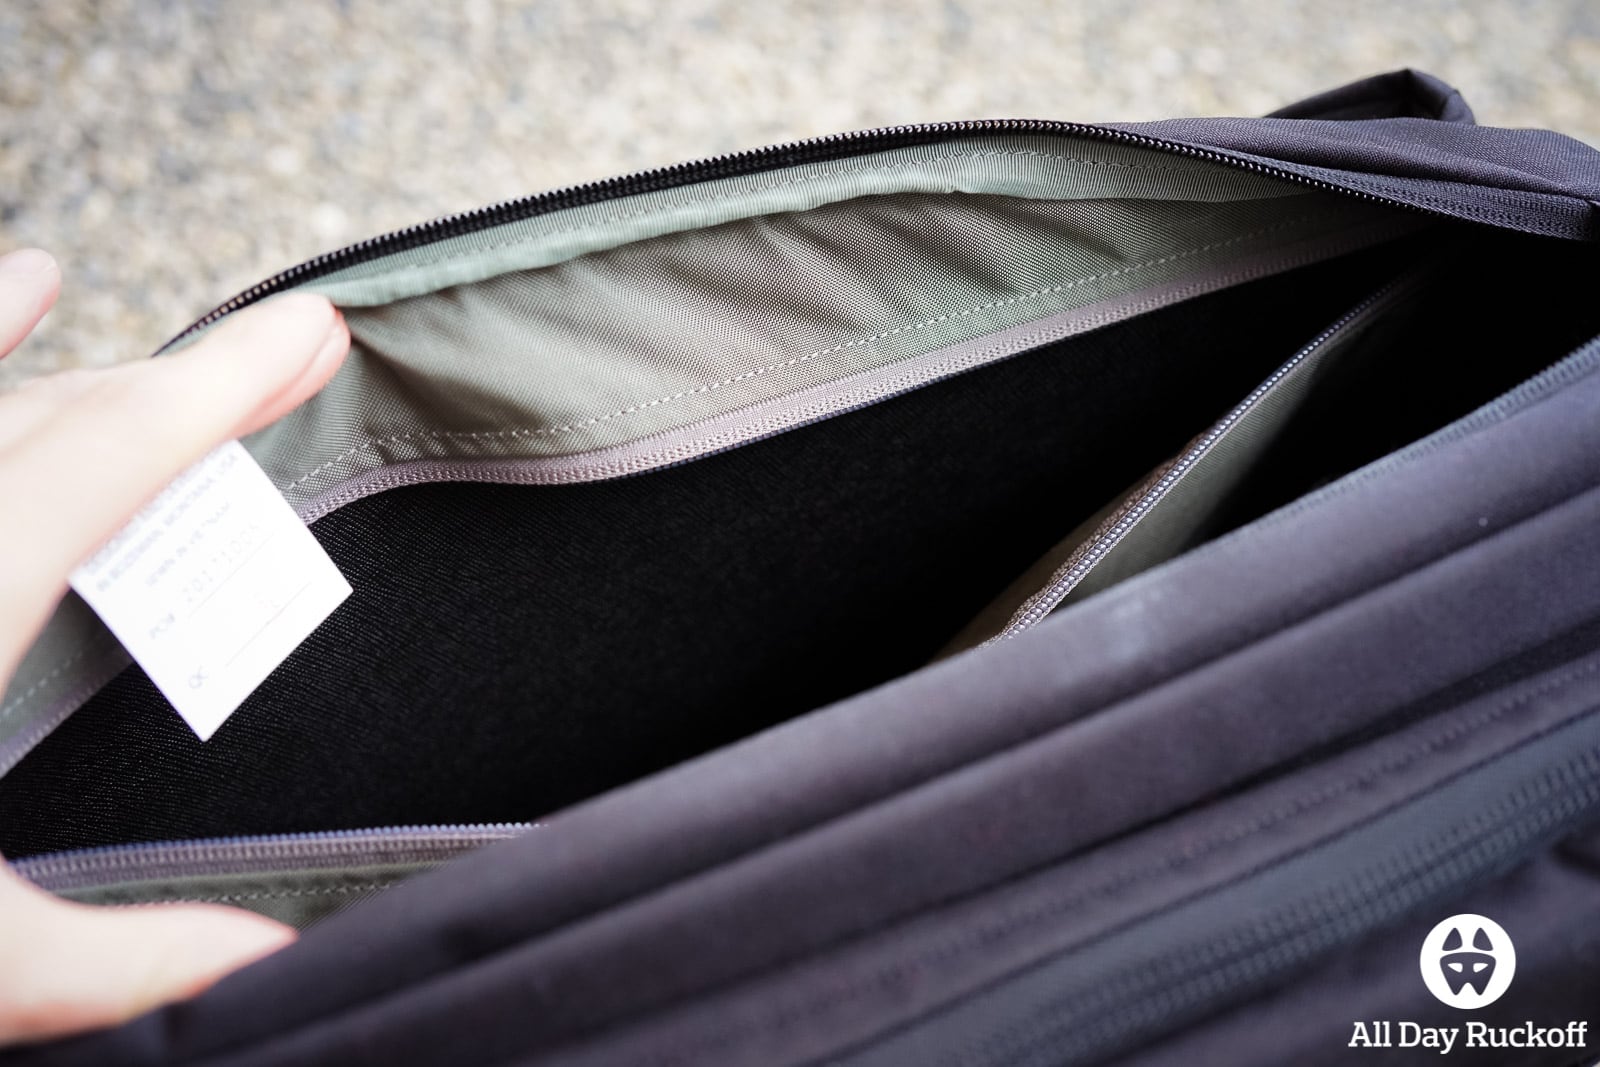
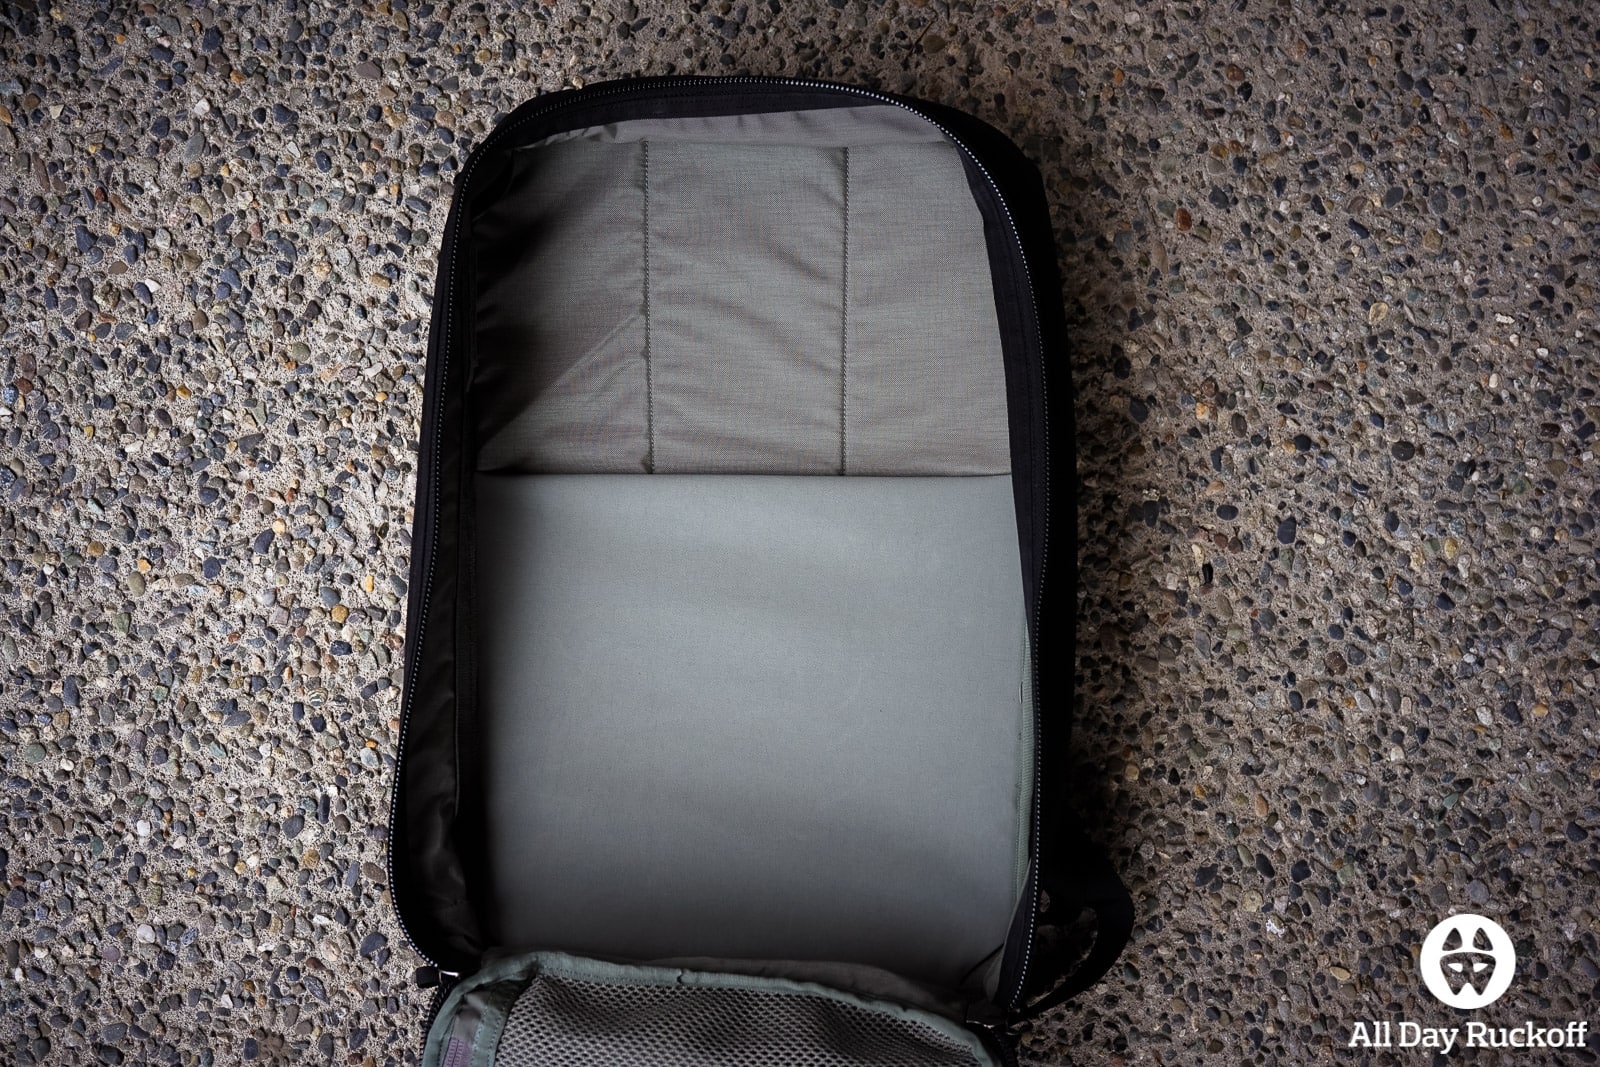
Here’s the inside of the pack in all of it’s glory. You can see the folder area on the left and the two pockets on the right.

The top pocket features a horizontal zipper with the start on the right. The bottom pocket features a vertical zipper with the opening start of the zipper on the top. The pack is set up this way so that the pockets can be accessed from both a vertical carry or a side carry which is a nice touch.
Opening the top zipper pocket reveals a pocket that is much larger than it appears.
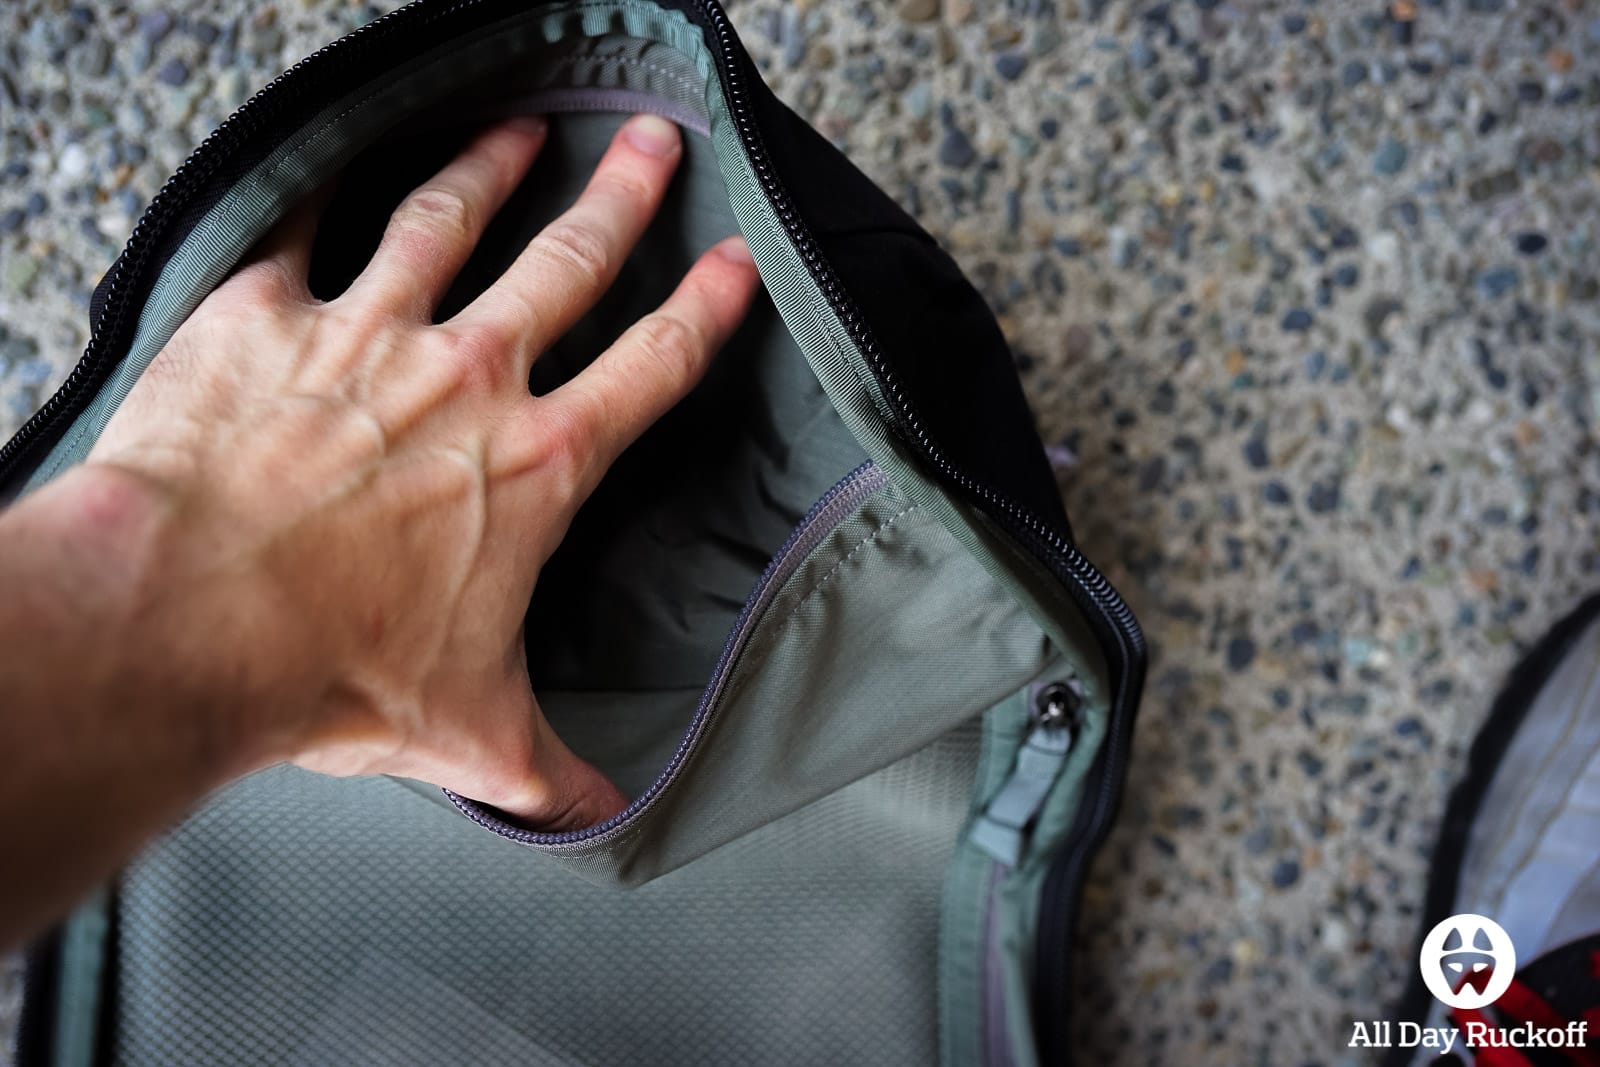
You can see just how large this pocket can open up… I’m not sure you would want to put something large in there but it definitely seems possible.

The tag on the inside of the pack is a really nice touch and features the materials that the pack is made of as well as the year the pack was built.
Flipping over to the other side of the pack you’ll see the document/notebook/magazine area.
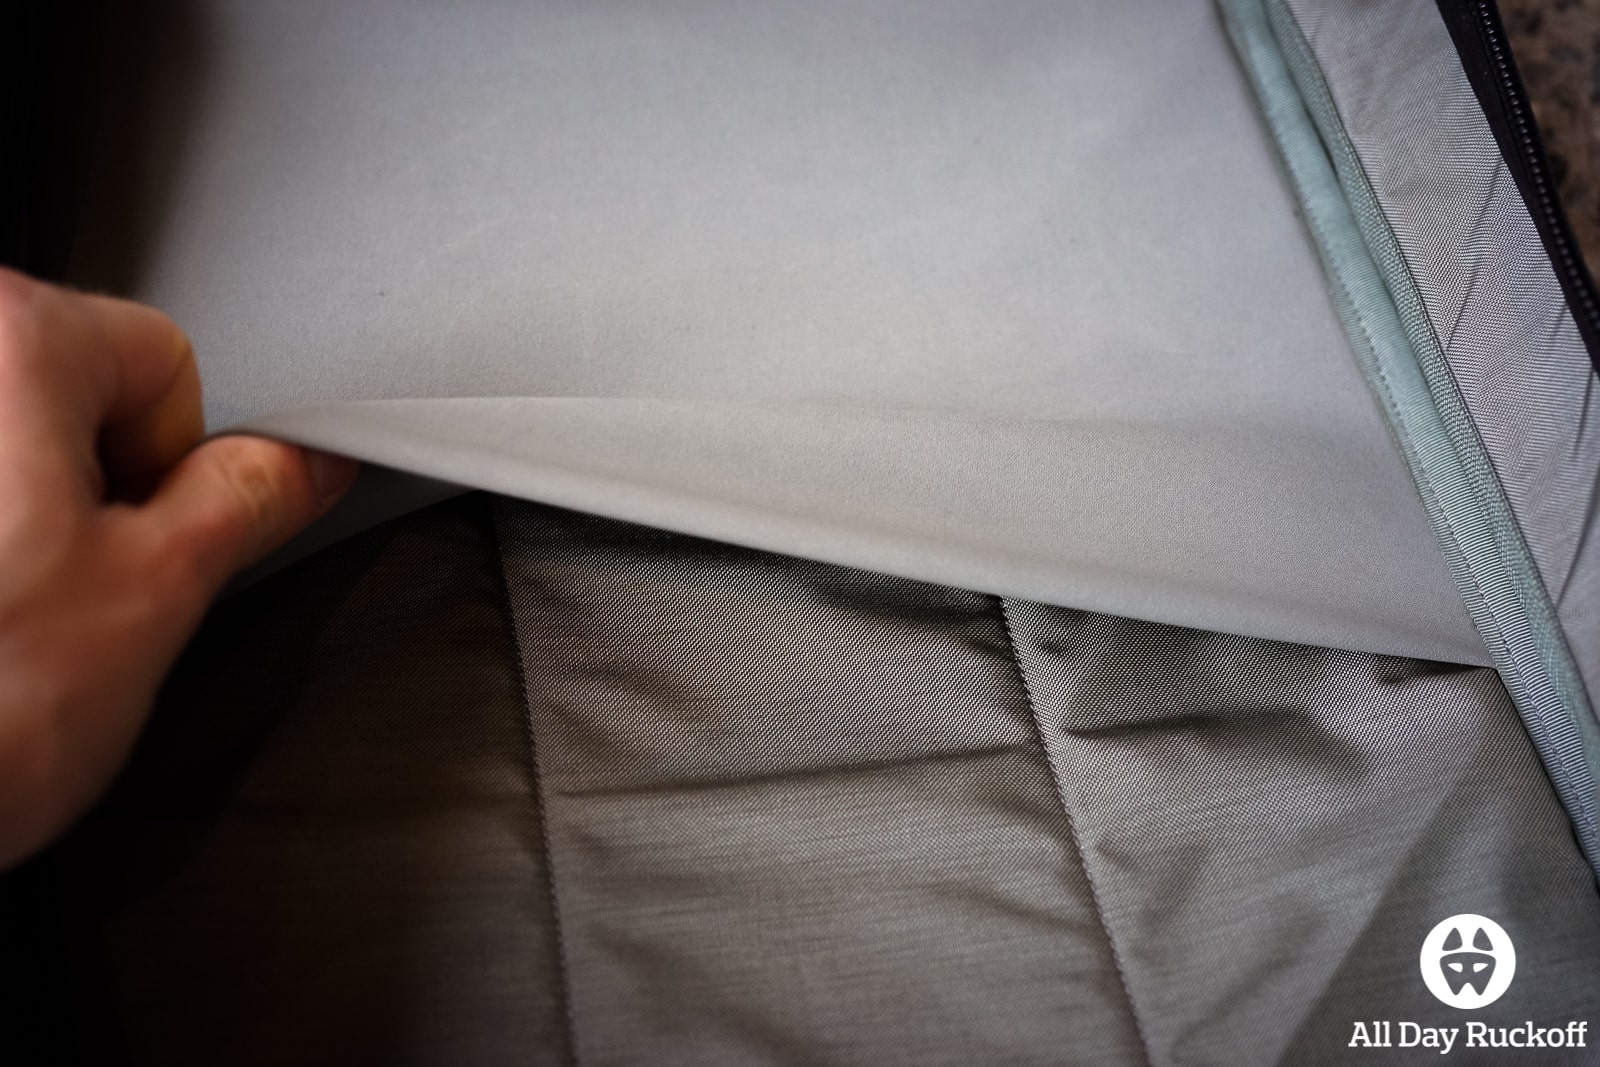
This is a very stretchy fabric and I’m very interested to see how it holds out over time.
Don’t put anything too small in this folder area as there are small holes on the bottom left and bottom right that items could fall out of.
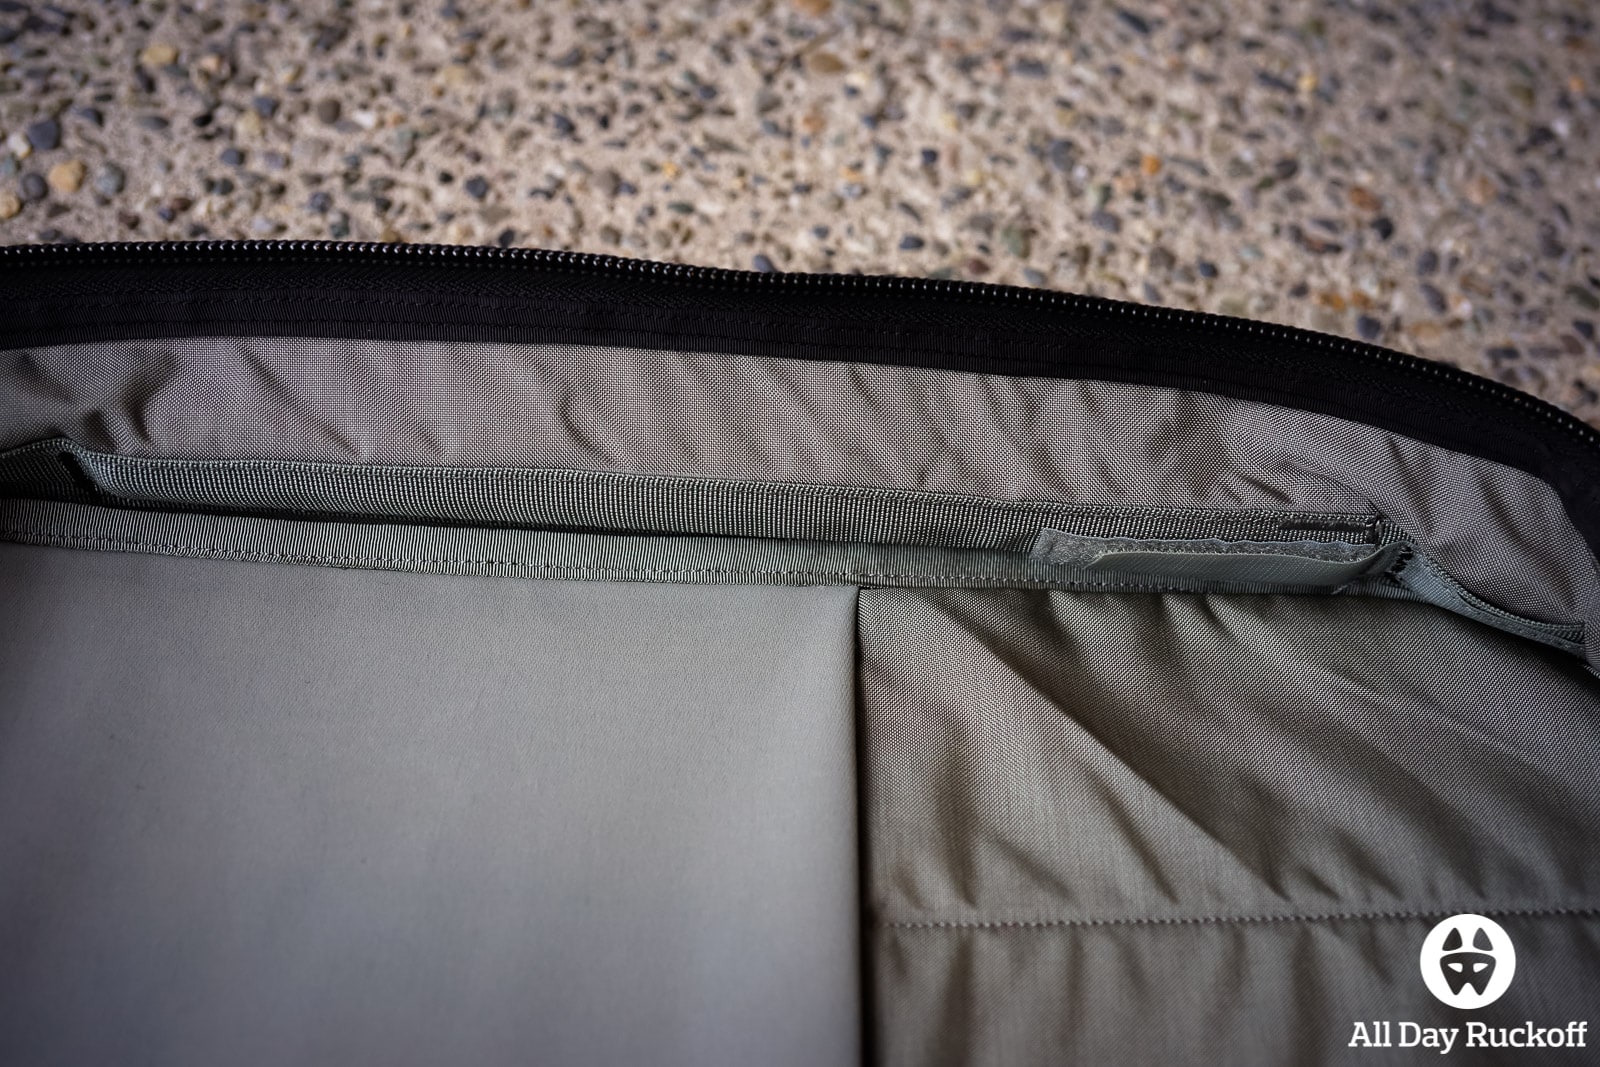
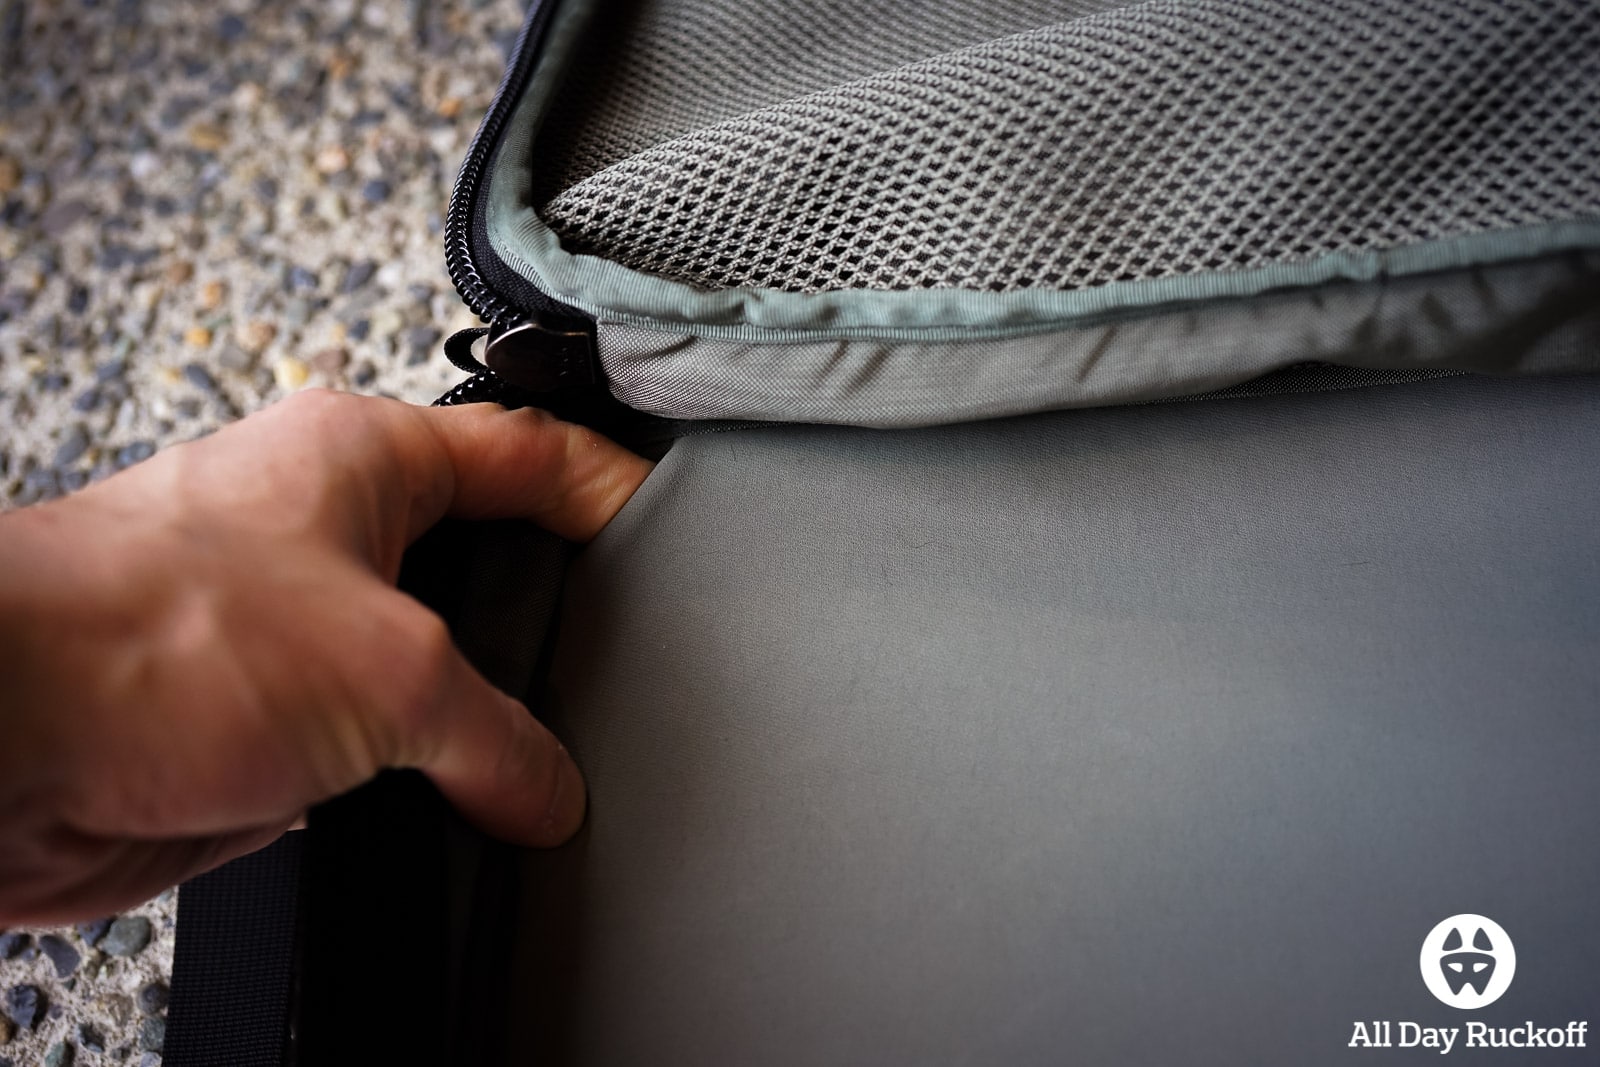
That left side of the pack with the grab handle has an opening on the inside you can use to get the metal clip out of the sleeve. The clip that comes out isn’t the aluminum handle but instead a metal stay used to keep that side of the pack stiff.

Just remove the Velcro on the top and you can slide the metal stay out. This is probably good if you want to replace the stay or aren’t a fan of the metal in there.

There a few of these loop areas around the side handle (both the inside and out) that you could probably attach some extra gear to. One of my few wishes for this pack would be if EVERGOODS had added extra attachment points on the inside. Nothing major but just a D ring or a few O rings… something to give it a little more potential for organization on the inside.
There you have it! The EVERGOODS CPL24 first look preview post. I’m very excited to get this pack out and spend some time beating it up. If you’ve got any questions feel free to leave them in the comments!
Hi there.
Do you have any recommendations as to what brand / kind of organisational pouches can be added onto the big compartment inside the bag? Love this bag but seriously needs some kind of admin pocket.
Hey James! I’ve bought one of the these and have been using it a little bit. So far I really like it (and it has great reviews) but I haven’t used it enough to 100% recommend it yet. One thing that’s nice is that since it doesn’t attach in you can easily drop it in and take it out and set it on your desk… depending on what you’re using it for.
Thanks heaps for the reply.
This will mainly be my work and gym bag (size 11 running shoes).
For work I just bought a tech pouch from bagsmart which I hope can fit into the front compartment.
Probably hang a water bottle from one of the outside points.
Freeing up the inside for iPad / notebook and gym stuff.
Thanks for the very helpful review. I really like this backpack but at first glance, due to the metal stay, it seems a little too rigid/stiff, so I’m glad to see that the metal stay can be removed. Is there more than one metal stay that can be removed? I prefer my backpacks slouchy. Thanks!
So the frame sheet can be completely removed which will heavily reduce the rigidity of the pack. There’s two metal stays (one in each handle) that cannot be removed and a third metal stay (in the side of the pack with the handle) that can be removed. The pack gets A LOT more slouchy when the frame sheet and side stay are removed.
Great, thanks for the info, Brian! Very helpful.
Nice review and congrats for this blog, it’s really very useful.
I would buy this pack for my daily bike commuting to work, it’s possibe to put a pair of shoes, shirt, trousers and a sweater on main compartment? or maybe using laptop compartmen too.
Thanks!!
What size shoes are you trying to fit in there? That will be the hardest part… if you’re trying to fit some large Nikes or Jordans that might be tough. If you’re trying to fit some shorter dress shoes or sneakers that’s a lot more doable.
Sneakers or dress shoes!
They fit!
I hope that helps!
Great!!
It was very useful!
Thank you very very much!