
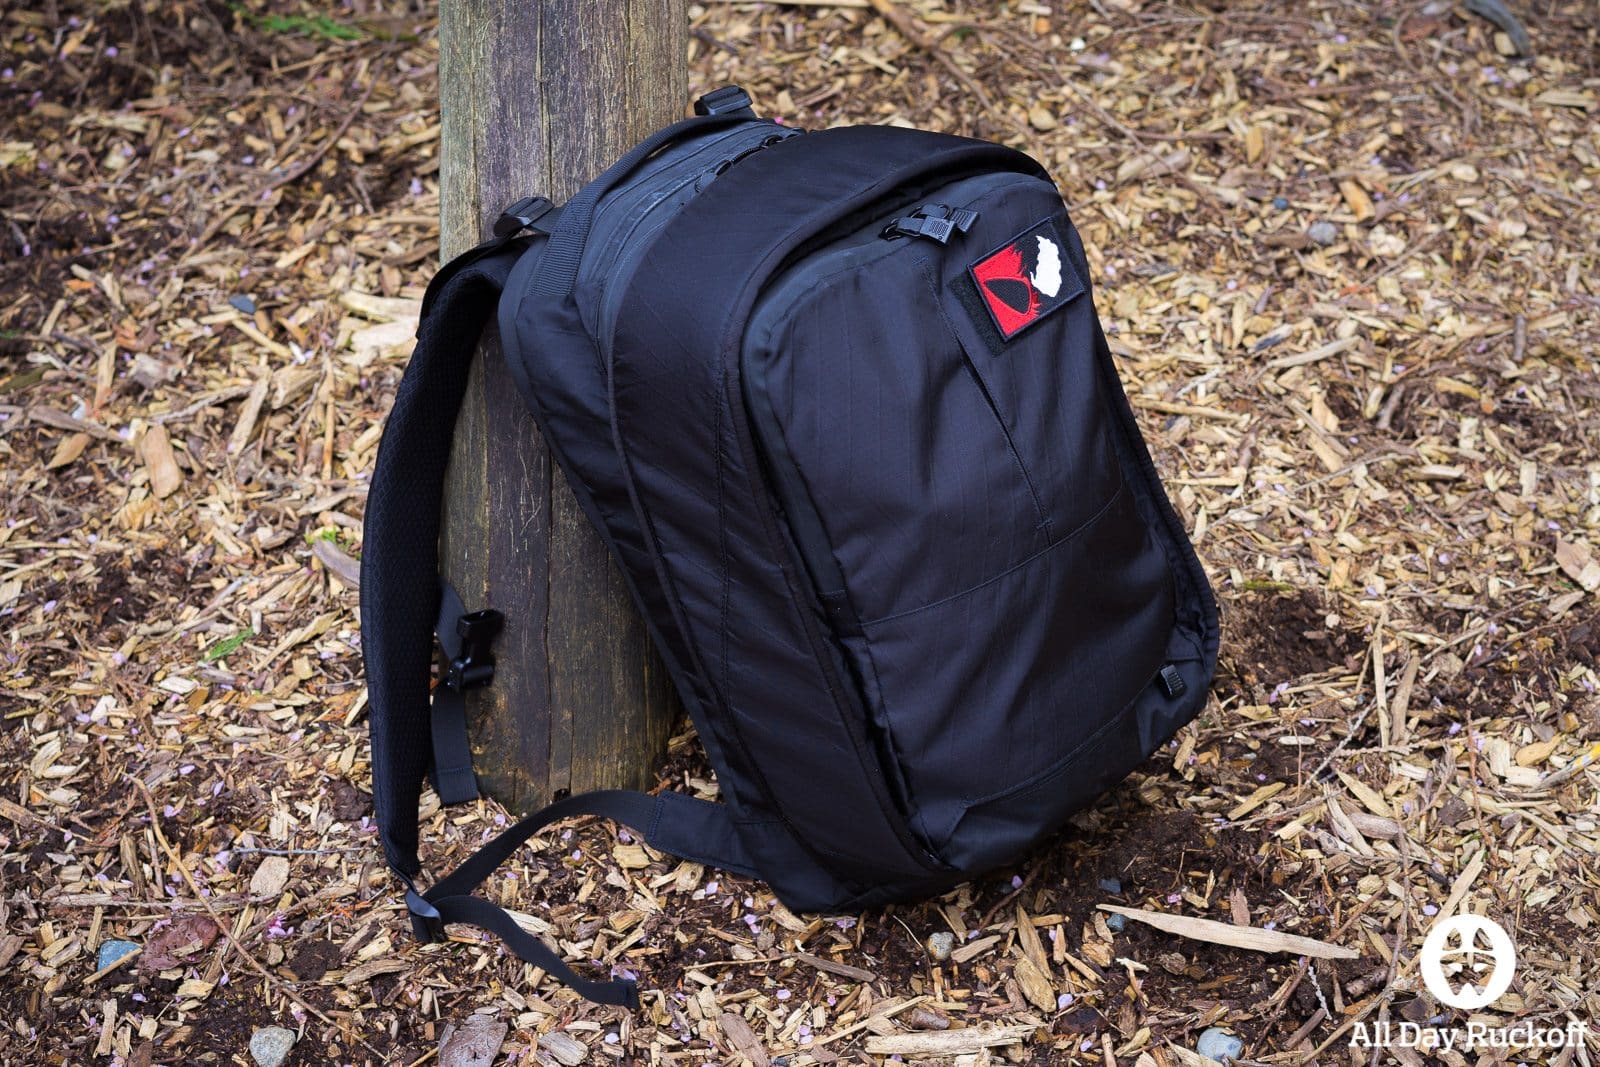
The Axiom X25 is the newest backpack from Triple Aught Design and is definitely one of their more unique offerings. This post will grow over time as more use is put on the bag but it seemed right to get it up now as there aren’t many pictures of the Axiom X25 around yet. Don’t worry, no score or conclusion will be given until we have had time to break in and get some real use out of this thing.
Axiom X25 Review
Currently only the design portion of the review is ready. Once we have had more time to break in the pack the remainder will be updated which a lot more pictures and information. Until then hopefully you enjoy all of the pictures in the design section!
Quality
Coming soon…
Design

The Axiom X25 is the first true backpack from Triple Aught Design that does not scream tactical. I say first “true” backpack because the Azimuth Pack (which we’re also reviewing) doesn’t scream tactical but it’s also a stow-and-go style pack… not something most would everyday carry.
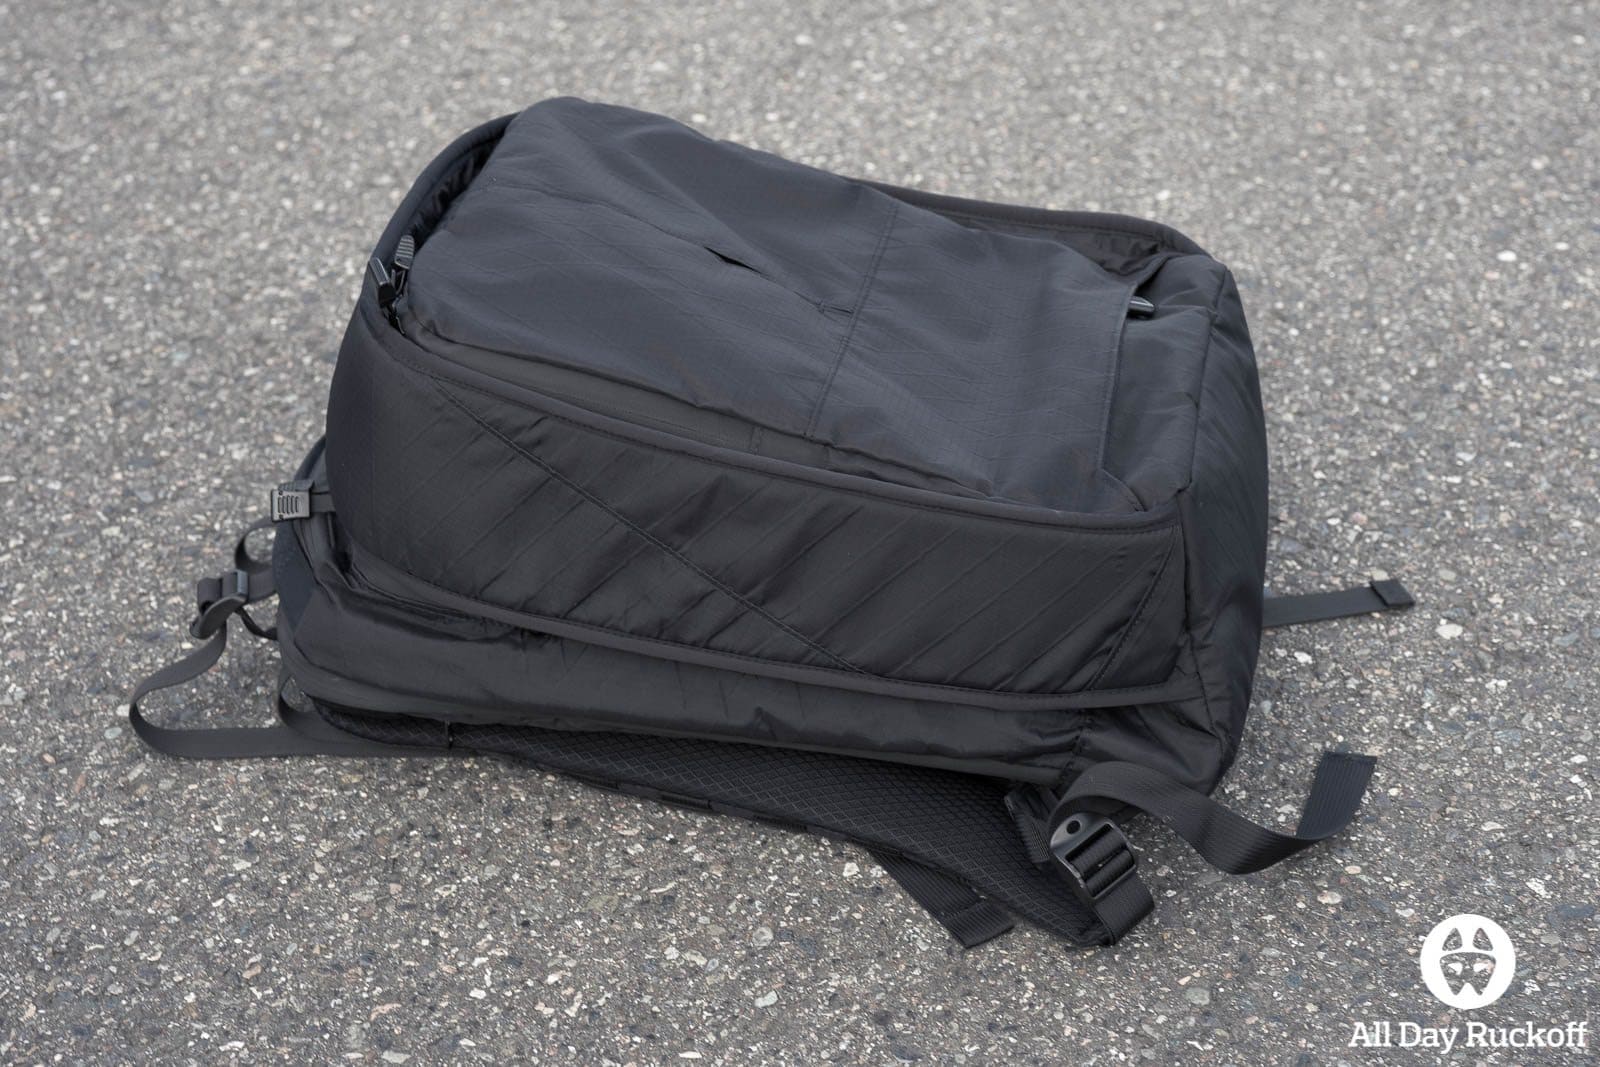
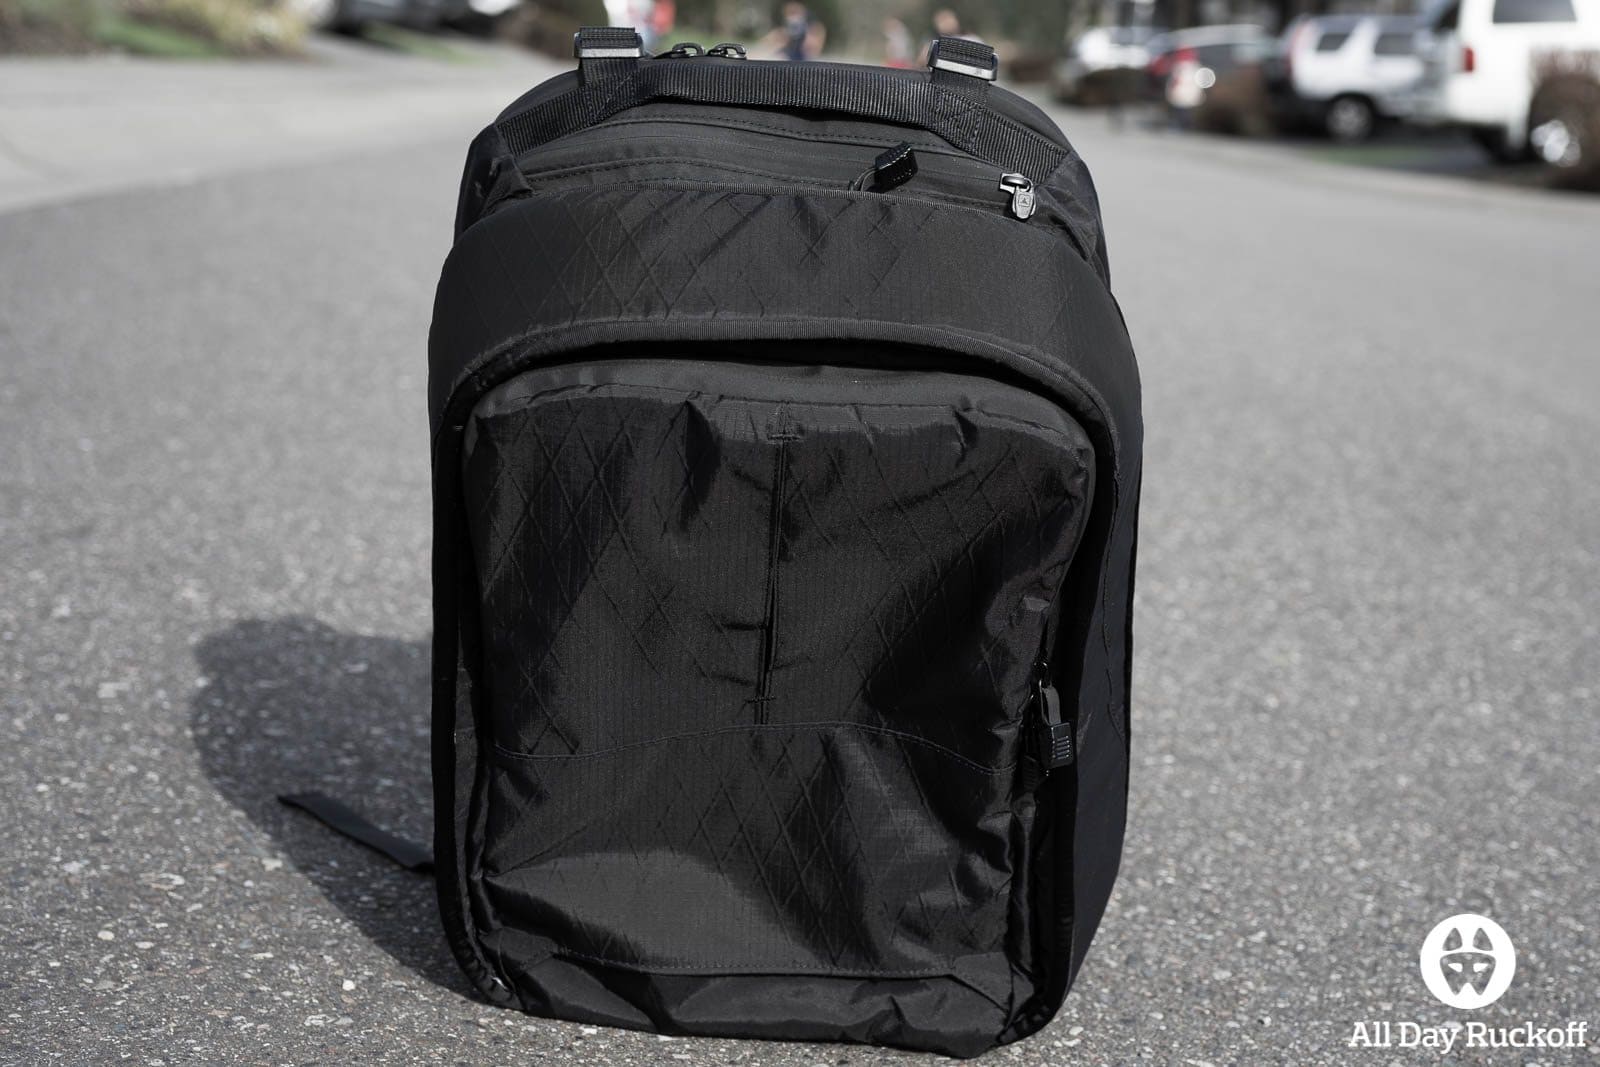
It’s tough to start on the design for this pack because there is just so much about it that is unique. In addition you will notice that the pack ties together a lot so there is really no good place to start. Looking directly at it you notice the vertical strip as well as the horizontal zipper beneath it and the two zippers above it.
The vertical strip hides one column by three rows of MOLLE webbing. You can (probably) attach an S1 pouch or (definitely) a bike light here.
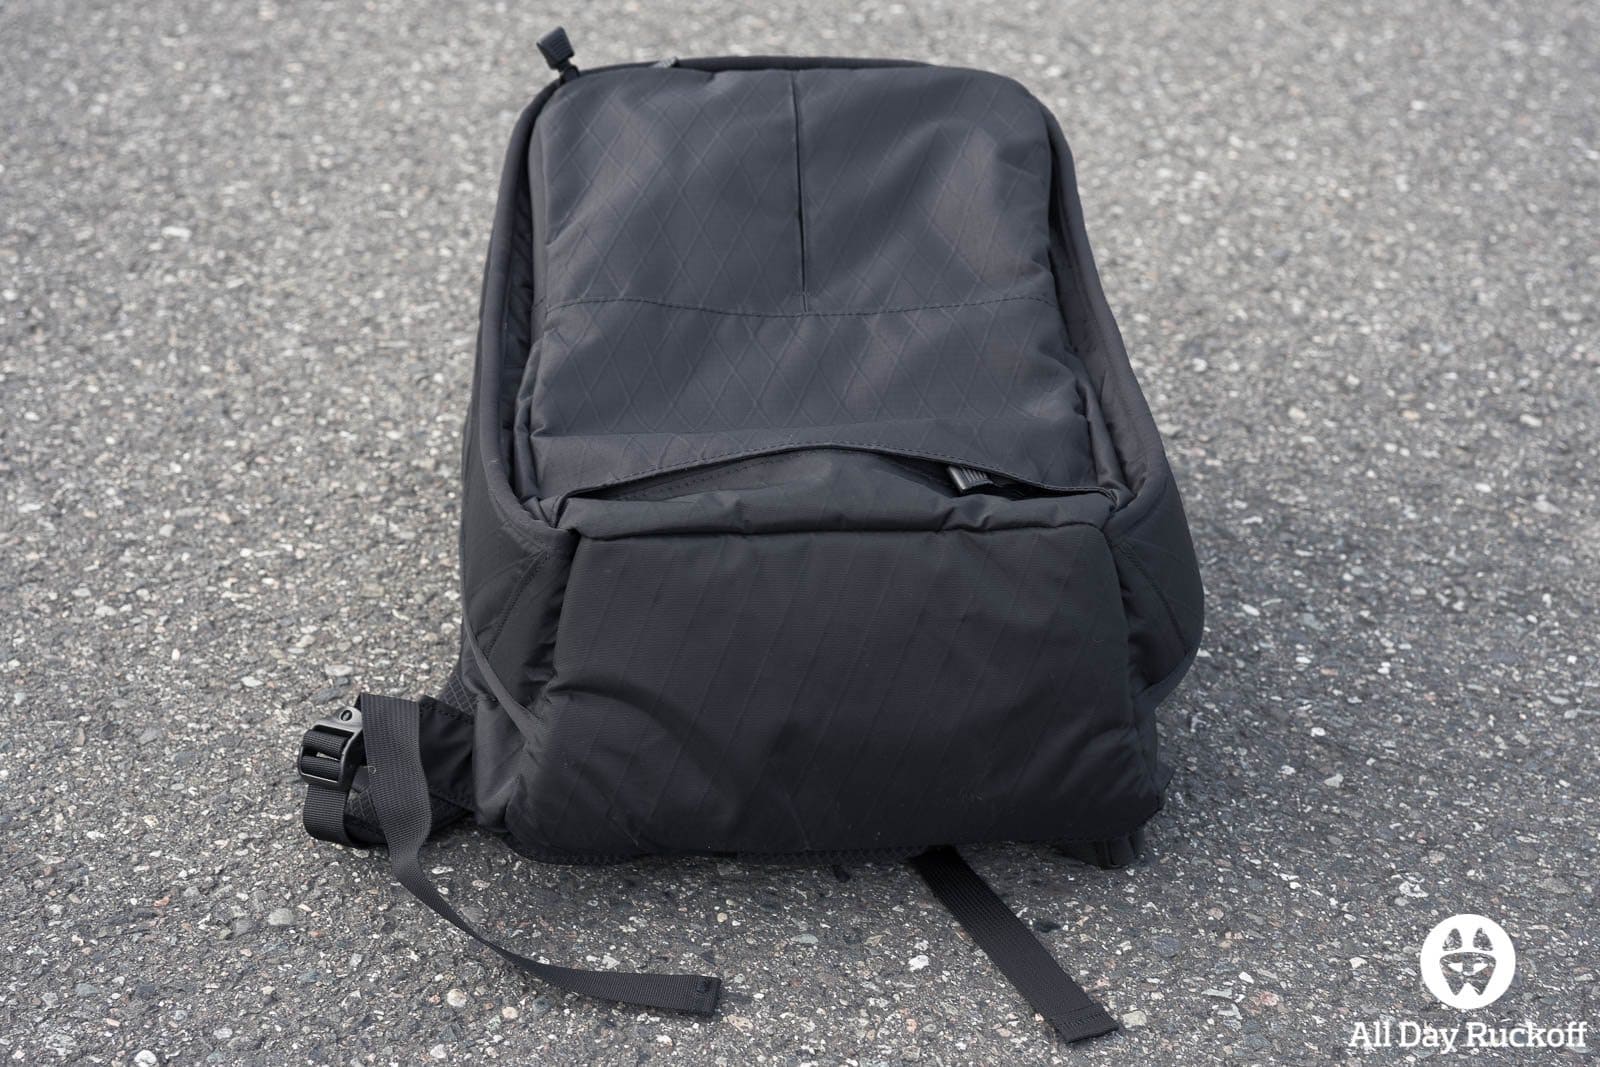
This bottom picture of the pack shows the a clearer view of the width of the bottom zipper. Thanks to Peter from TAD we now know the bottom is made of VX42.
Opening the zipper reveals a large pocket which runs up behind the admin pocket.

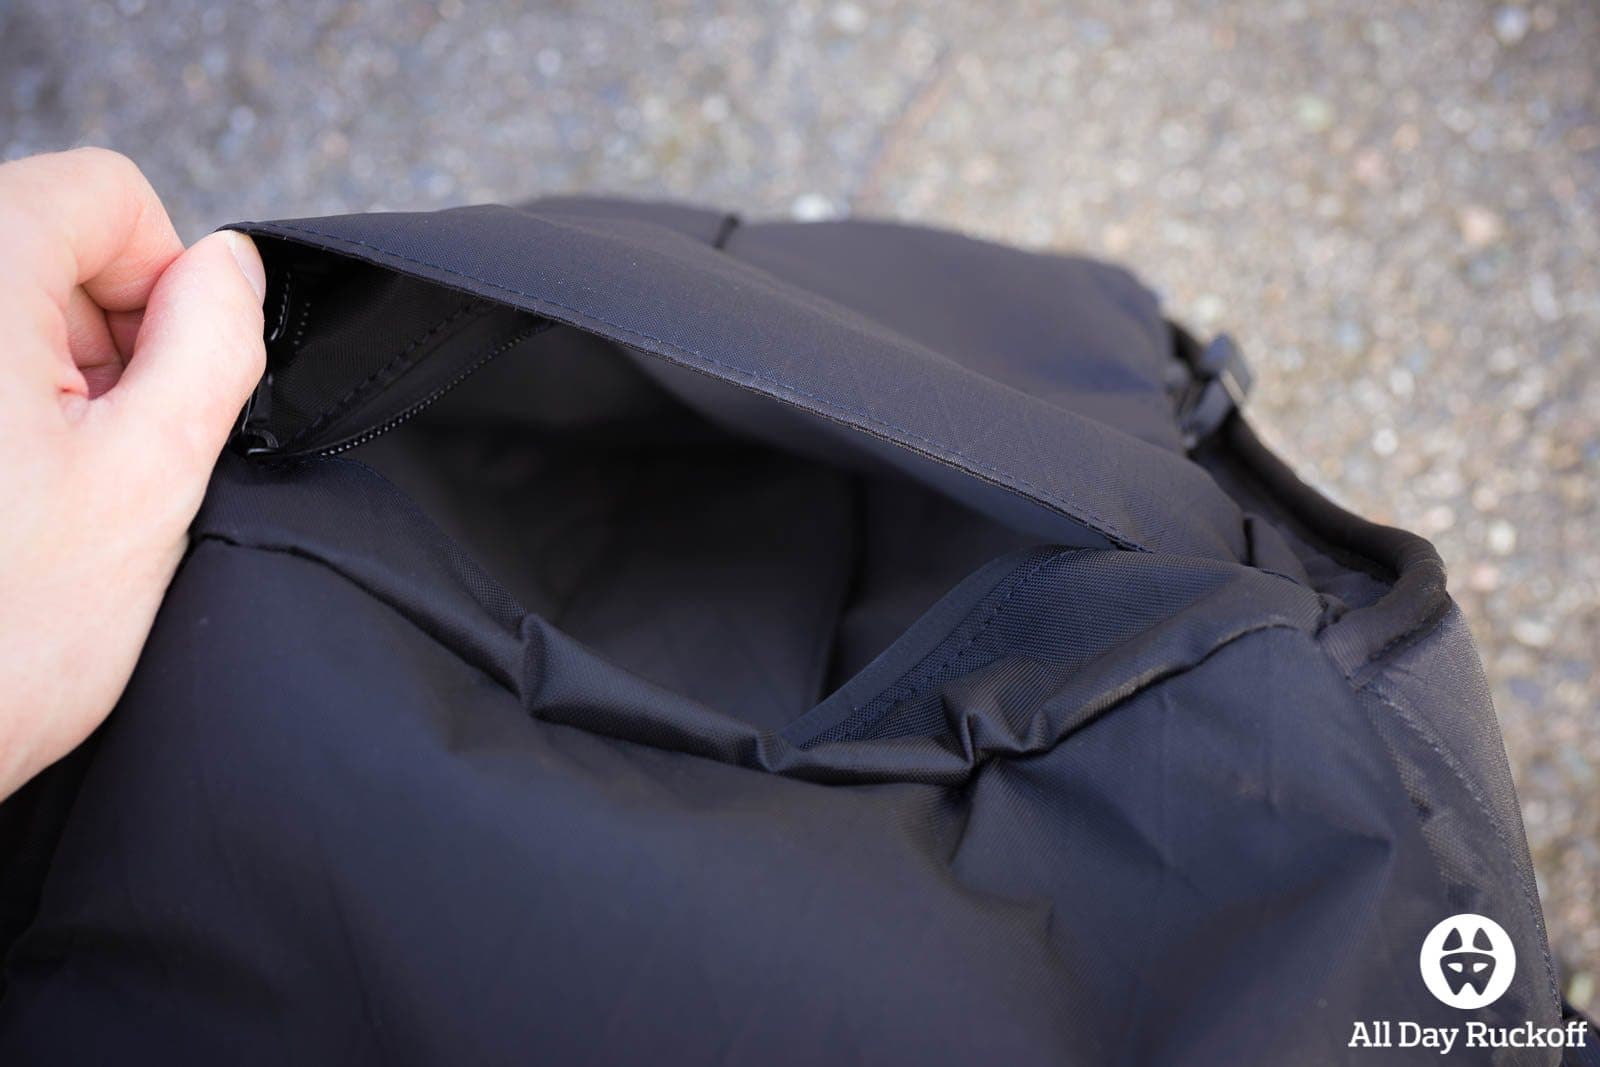
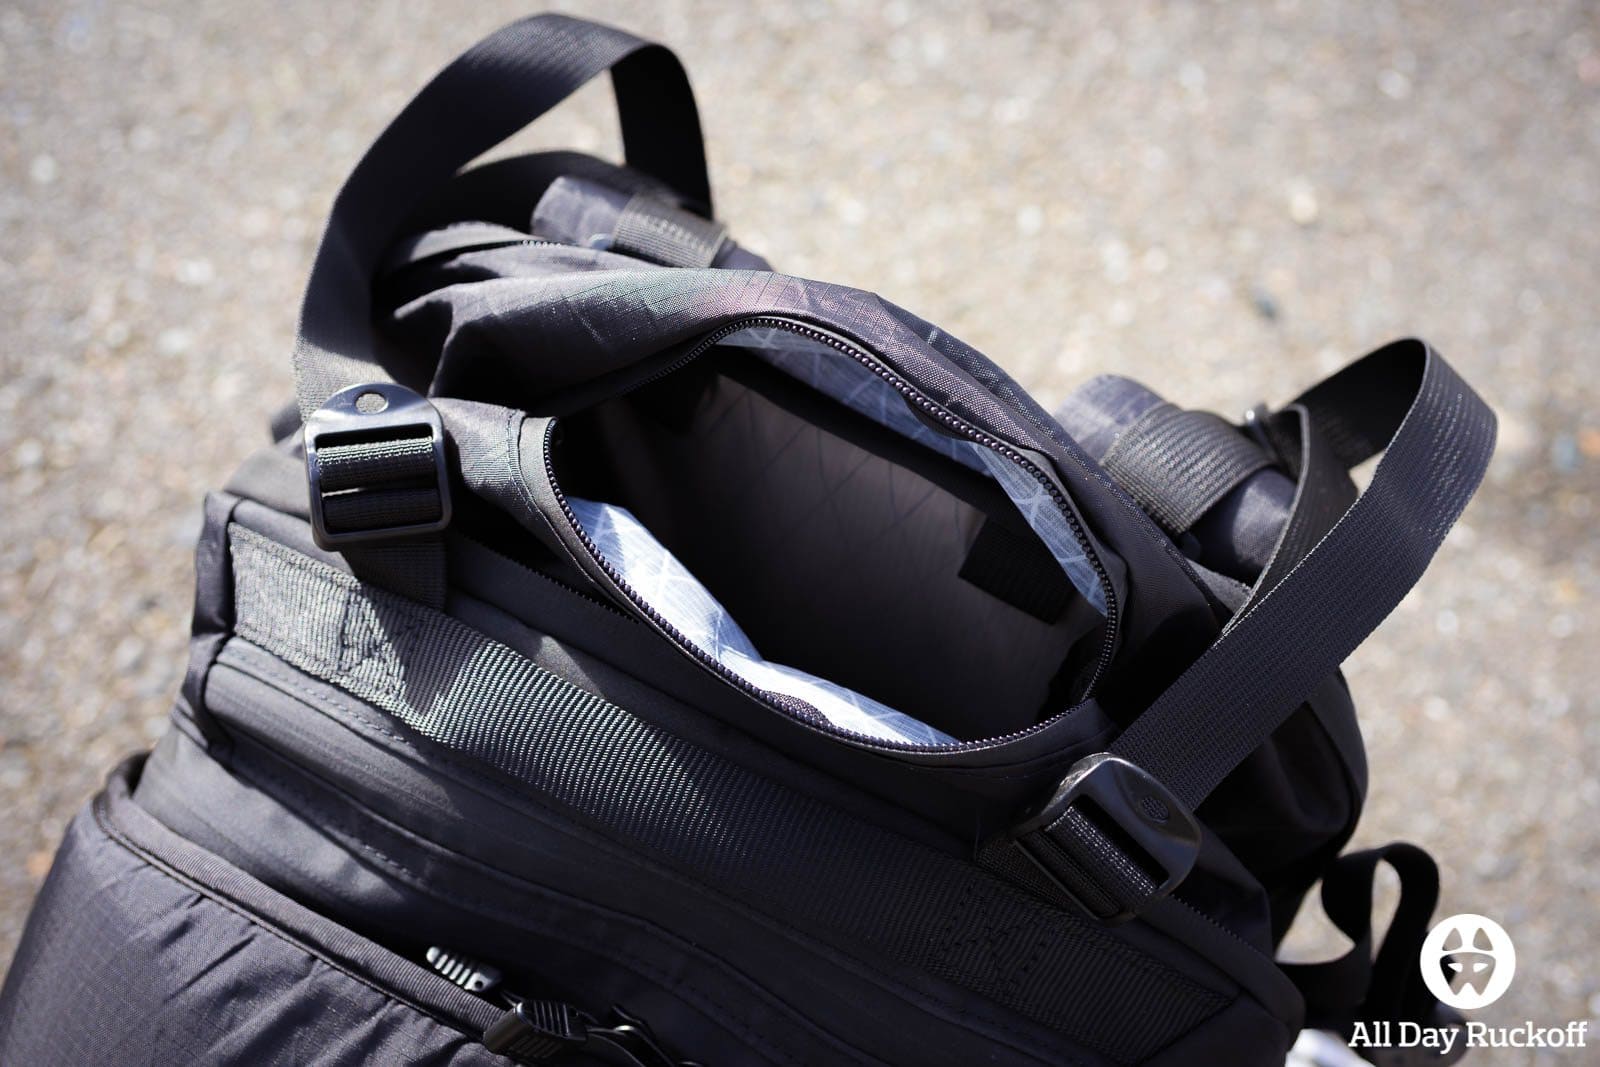
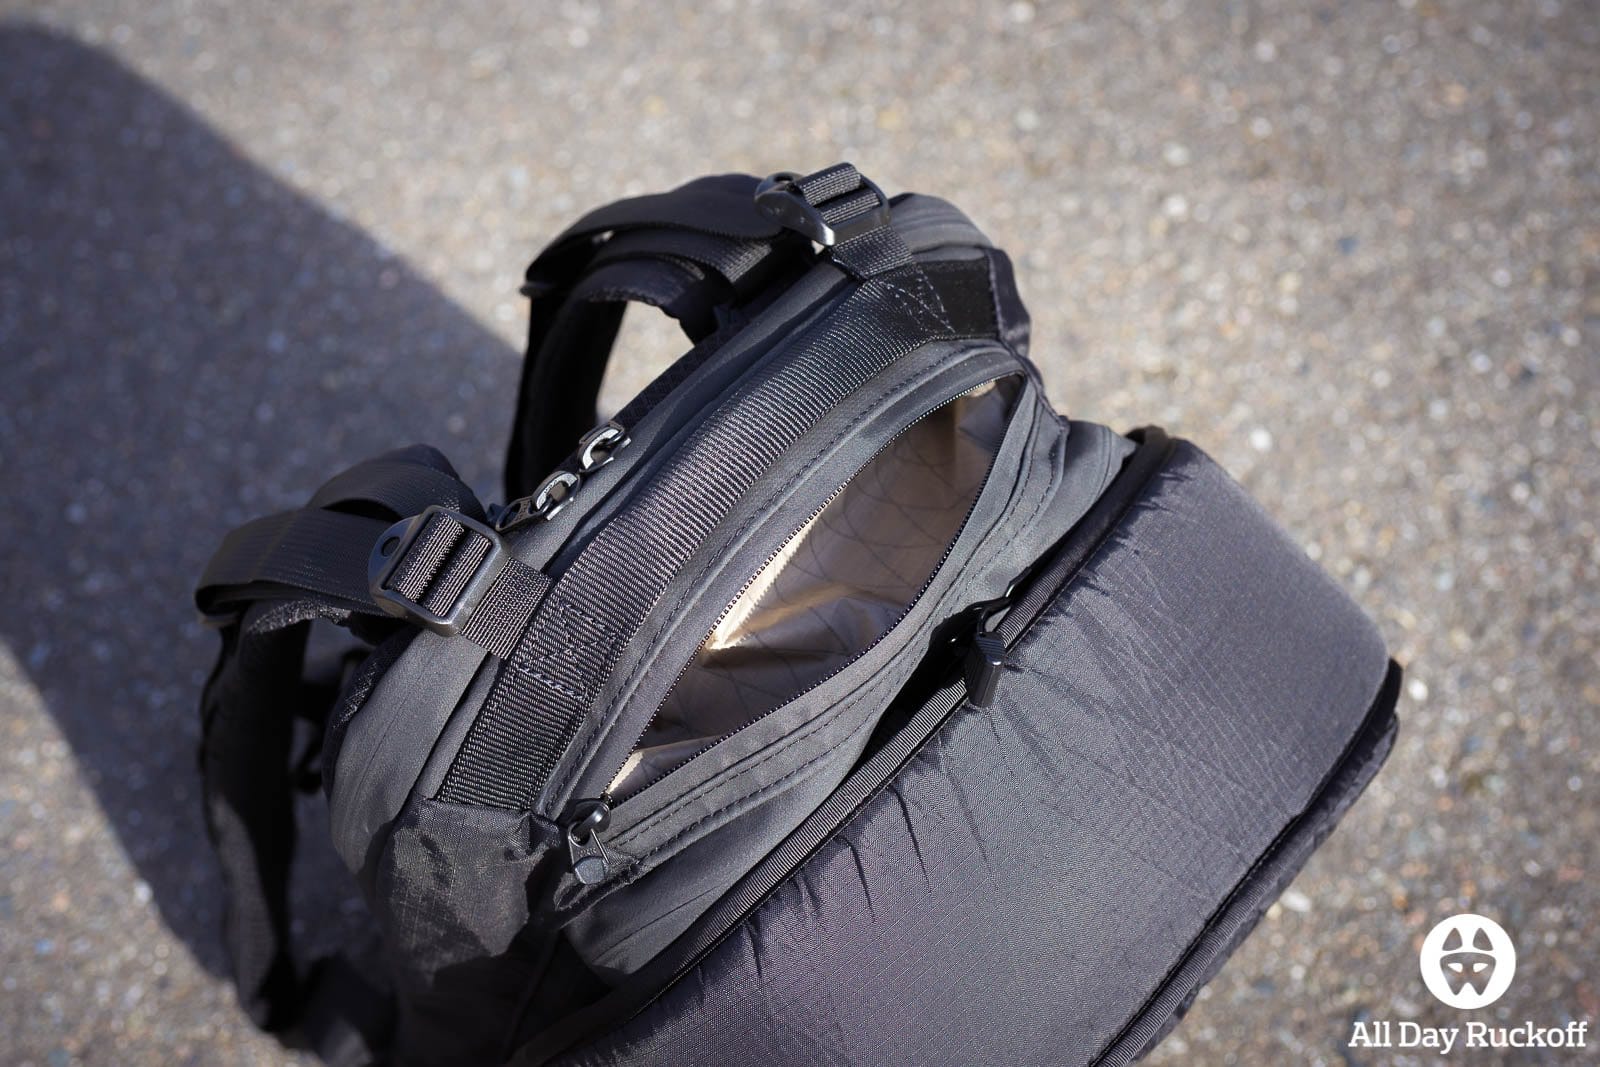
The above picture shows a clearer picture of the two zippers on top of the pack.

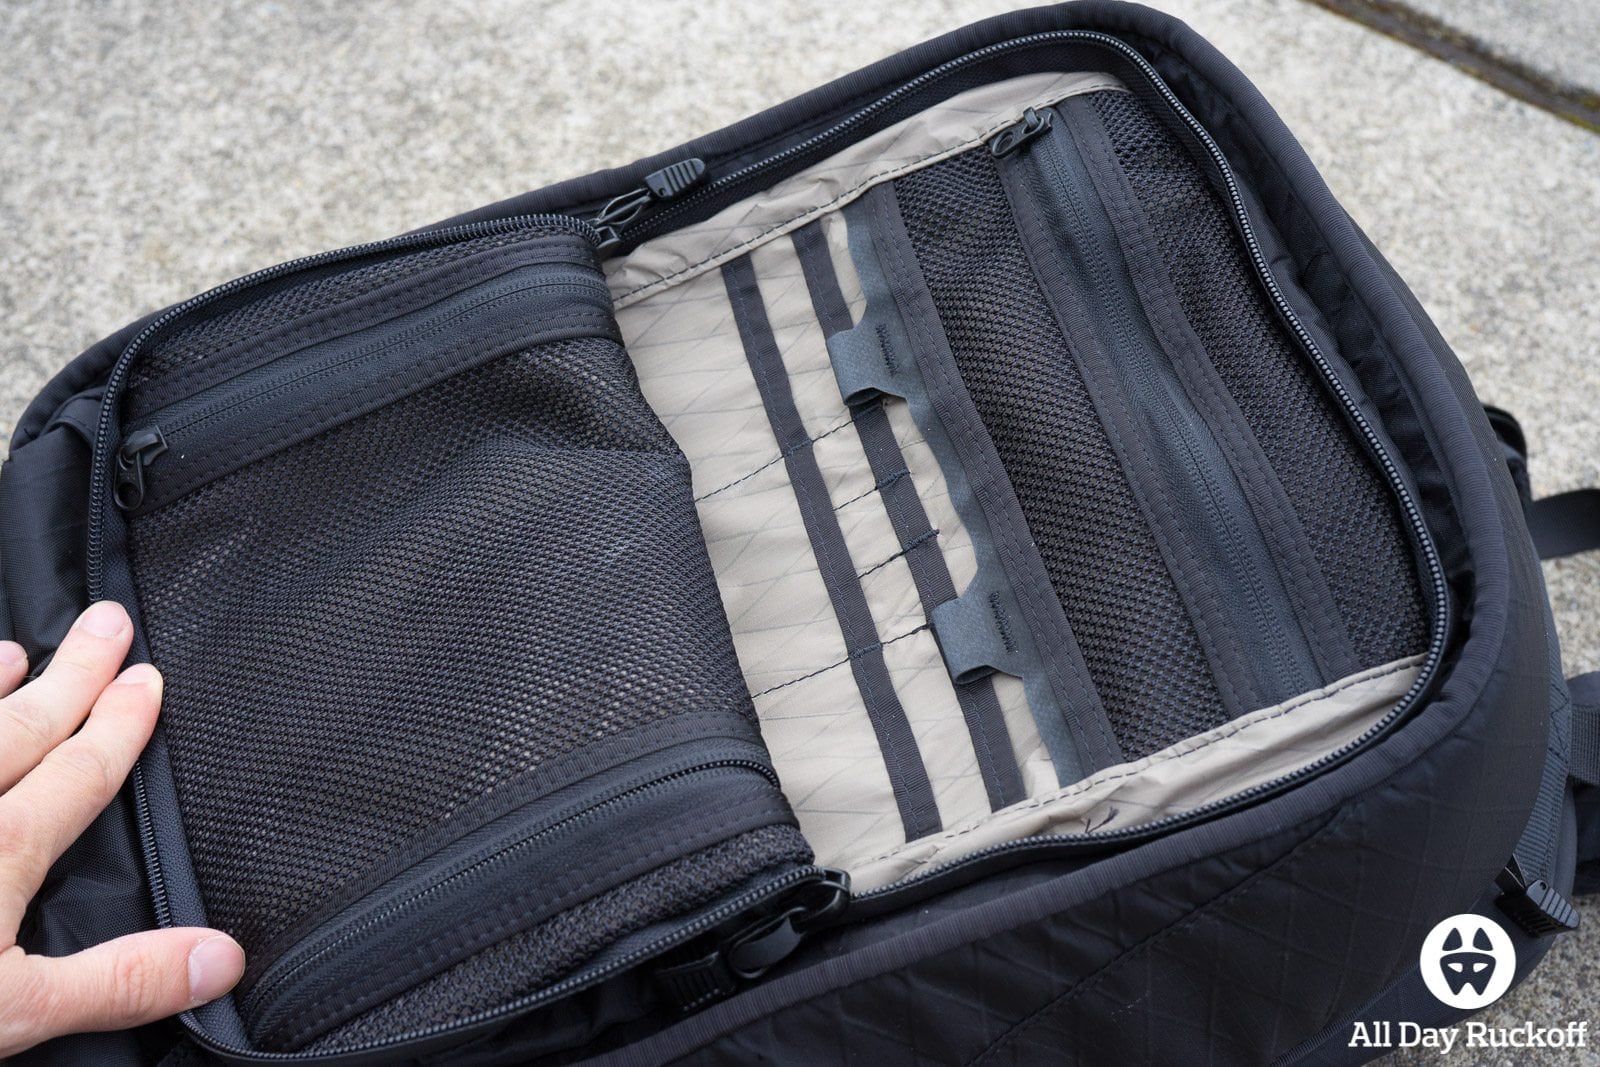
Opening the two zippers reveals the admin area of the pack. The outer side has two zippers wit the right leading to the mesh area and the left leading to behind the mesh area.
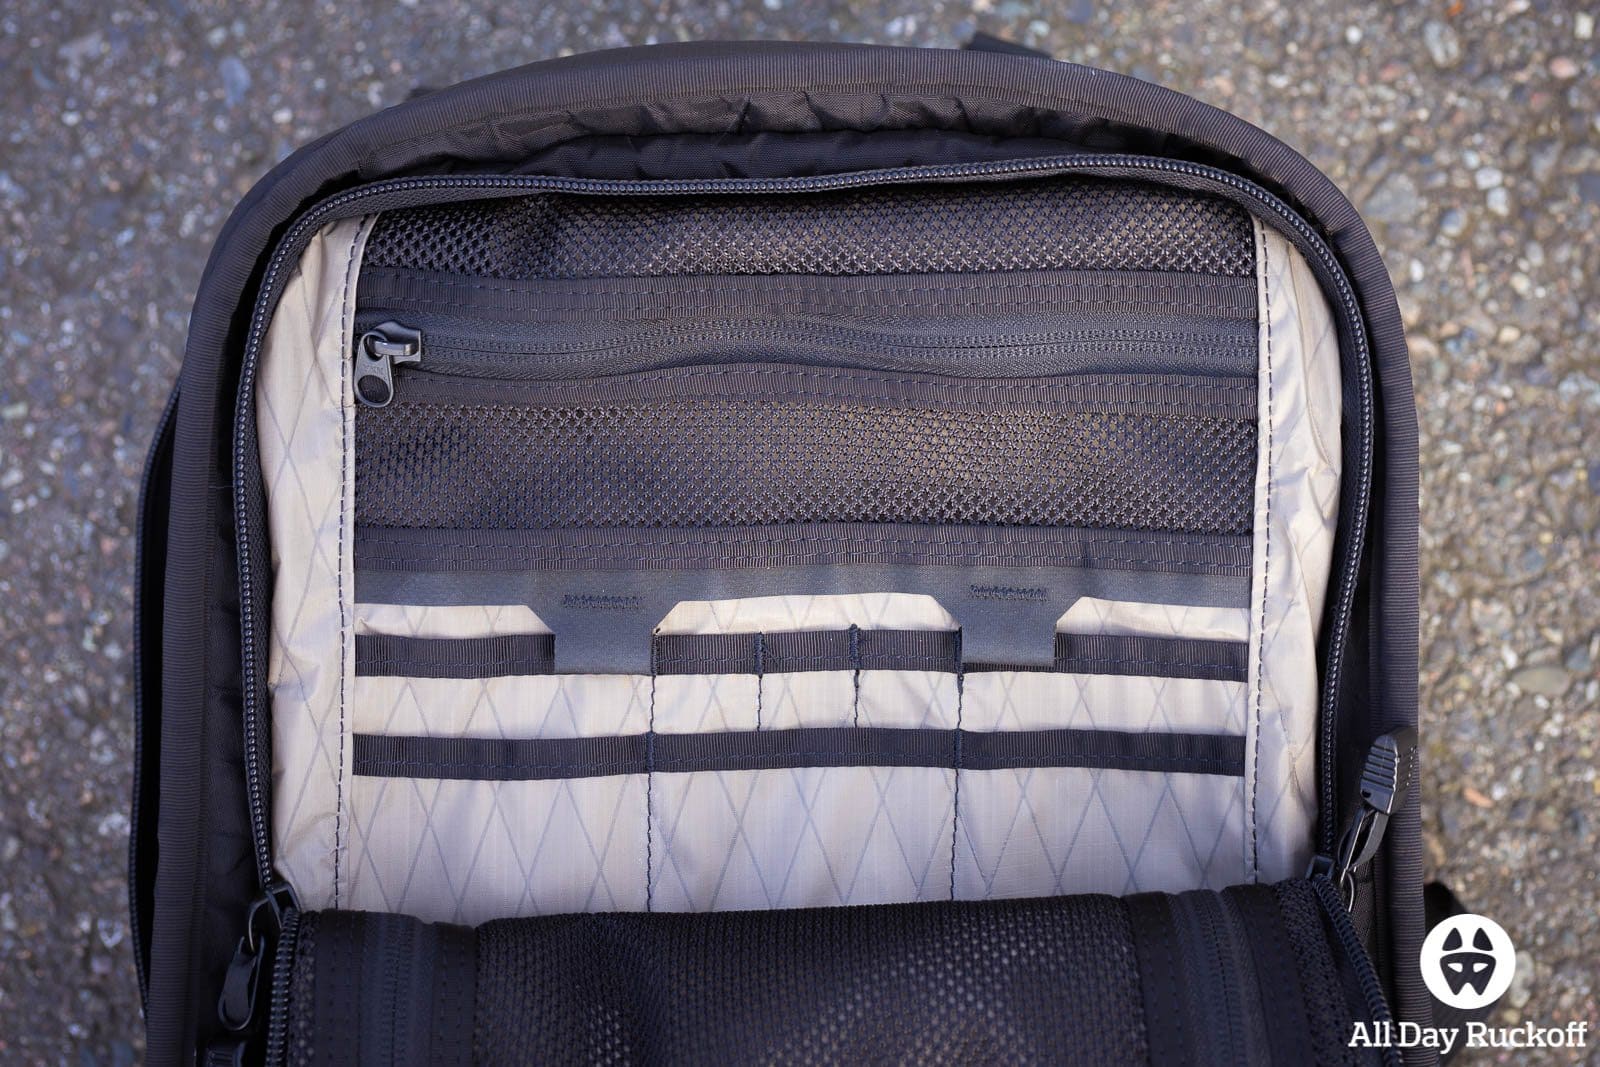
The other side of the admin area features enough areas to store your pens, pencils, notebooks, knives, and whatever else you don’t actually need. In addition there’s two attachment points so you could slip a second admin panel in there if you needed to carry that 4th knife or 19th pen. The zipper area runs to the bottom of the admin area. The previous outside bottom pocket we looked at sits behind this admin area.

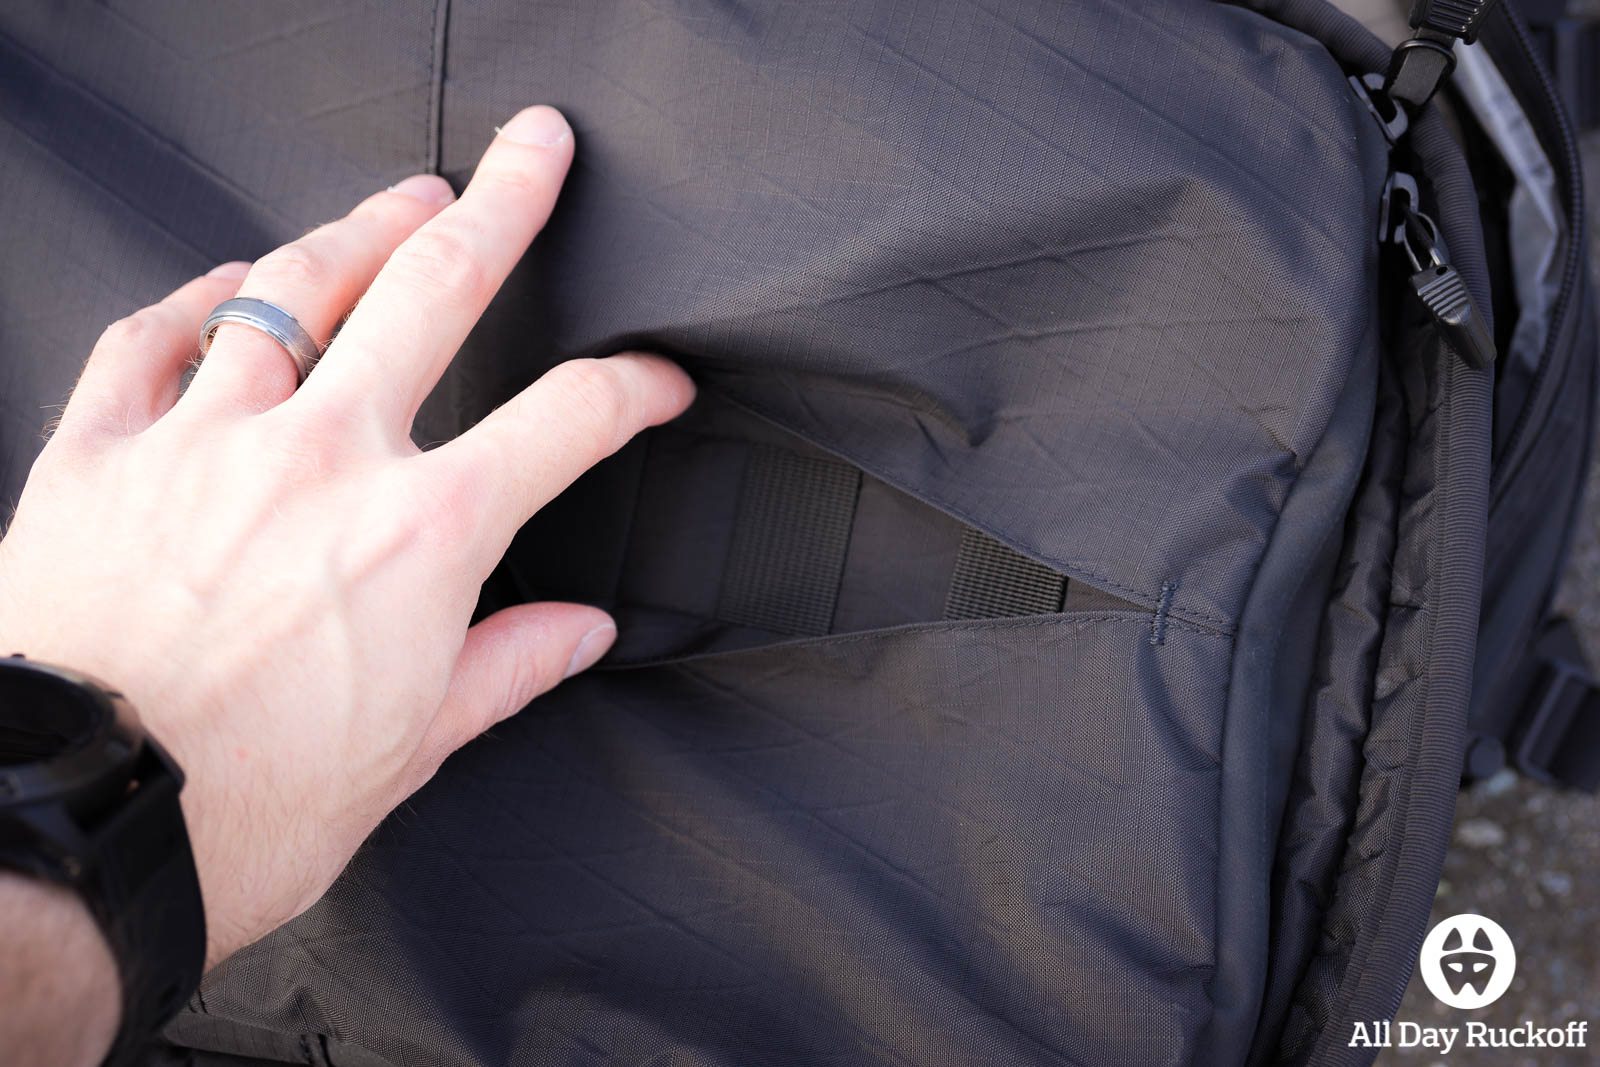
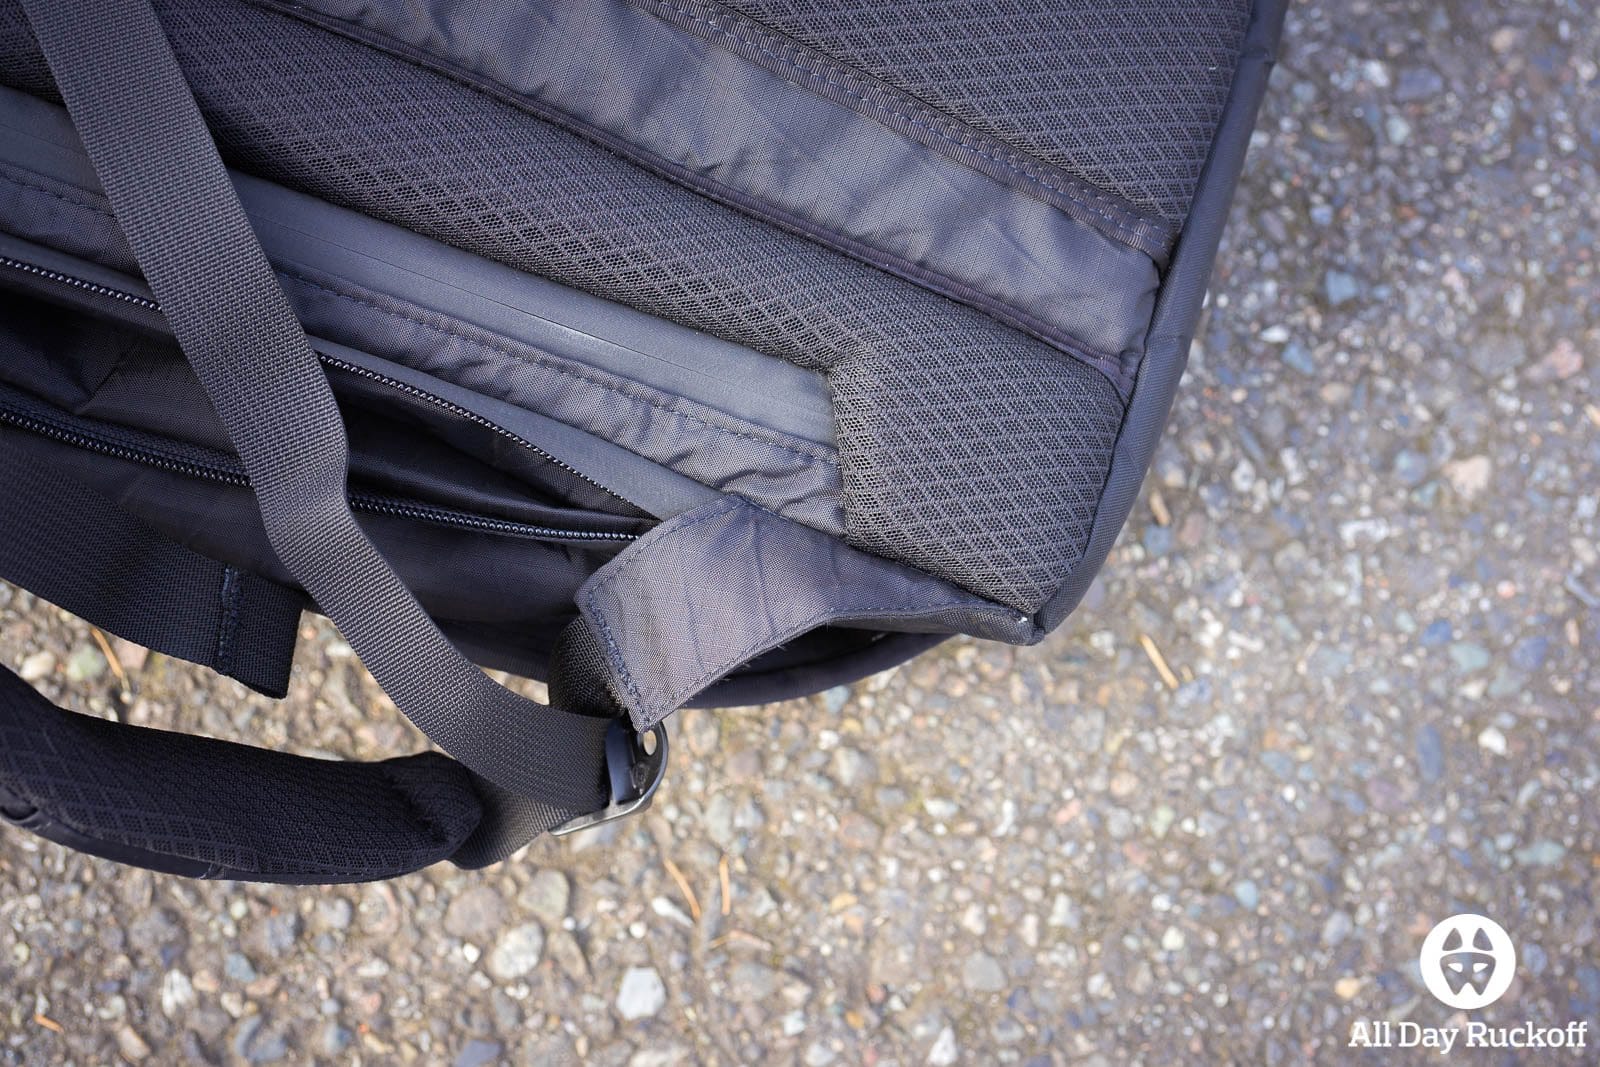
The next pocket we’ll look at shows up on the both the left and right side of the pack. You can see the zipper hidden in the middle fold of the pack.
This zipper leads to the skinny but very tall vertical pocket with identical pockets on each side.
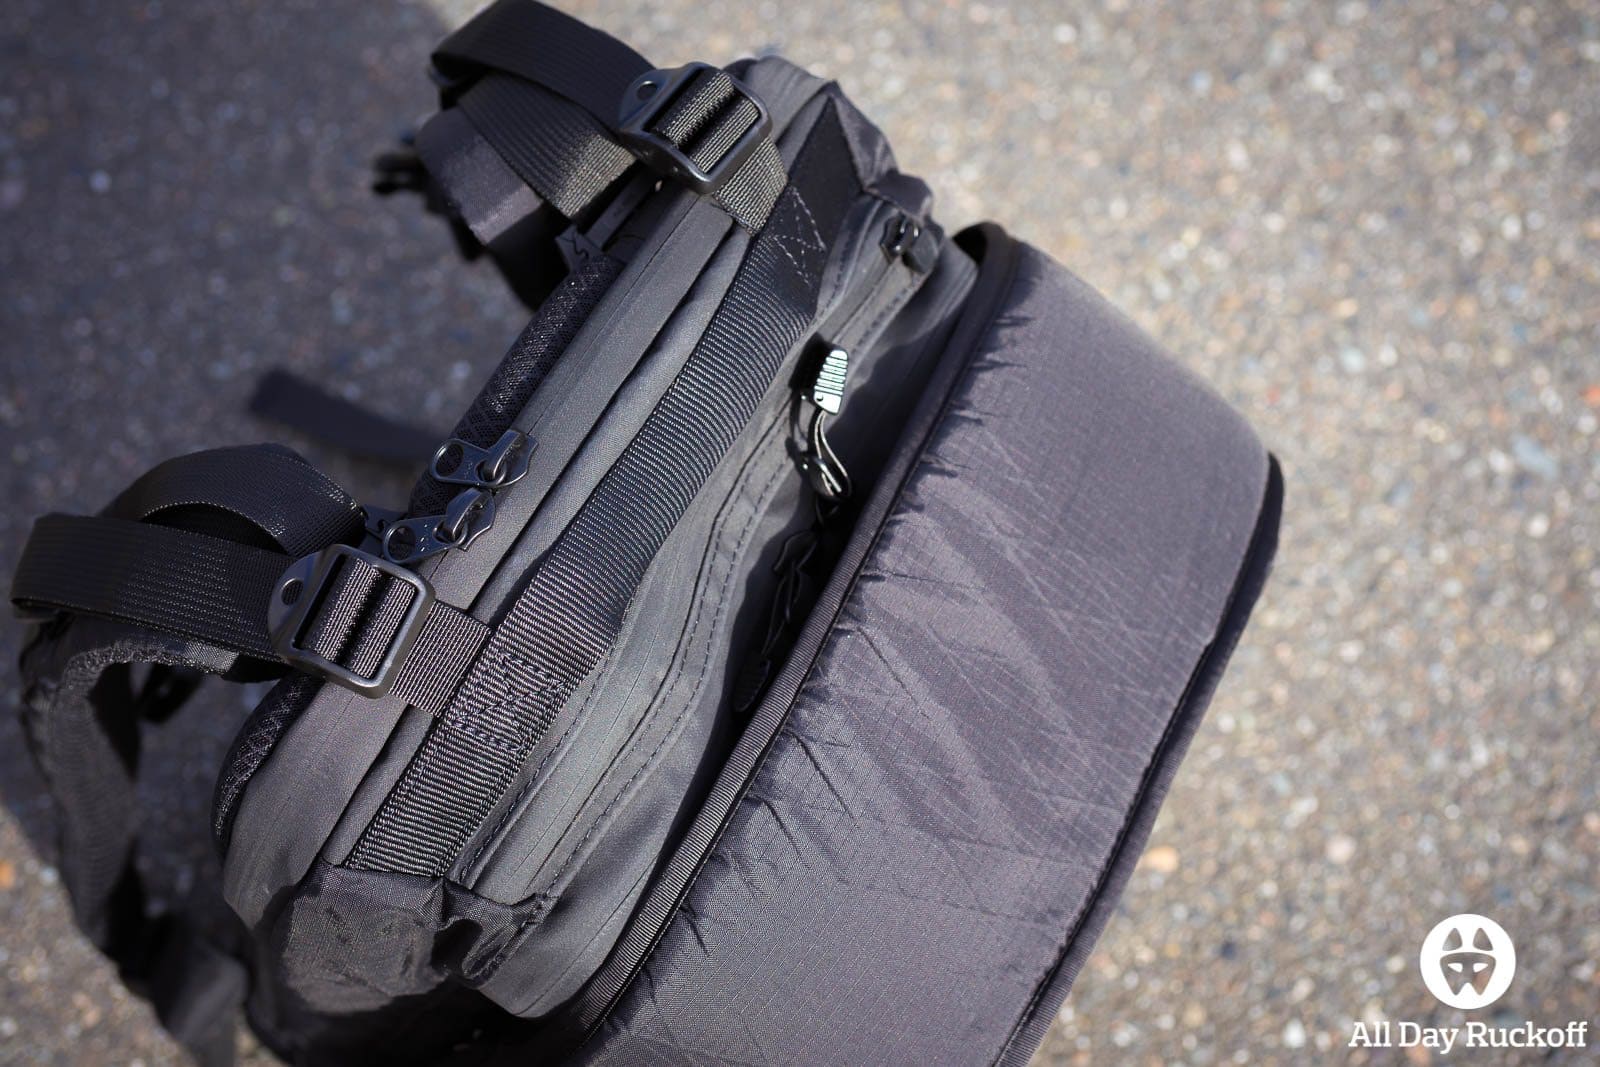
Staying on the outside of the pack we’ll move around to the part that touches the wearer’s back. You’ll notice the two zippers on top as well as the the lower zippers in the back of the pack.

The two lower zippers lead into the laptop area which is between the expanded pocket (more on that soon) and the frame sheet.
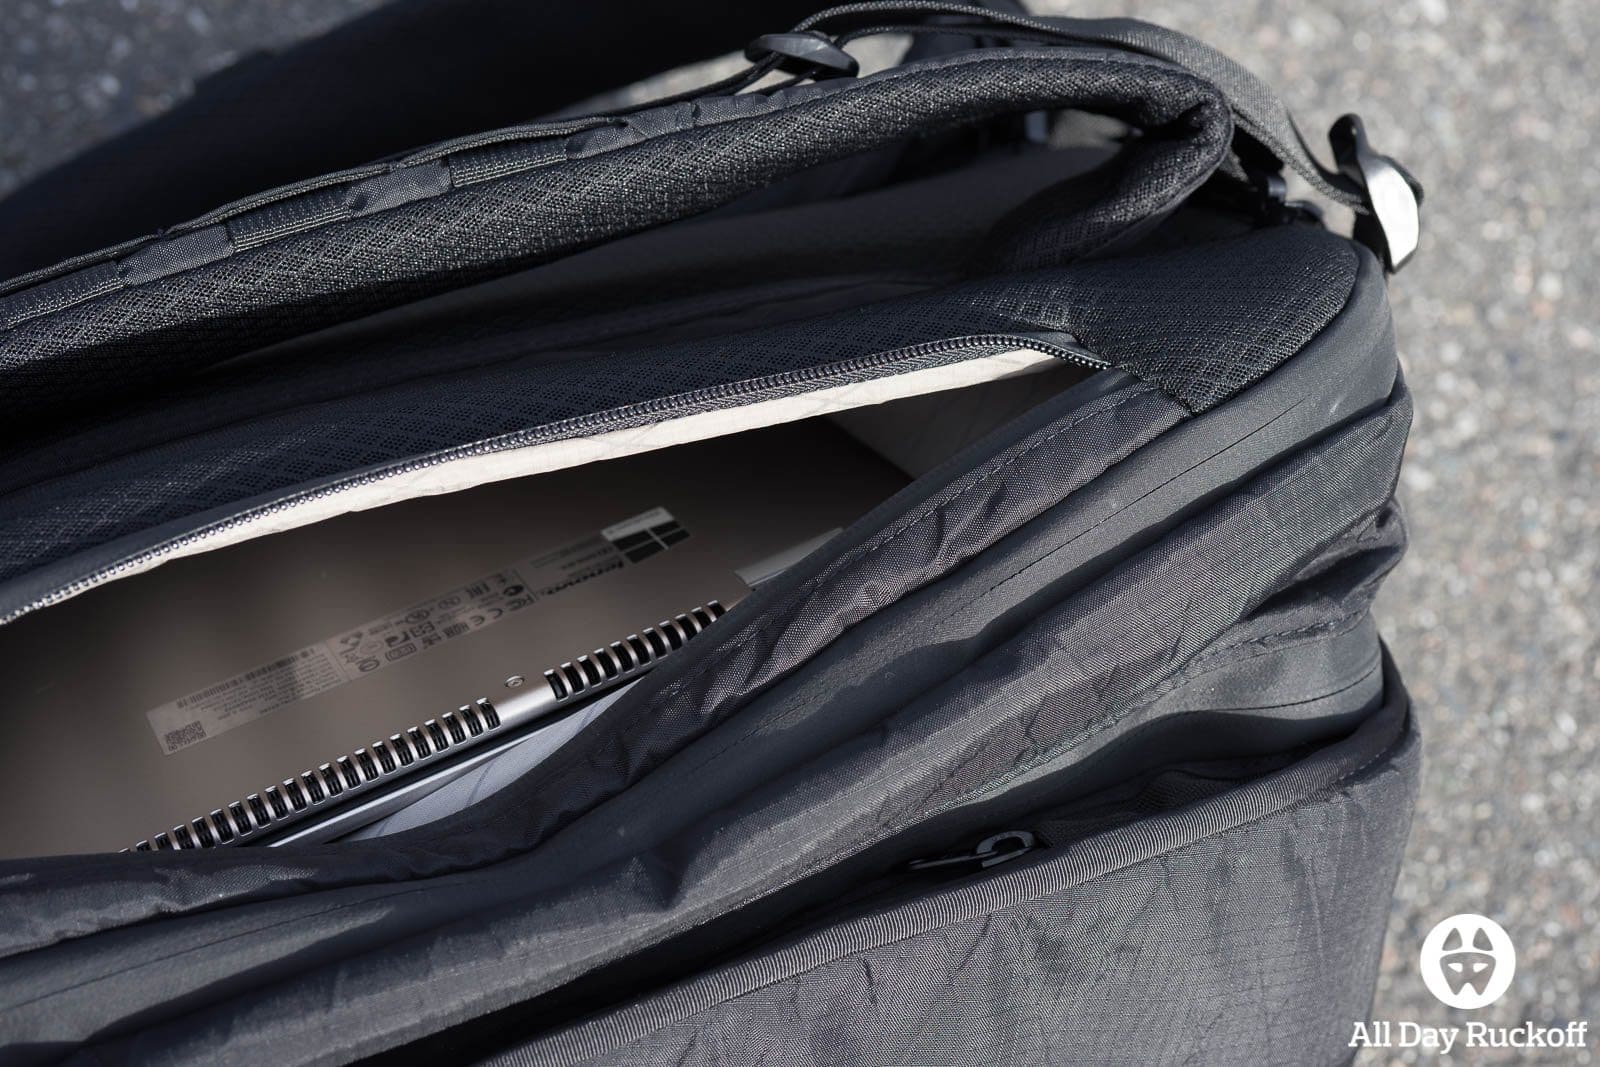
Here’s a quick picture of a 14″ laptop hanging out in there.

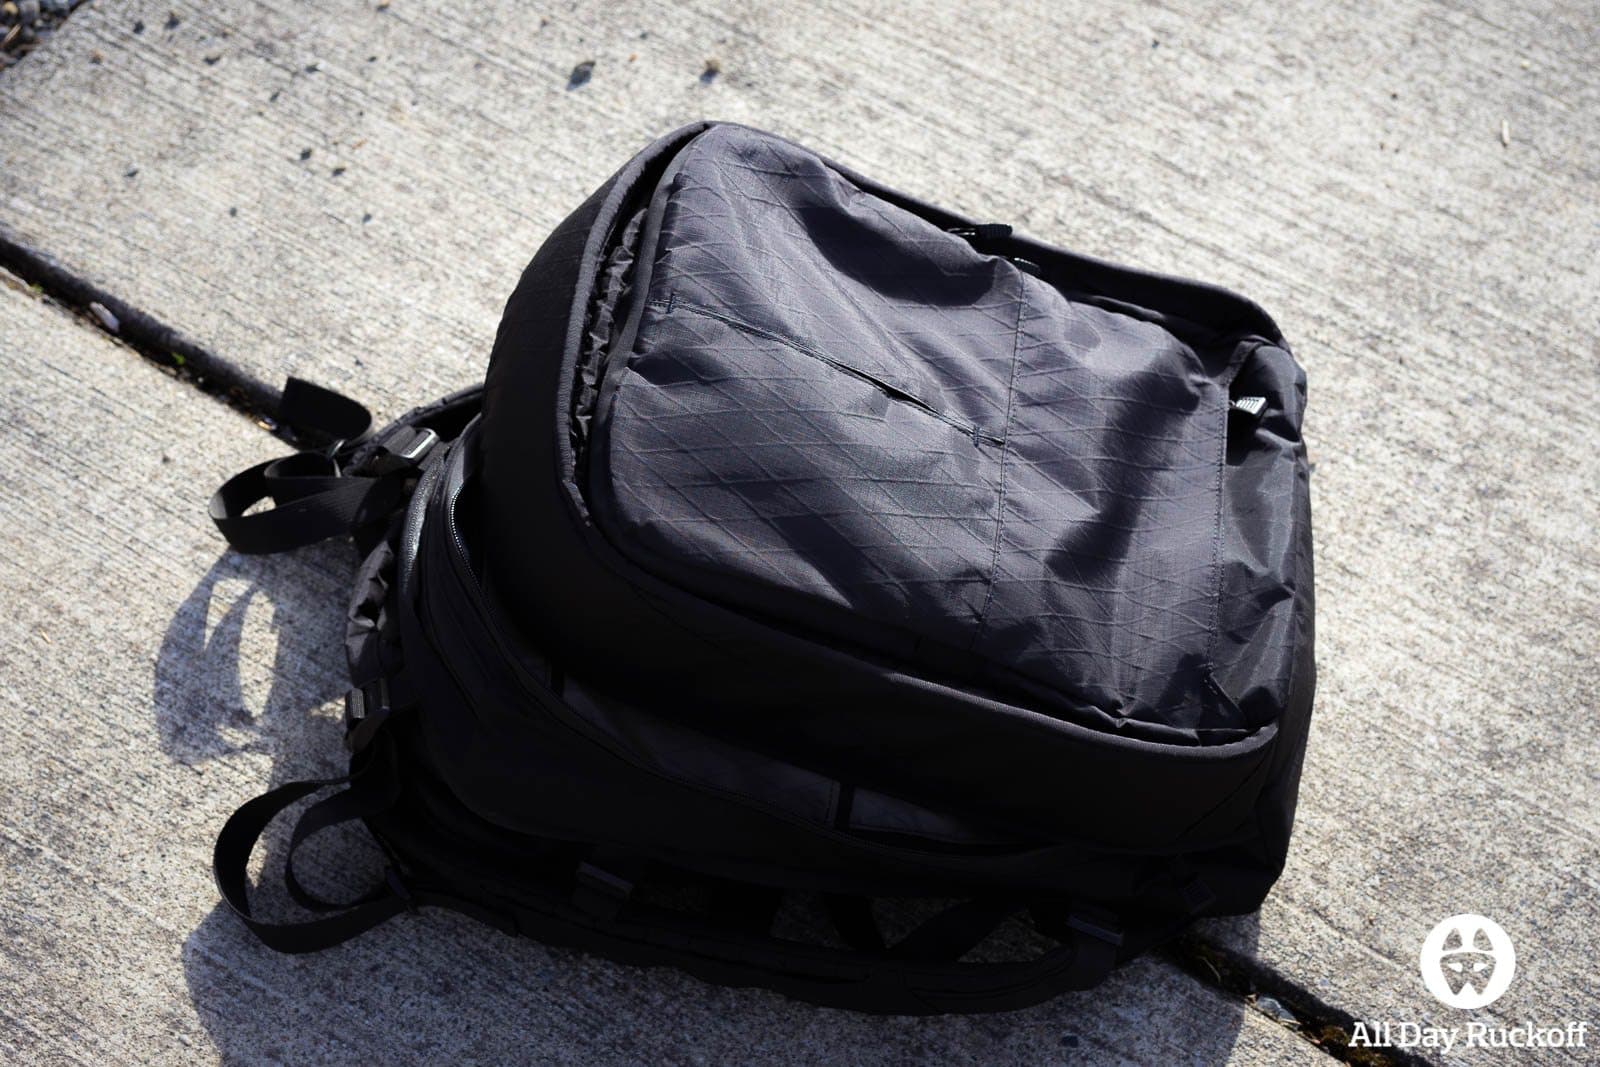
Opening those top two zippers expands the pack and can turn it from the 25 liter pack you started with into a 40 liter pack.

It might be tough to see but there is actually a zipper built into the area that expands out.
Opening the zipper is one of the two ways to reach that expanded section… which is different from the main section of the pack.

There are two compression straps (one on each side) that unveil themselves when you expand the pack. This allows you to cinch it up and keep it as skinny as possible while still using extra space.
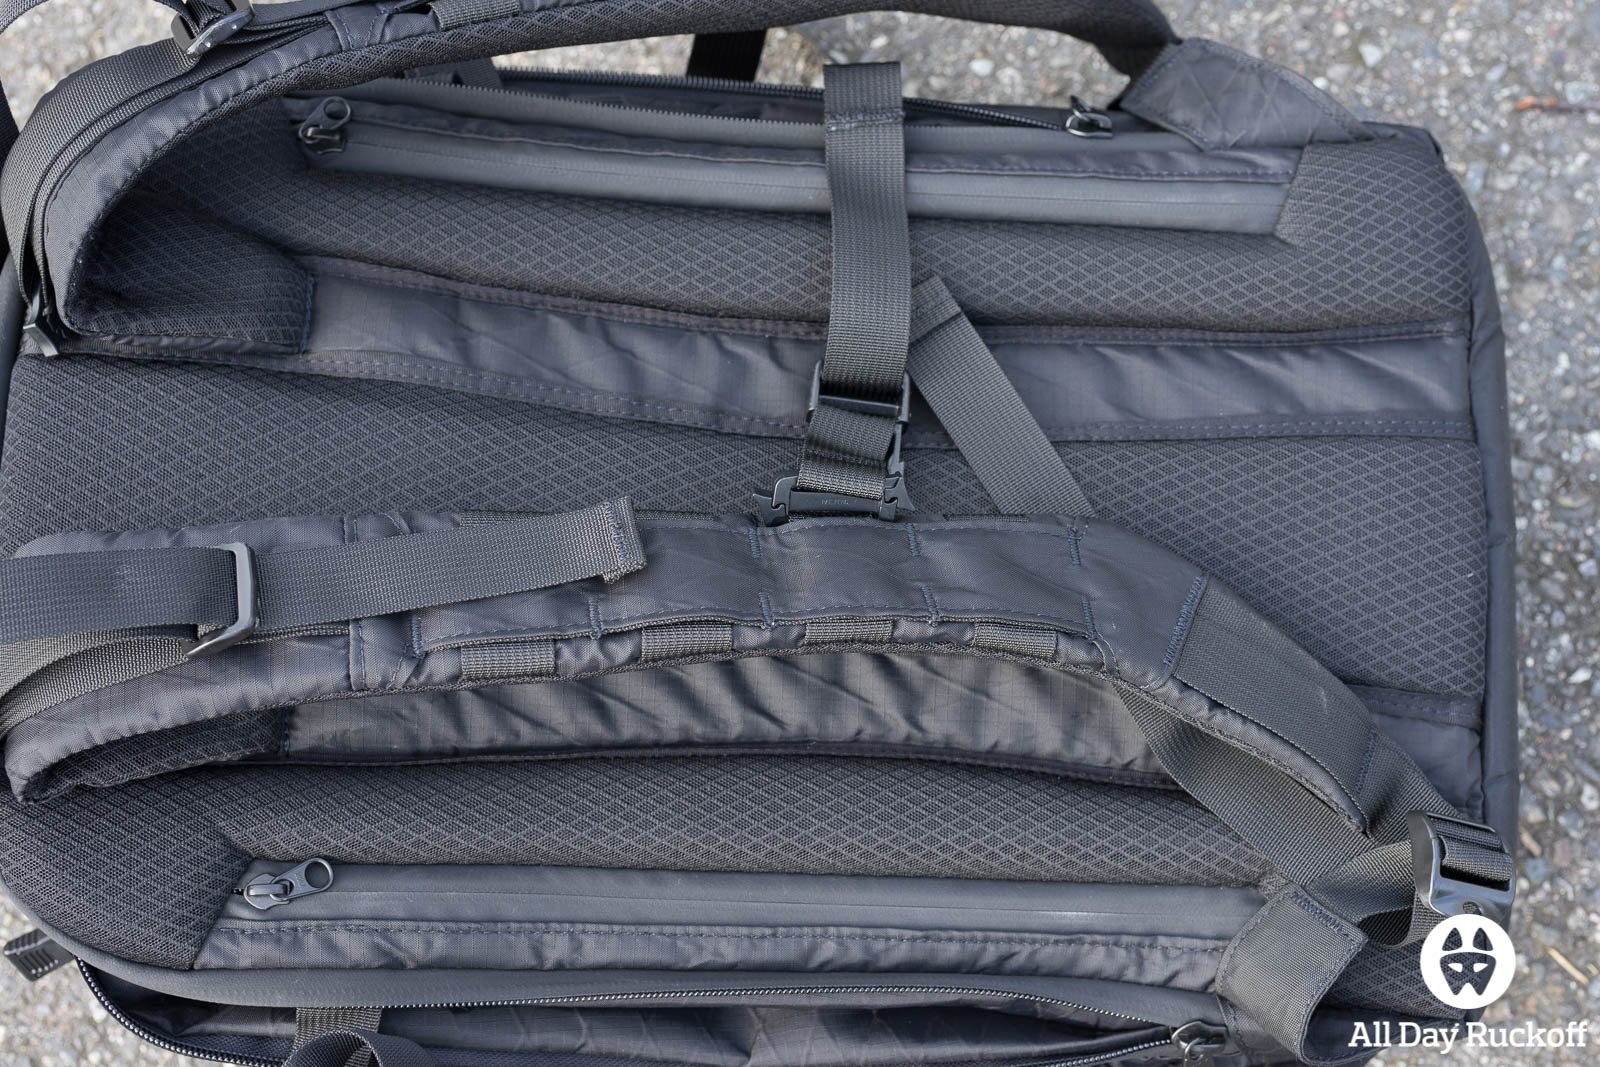
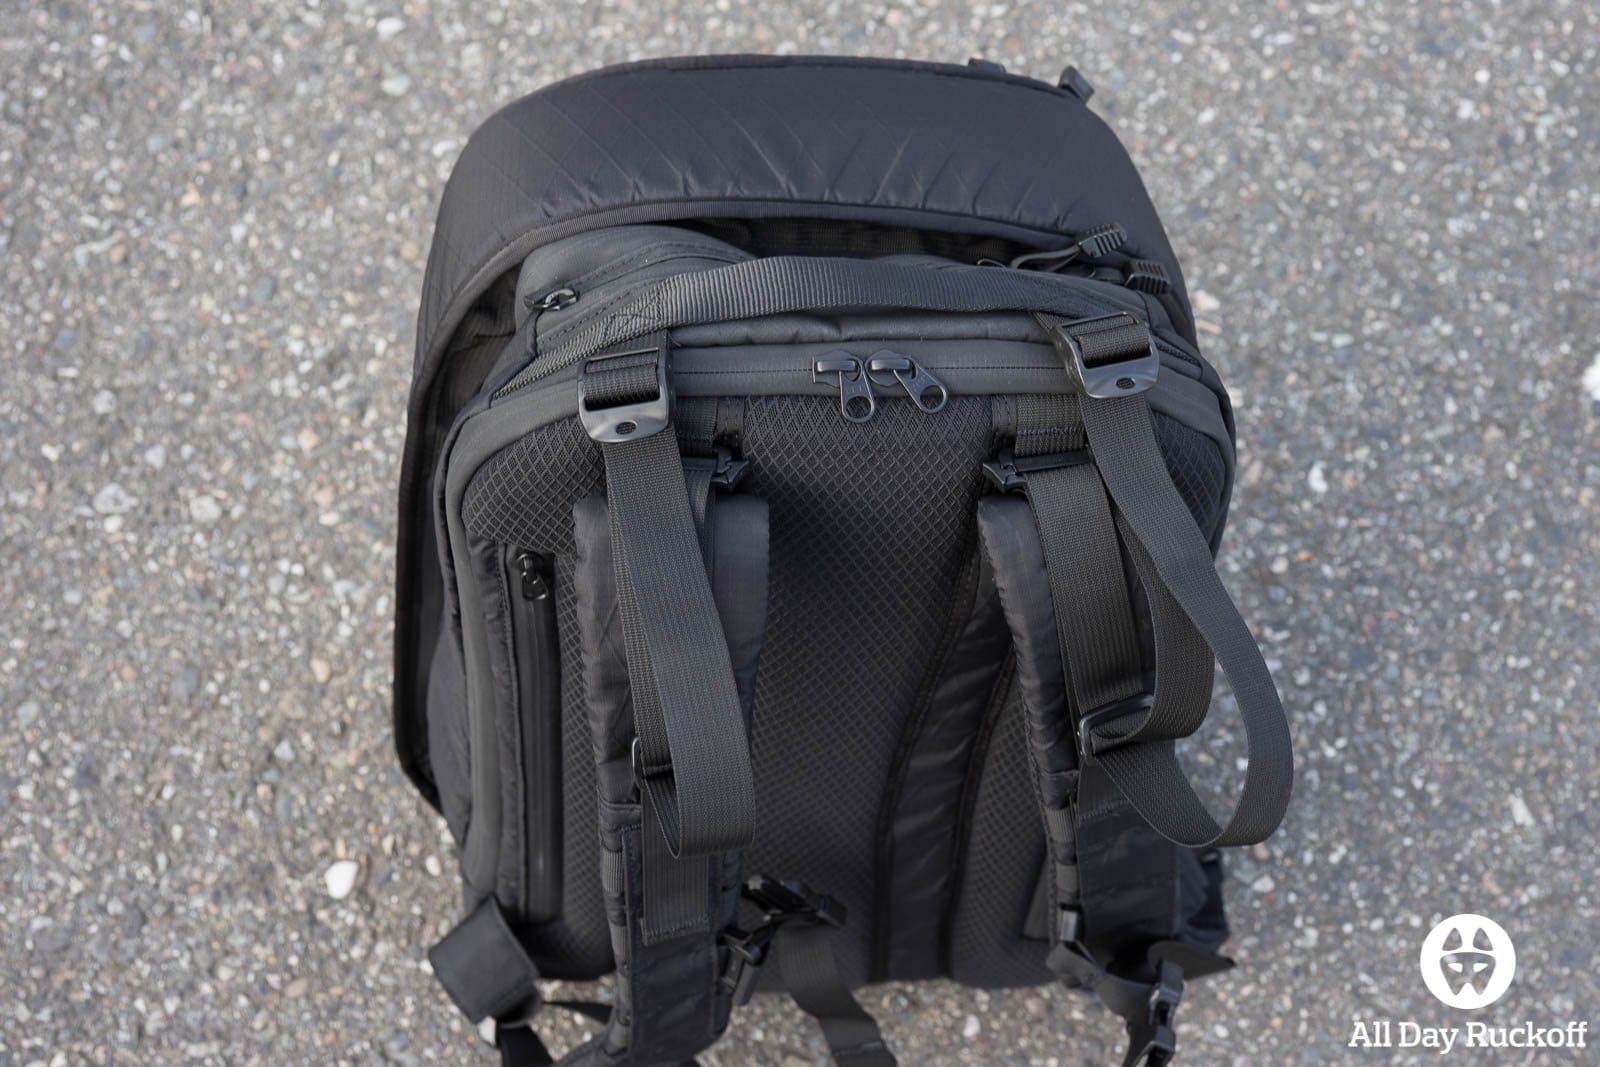
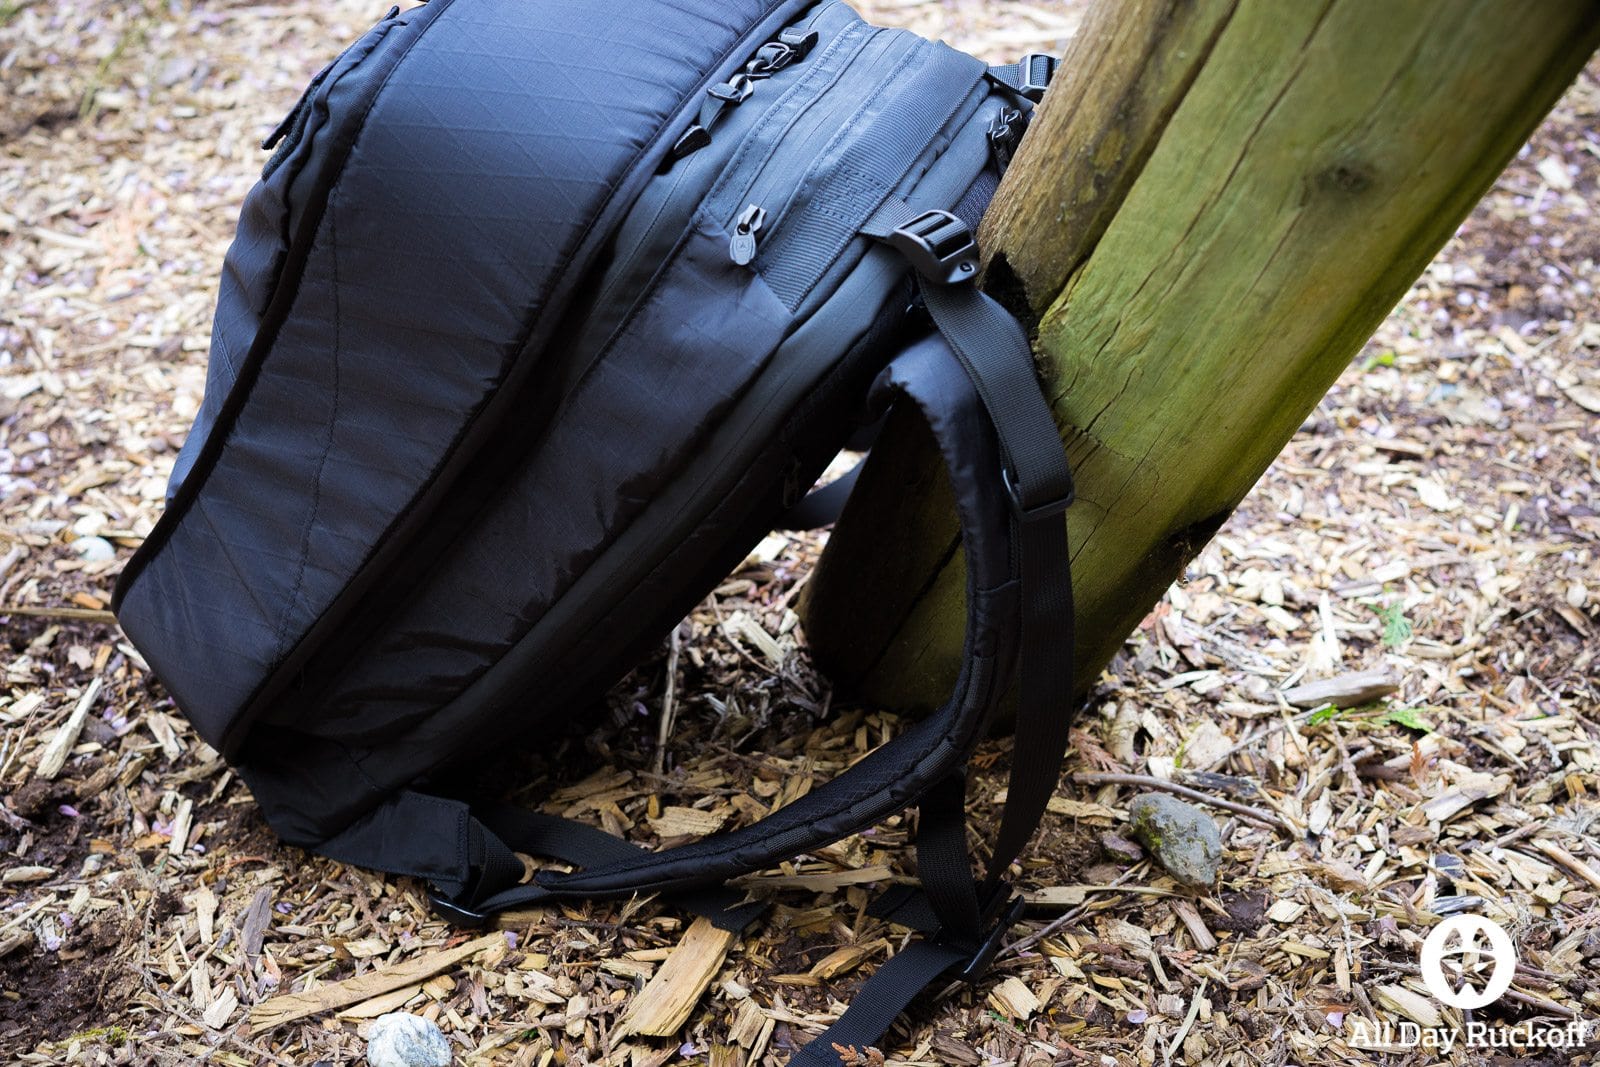
The shoulder straps are padded and feature four vertical attachment points which each cover a row of webbing. The row of webbing is how the sternum strap attaches to the pack.
Here’s how the shoulder straps actually attach to the base of the pack. There’s no waist strap on this pack and there’s no noticeable way to attach one.

The top of the shoulder straps have an interesting webbing system going on. The shoulder straps are sewn into the pack however there is a harness system created out of webbing which can be removed by taking off the clip.
The top of the pack has a short zipper pouch which leads into a small glasses area.
There really is not much room in there for anything but glasses or a few pens.

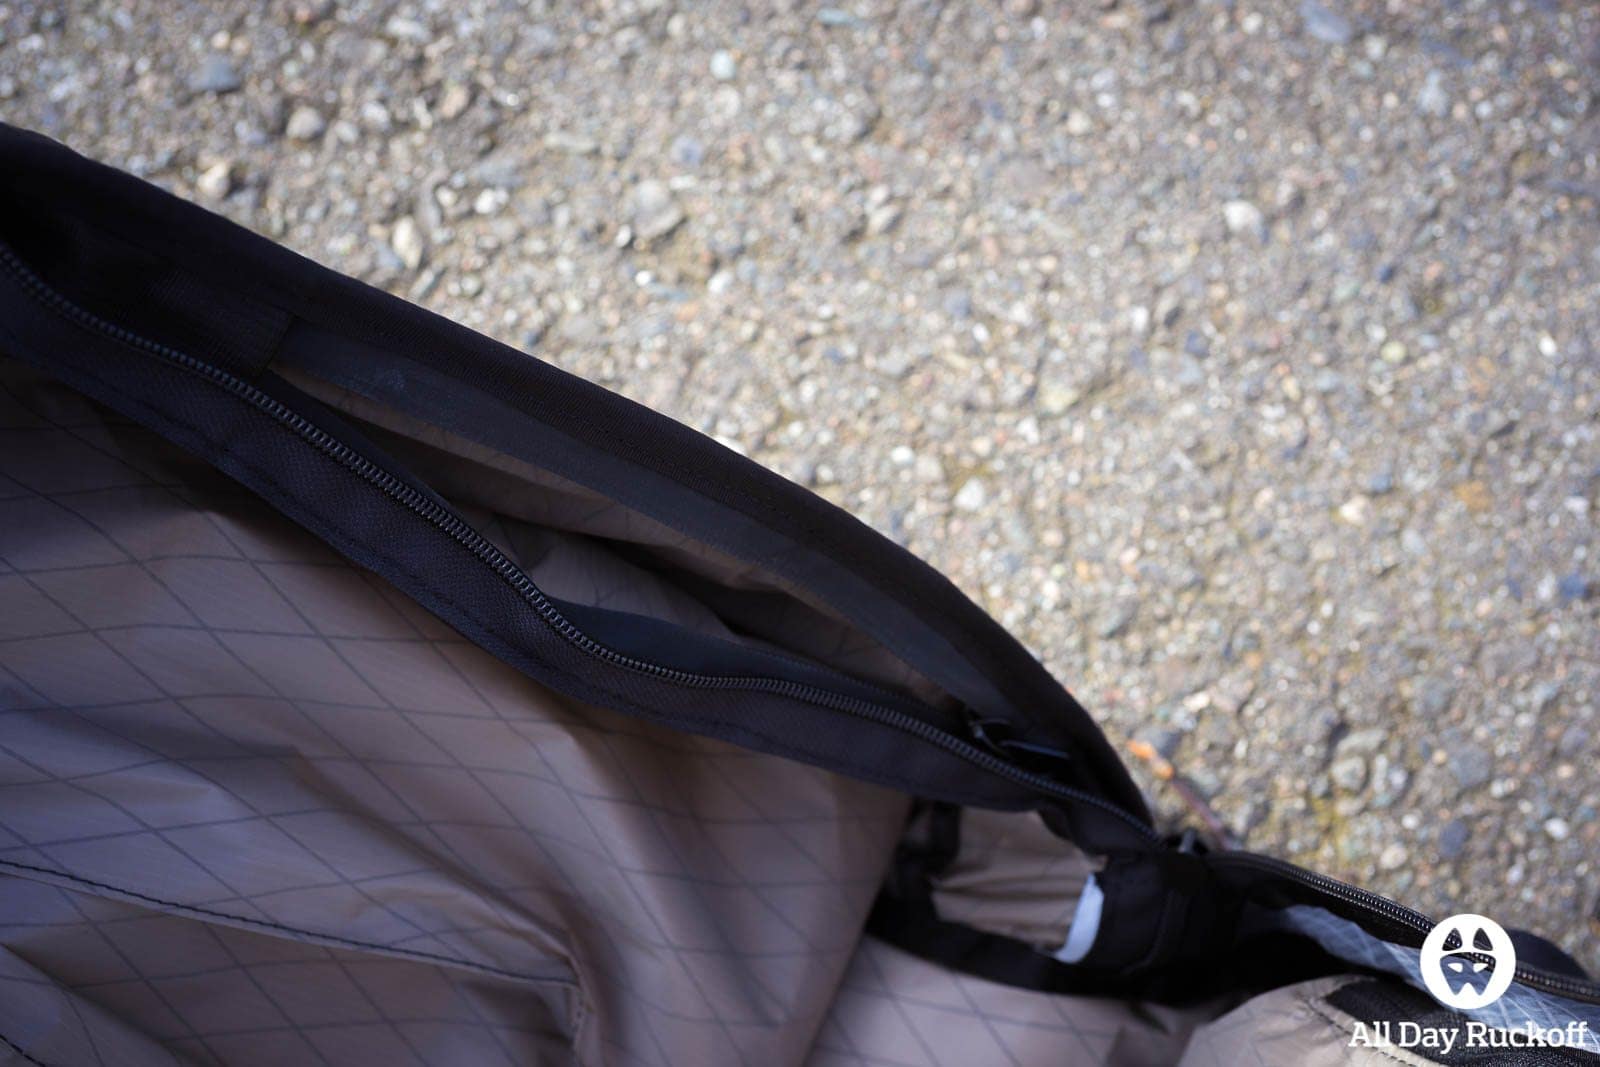
Finally we have made it inside the pack! This view is of the wall against the wearer’s back. You’ll notice there’s attachment points at the top, middle, and bottom as well as a TAD logo.

That panel we just looked at is actually a false wall which can be unzipped. It leads into the “extra” area of the pack which is created when you expand it. When not expanded it’s fairly narrow and probably a great place to slip a Control Panel in and hide some stuff.
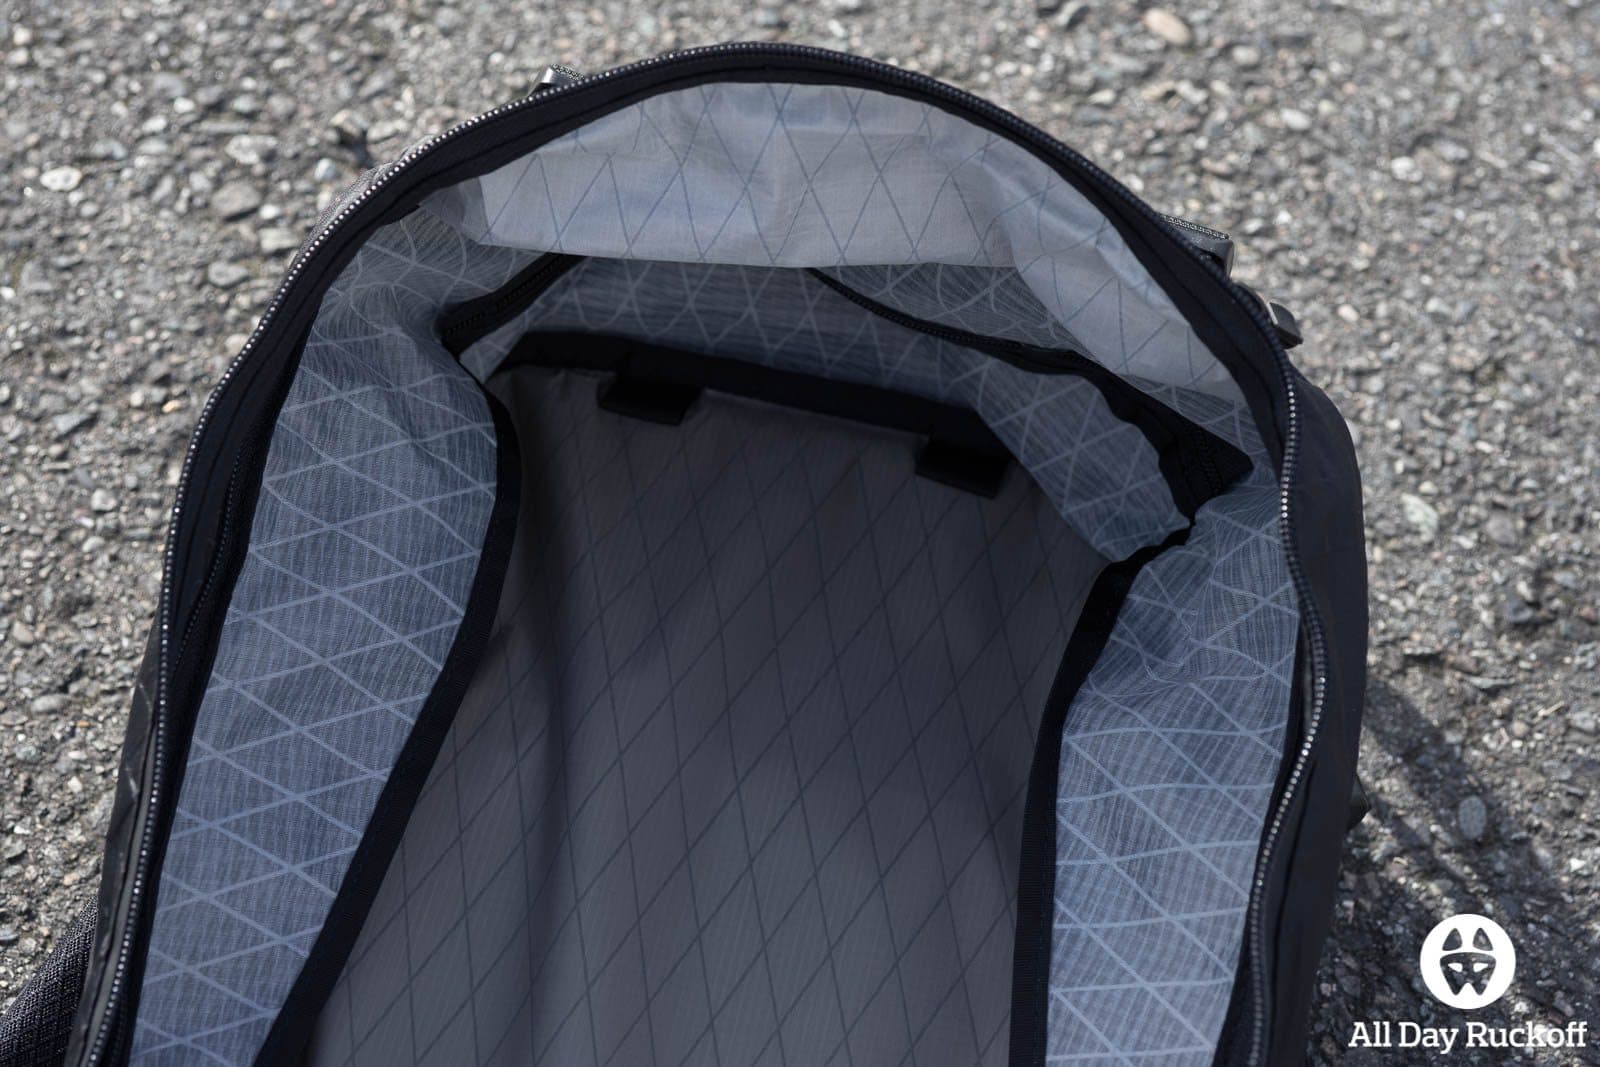
You’ll see two attachment points at the top (great for a control panel) as well as the zipper opening we looked at before.

Here’s how the false wall attaches to the pack. As you can see it’s not completely removable but can zip down to a few inches from the bottom.

Moving back to the main pack area this is the panel that is further from the wearer’s back. you can see the two attachment points on top as well as the interesting excess material. That excess material is where the bottom pocket (yes, the one from the VERY beginning) leads to.
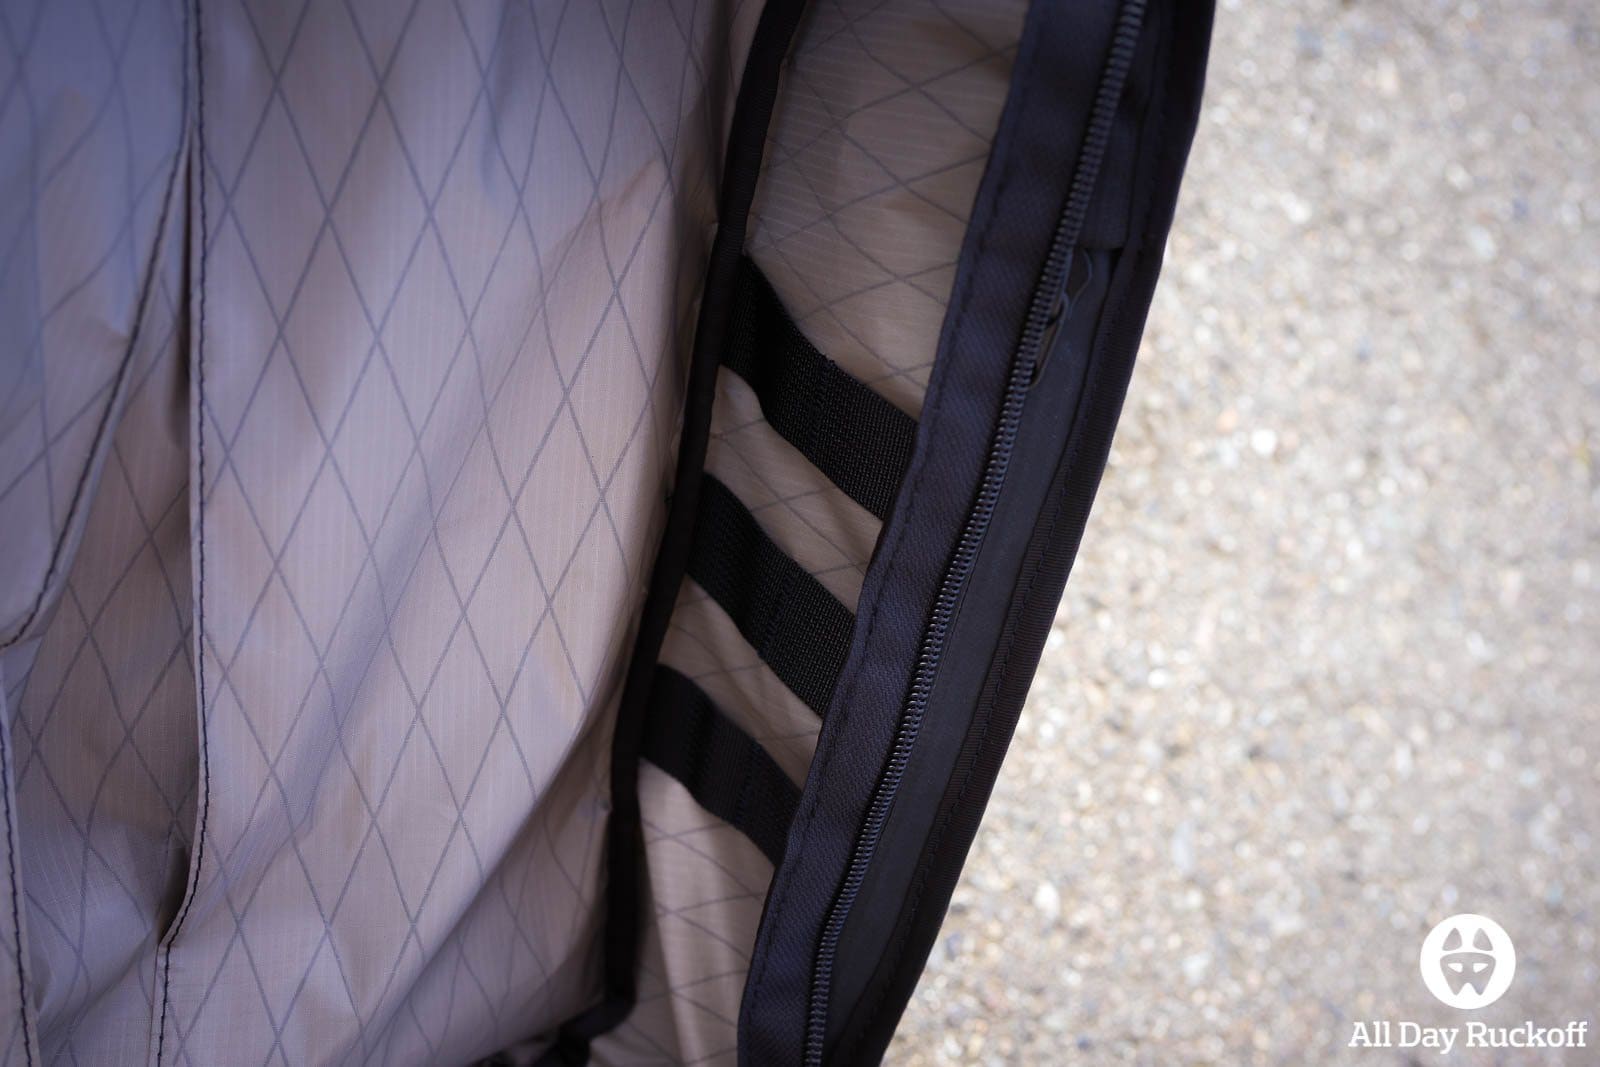
Each side also has three rows with two columns each of MOLLE webbing. One of the TAD videos showed a RDDP2 being used here for a water bottle holder which is a great idea.
It’s tough to explain just how much padding there is in this pack and no pictures really do it justice. When you pick it up you can tell that it is just stuffed with padding… it almost feels bulky because of the padding. The good news on that end is that whatever camera or laptop you are storing in the pack will be incredibly safe.
Overall this the Axiom x25 has a very unique design. The pack is akin to a blank canvas that the user can customize to suit their needs.
Usability
The Axiom x25 is an incredibly interesting pack in many regards. Because of the way it is set up each user will have to dial it in to suit their needs.

Usability is tough to write about because so much of the usability of the pack depends on which accessories you have inside of it. This pack is built to be used with TAD’s line of attachment pouches in mind. That’s not to say you need them to make this pack usable… but they help.
It’s never fun to start with the bad news but we want to get it out of the way. The admin area is difficult to use and the spacing given to the pockets does not seem to fit any of our stuff… except for pens and pencil. It should be noted that internal organization is not our favorite thing. Having someone tell us how much space we have subdivided to store items feels weird… they don’t know what we carry so (in all cases, not just the Axiom x25) the manufacturer is designing it to either fit their needs or they are guessing what our needs will be. That’s one of the reasons we like the GORUCK Shooter GR1 so much… no built-in admin area.
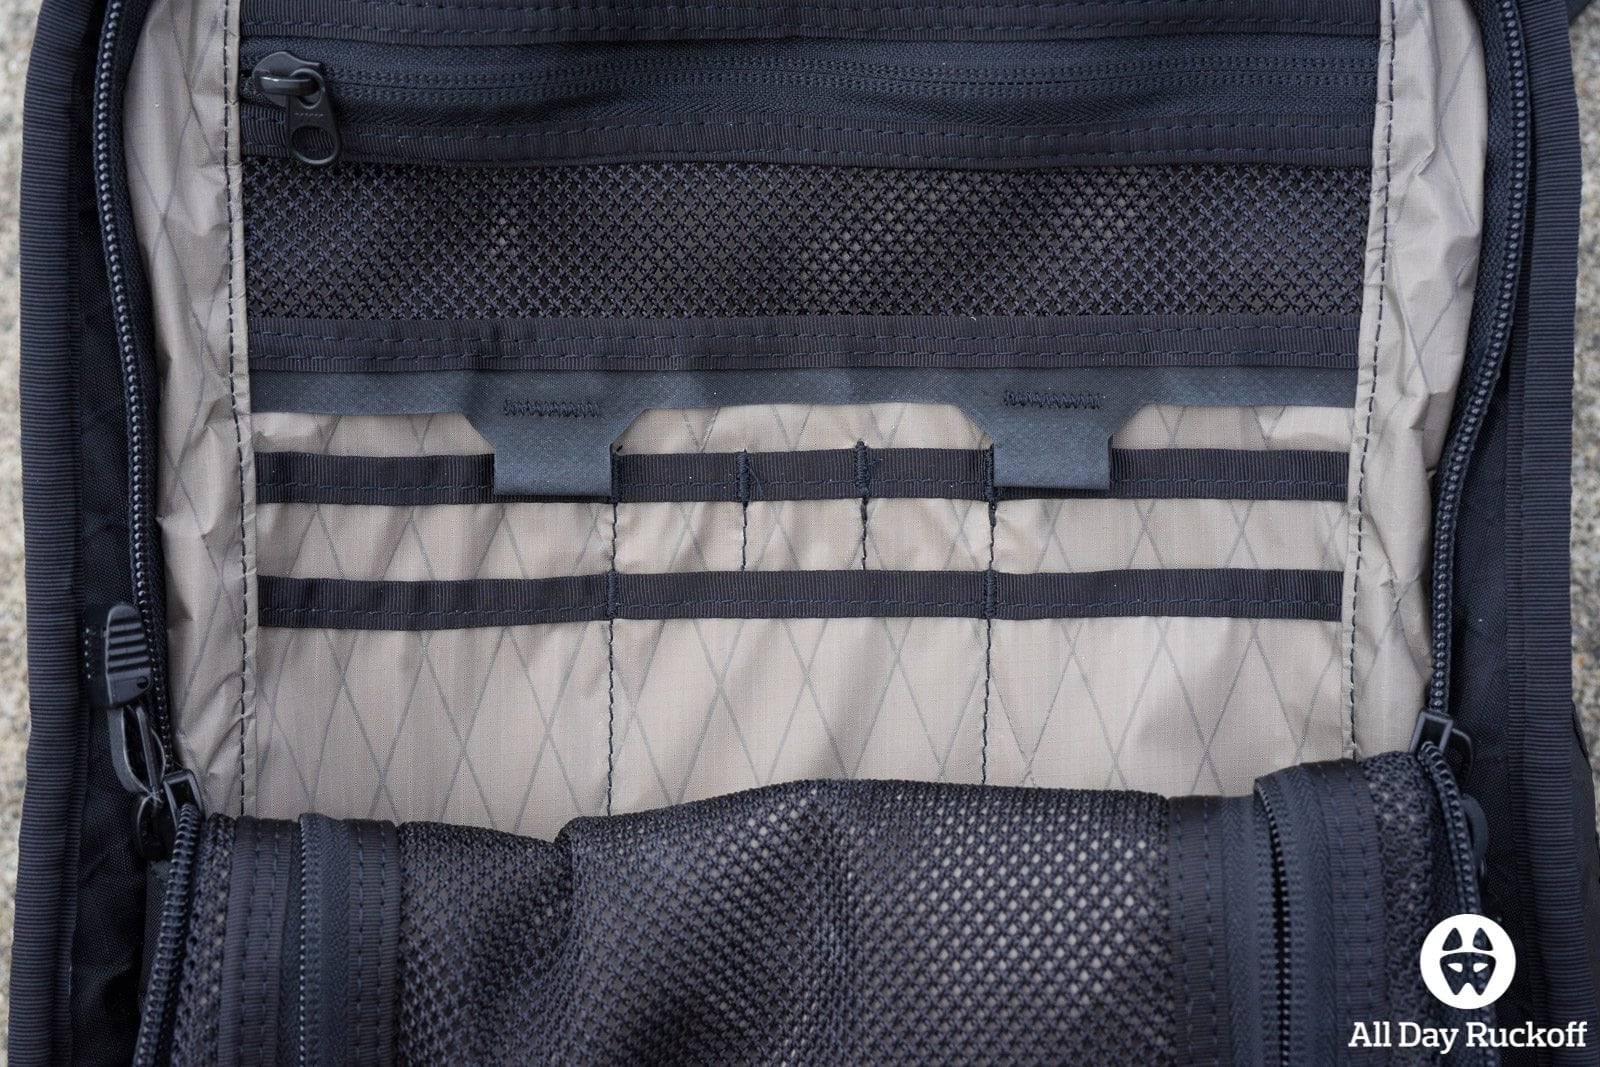
The pack currently comes with three 1″ slits and five 3″ slits which you can see above.

Our ideal layout would be three 1″ slits, one 2″ slit, one 3″ slit, one 4″ slit, and one 6″ slit and could be achieved with the above design.

Currently there’s no way to store a Field Notes notebook in there which is not ideal.
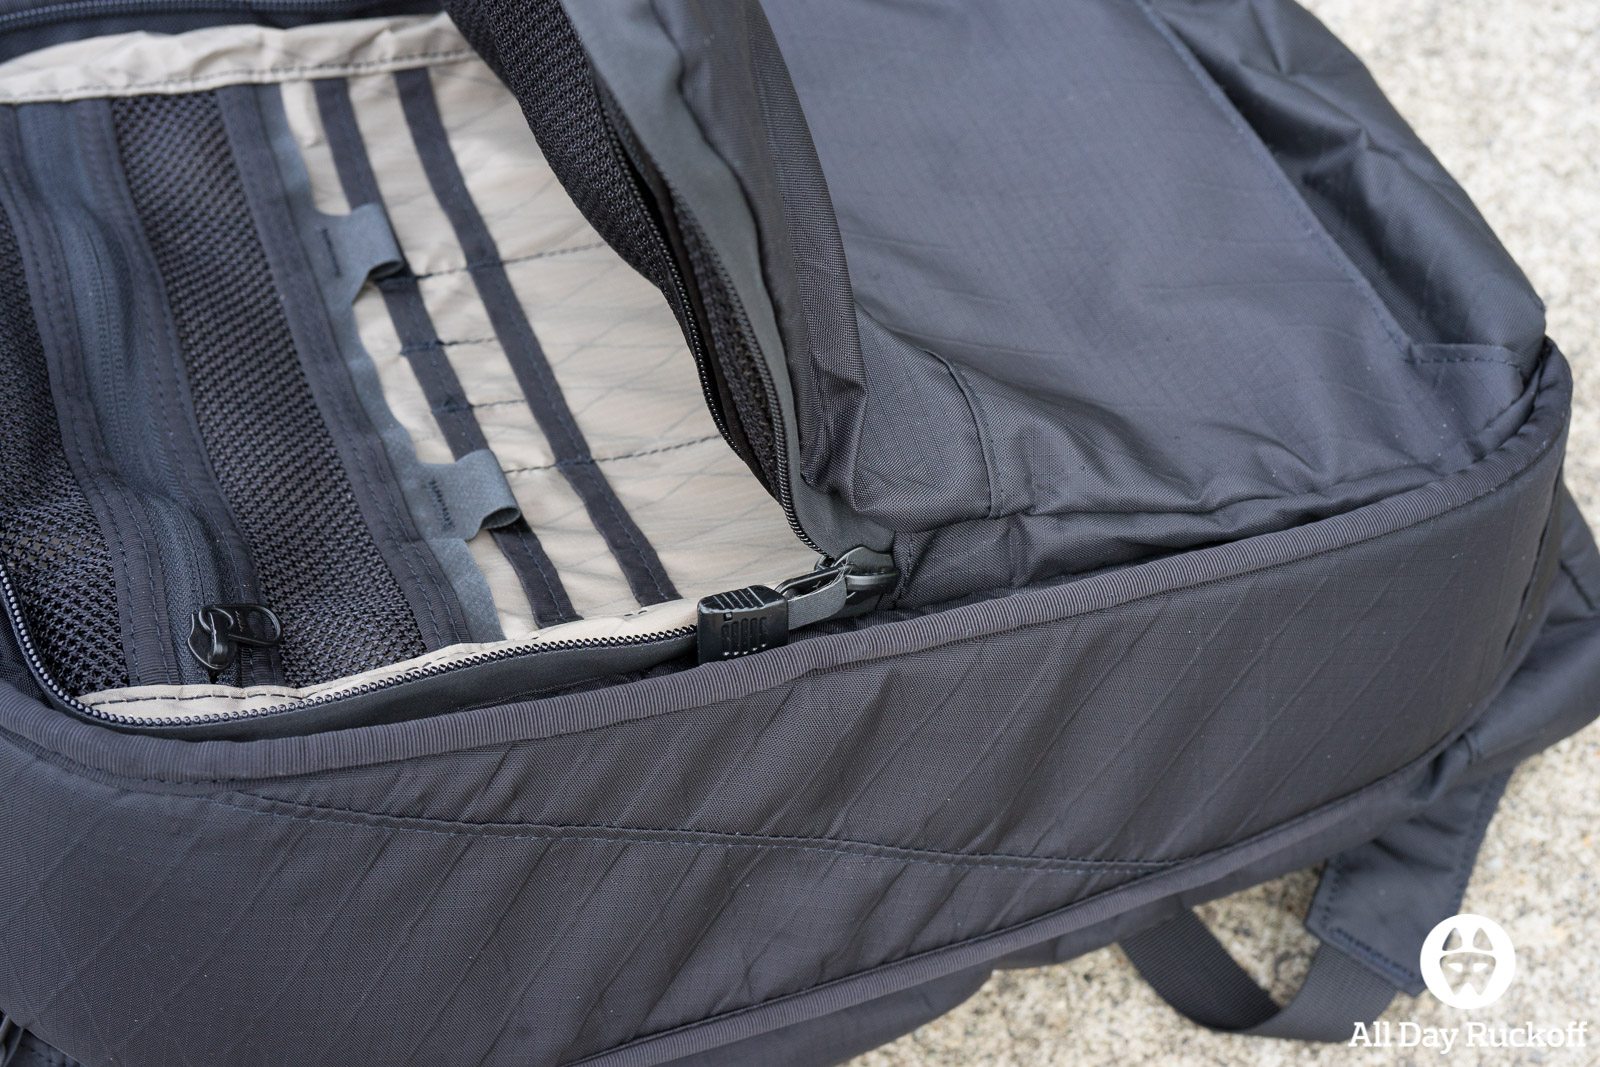
In addition to the sizing of the internal pockets it would have been great if the opening extended to the bottom of the pack. As of right now it’s impossible to keep area open on it’s own due to that.
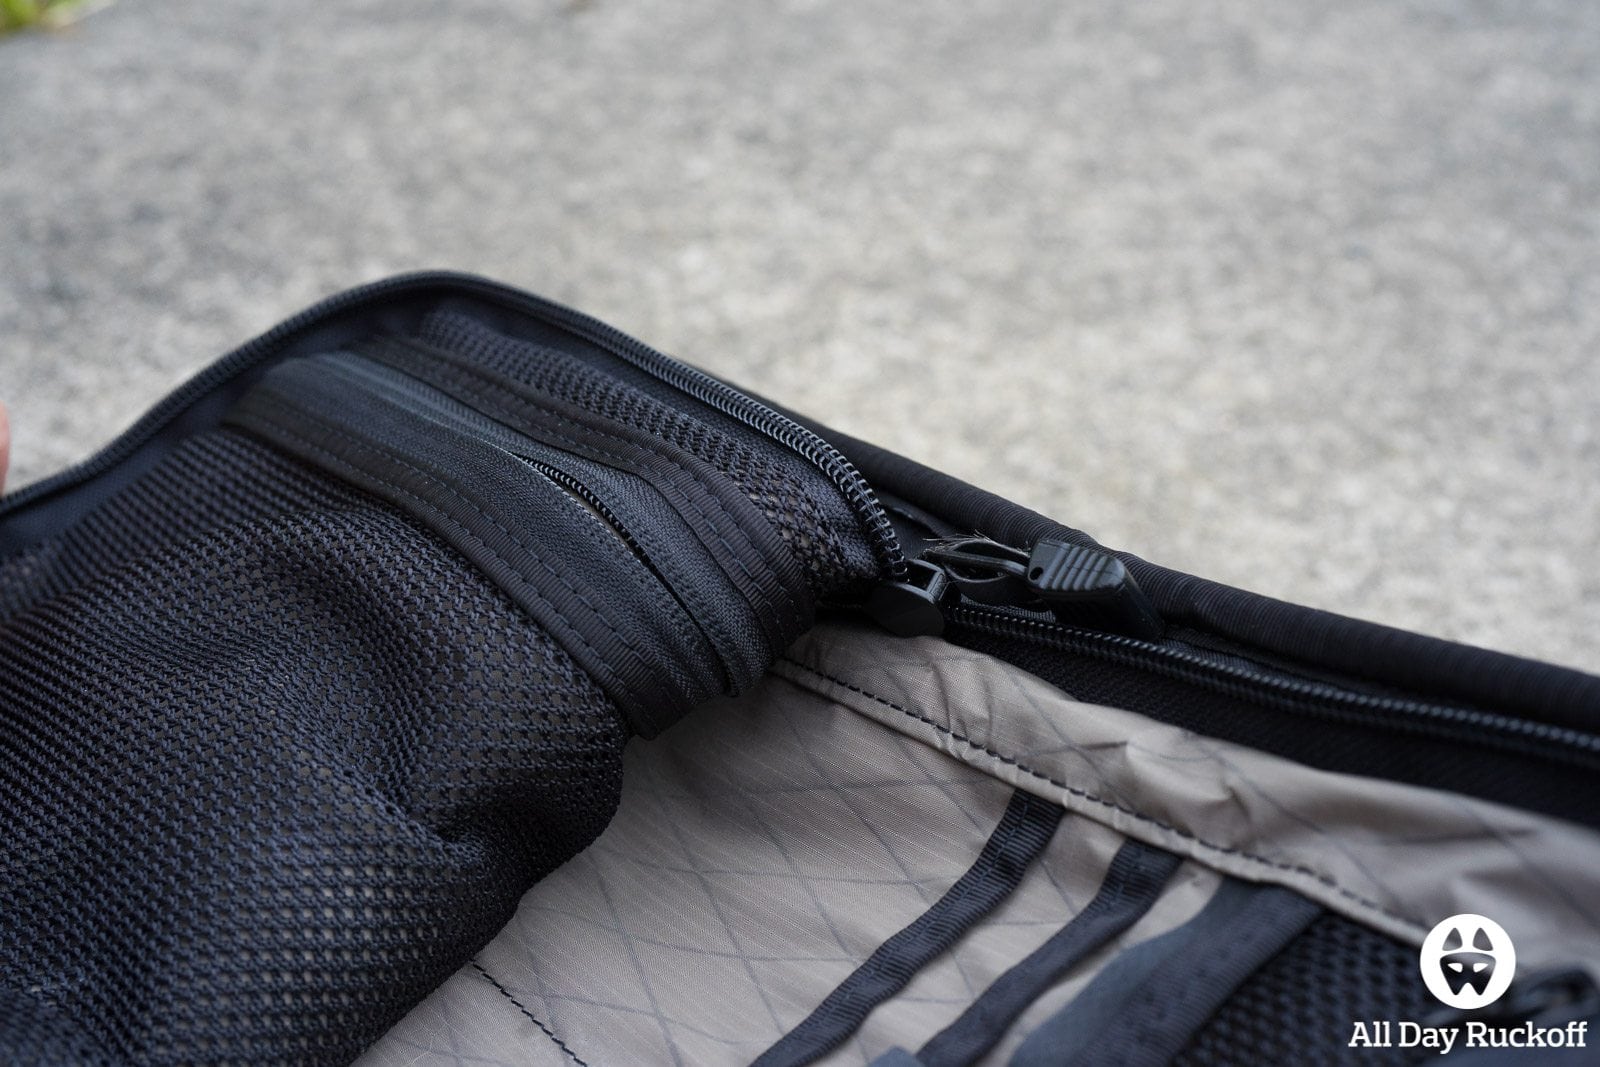
Some of the internal zippers run below the external zipper as well which feels a little weird to operate. It can be tough to get your hand in there to either fully unzip it or zip it up.
Value
The Triple Aught Design Axiom x25 retails for $350. Compared to similar made in the USA packs this price-point places it at the higher end for 25 liter and in the middle range for 40 liter.
Conclusion
Hopefully you enjoyed this review so far. It’s definitely lacking a lot of substance but due to how new this pack is (and how few pictures are posted) we thought it important to get the review started. If you have a question please leave a comment!