

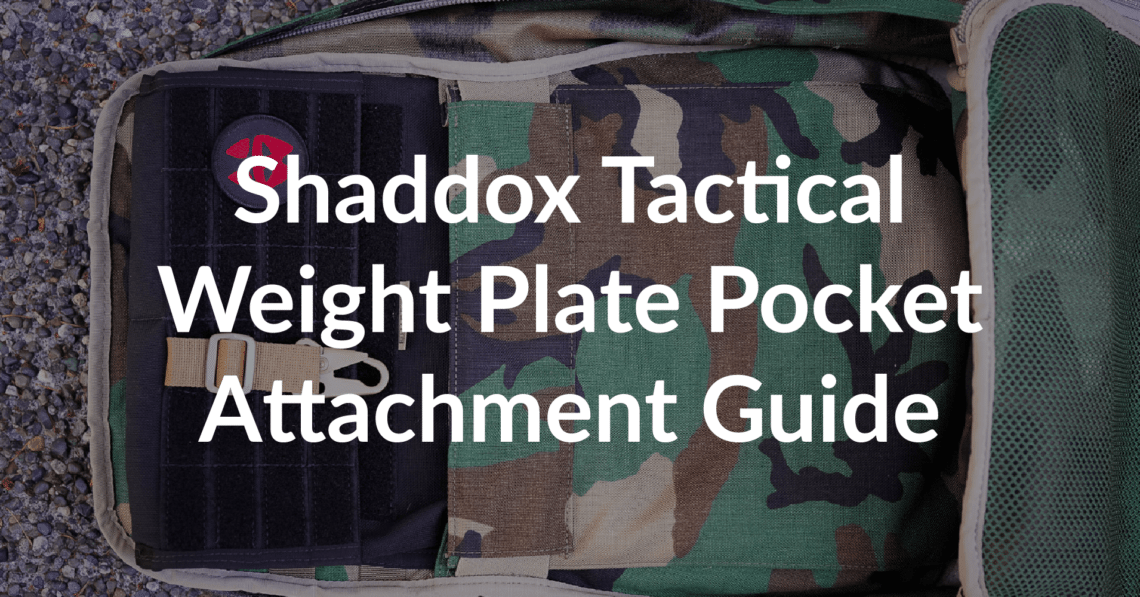
The Shaddox Tactical Weight Plate Pocket is an awesome addition to a GORUCK pack. It’s a pouch that you attach to the internal webbing and allows you to elevate weight plates (very similar to the Rucker 2.0) making them less terrible to carry. There are currently three versions of the weight plate pockets each designed to hold the different Ruck Plates that GORUCK sells.

I’ve been using these for a while now and after seeing how a few other people installed them (improperly) I thought it was time to make a “how to” post on it. I have my own method of installing them but ended up reaching out to Shaddox Tactical to figure out their recommendations. I figured if I were going through the process of writing this post I might as well use their preferred method.
Shaddox Tactical’s Installation Method
I sent an email to Shaddox Tactical on how they recommend attaching their pouches and Clay, the owner, hit me back. He provided a few pictures (the clearest one is above) and some text that gave me some good direction on how to get it tight and secure.
Weaving MALICE Clips
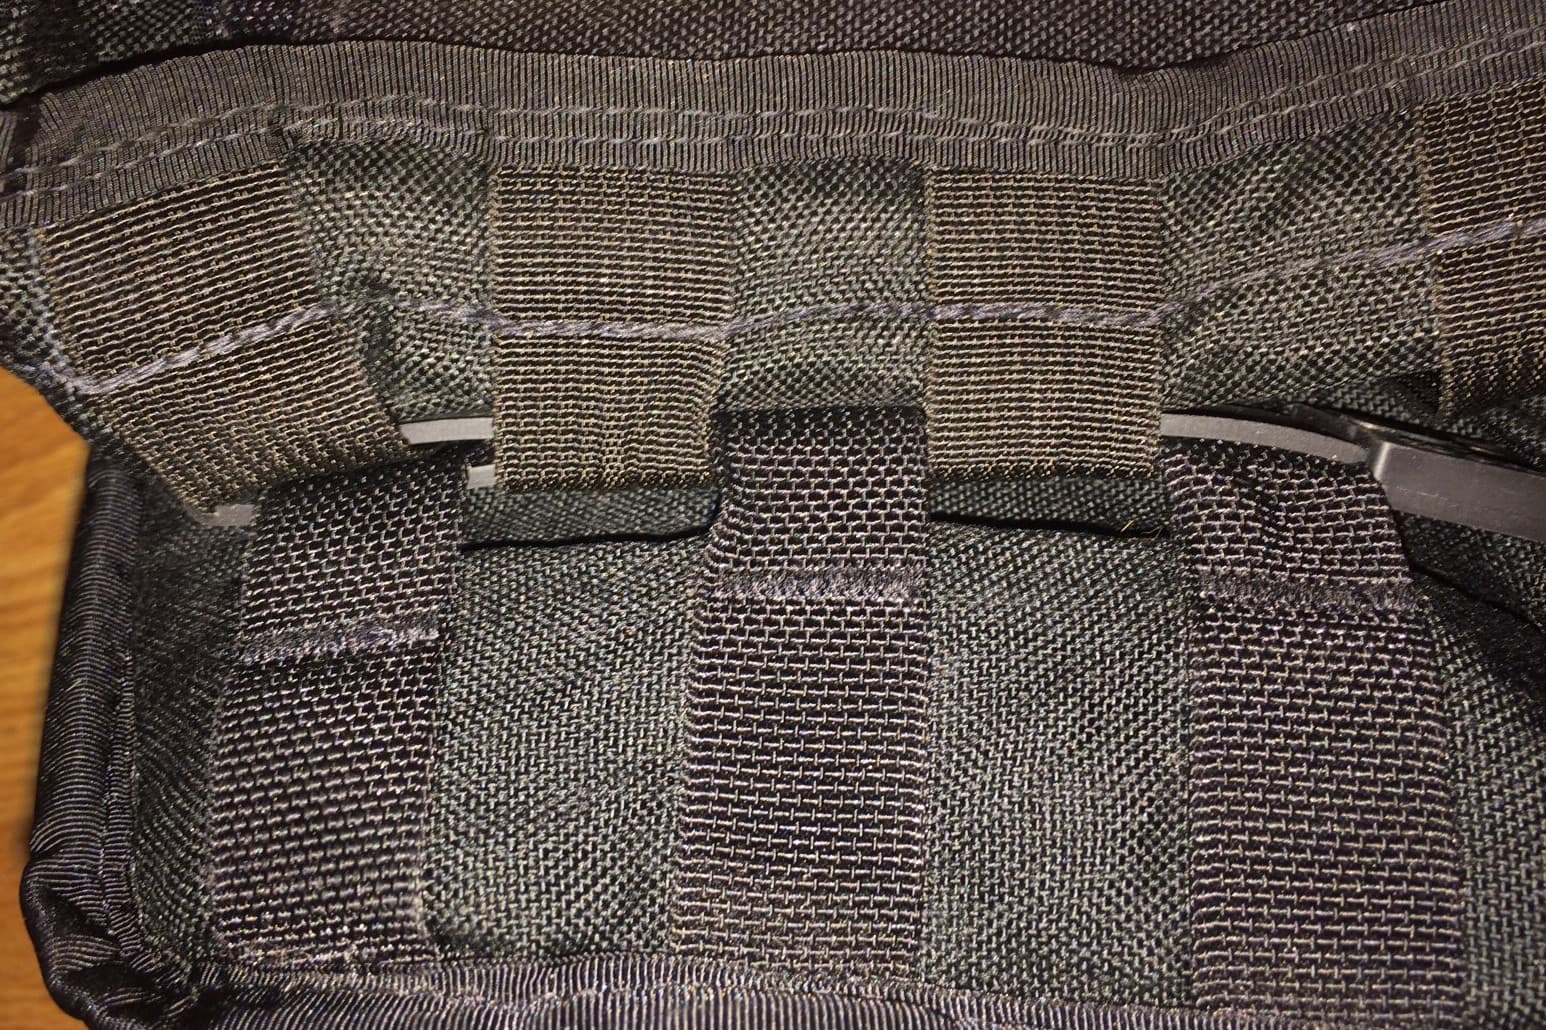
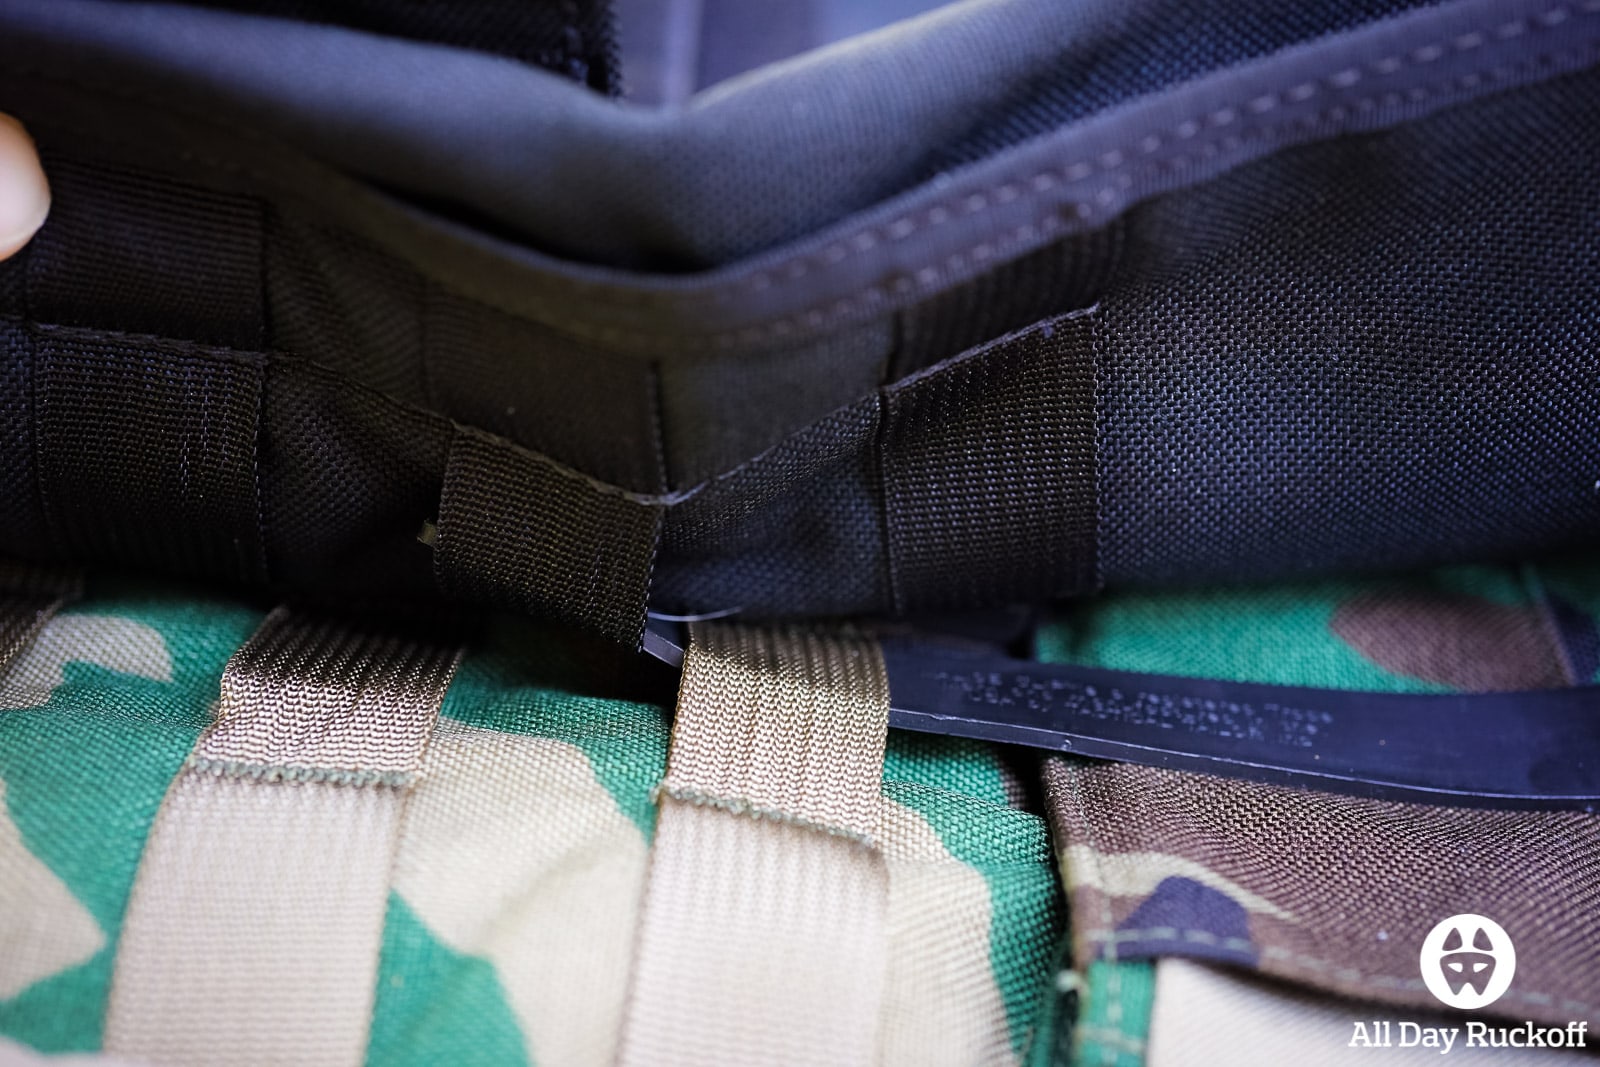
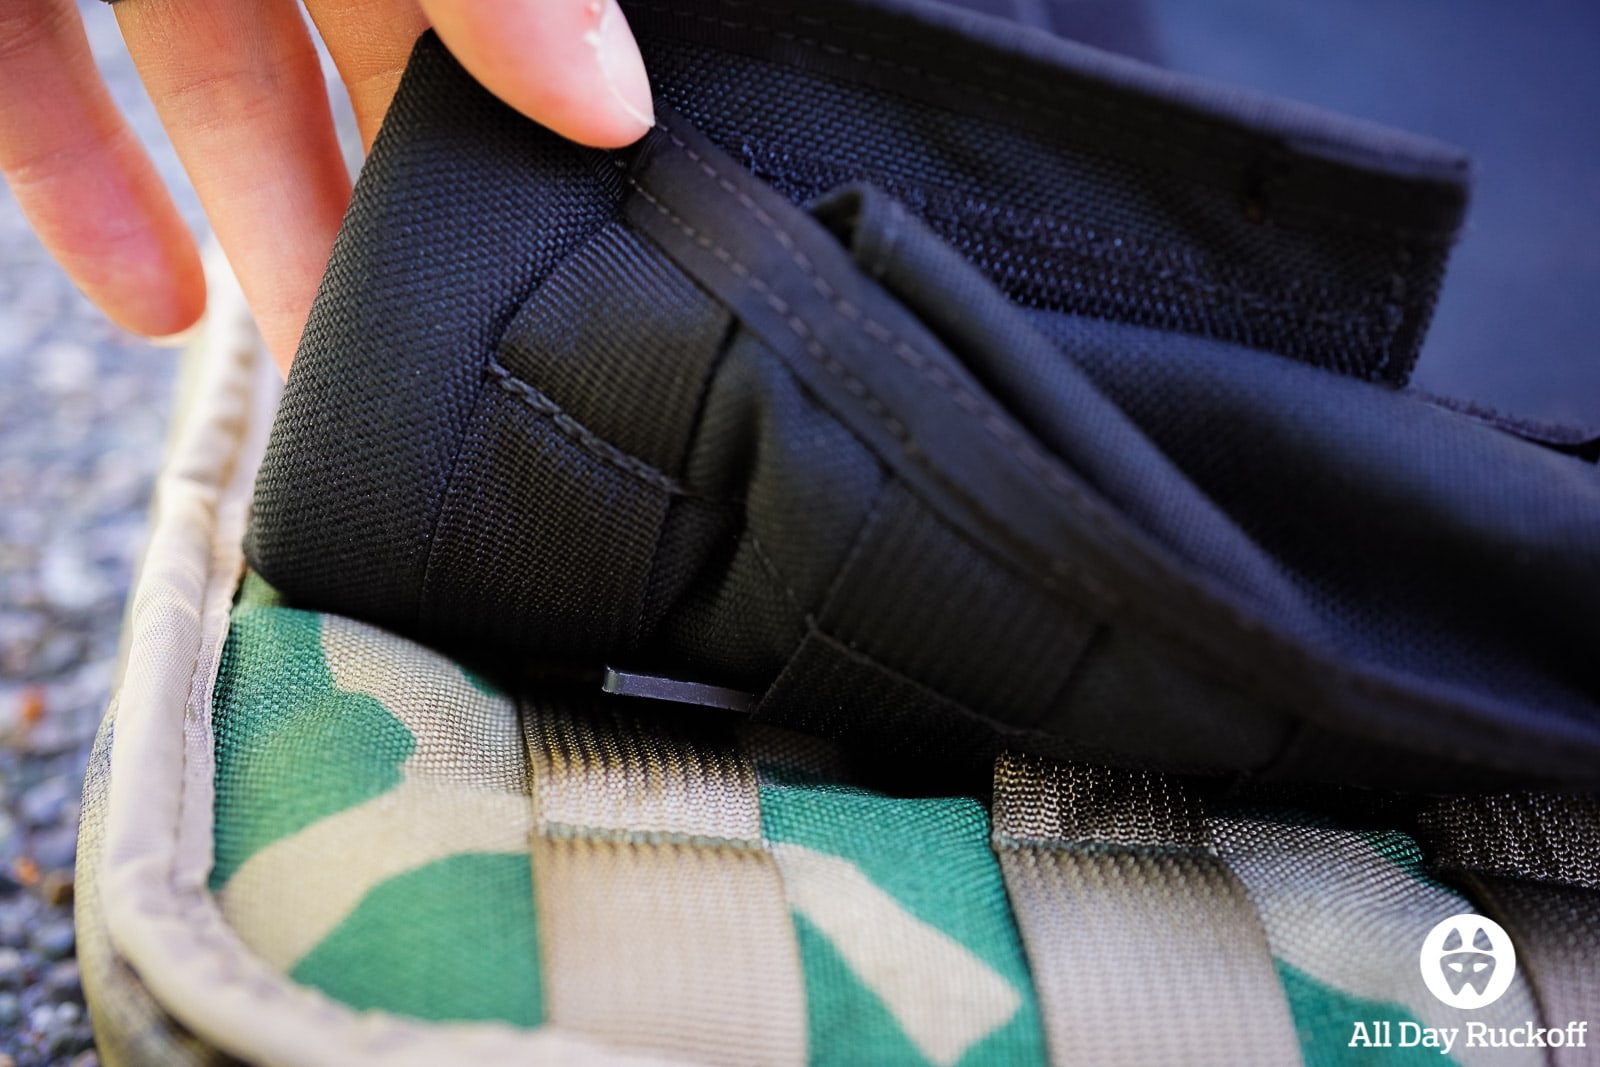
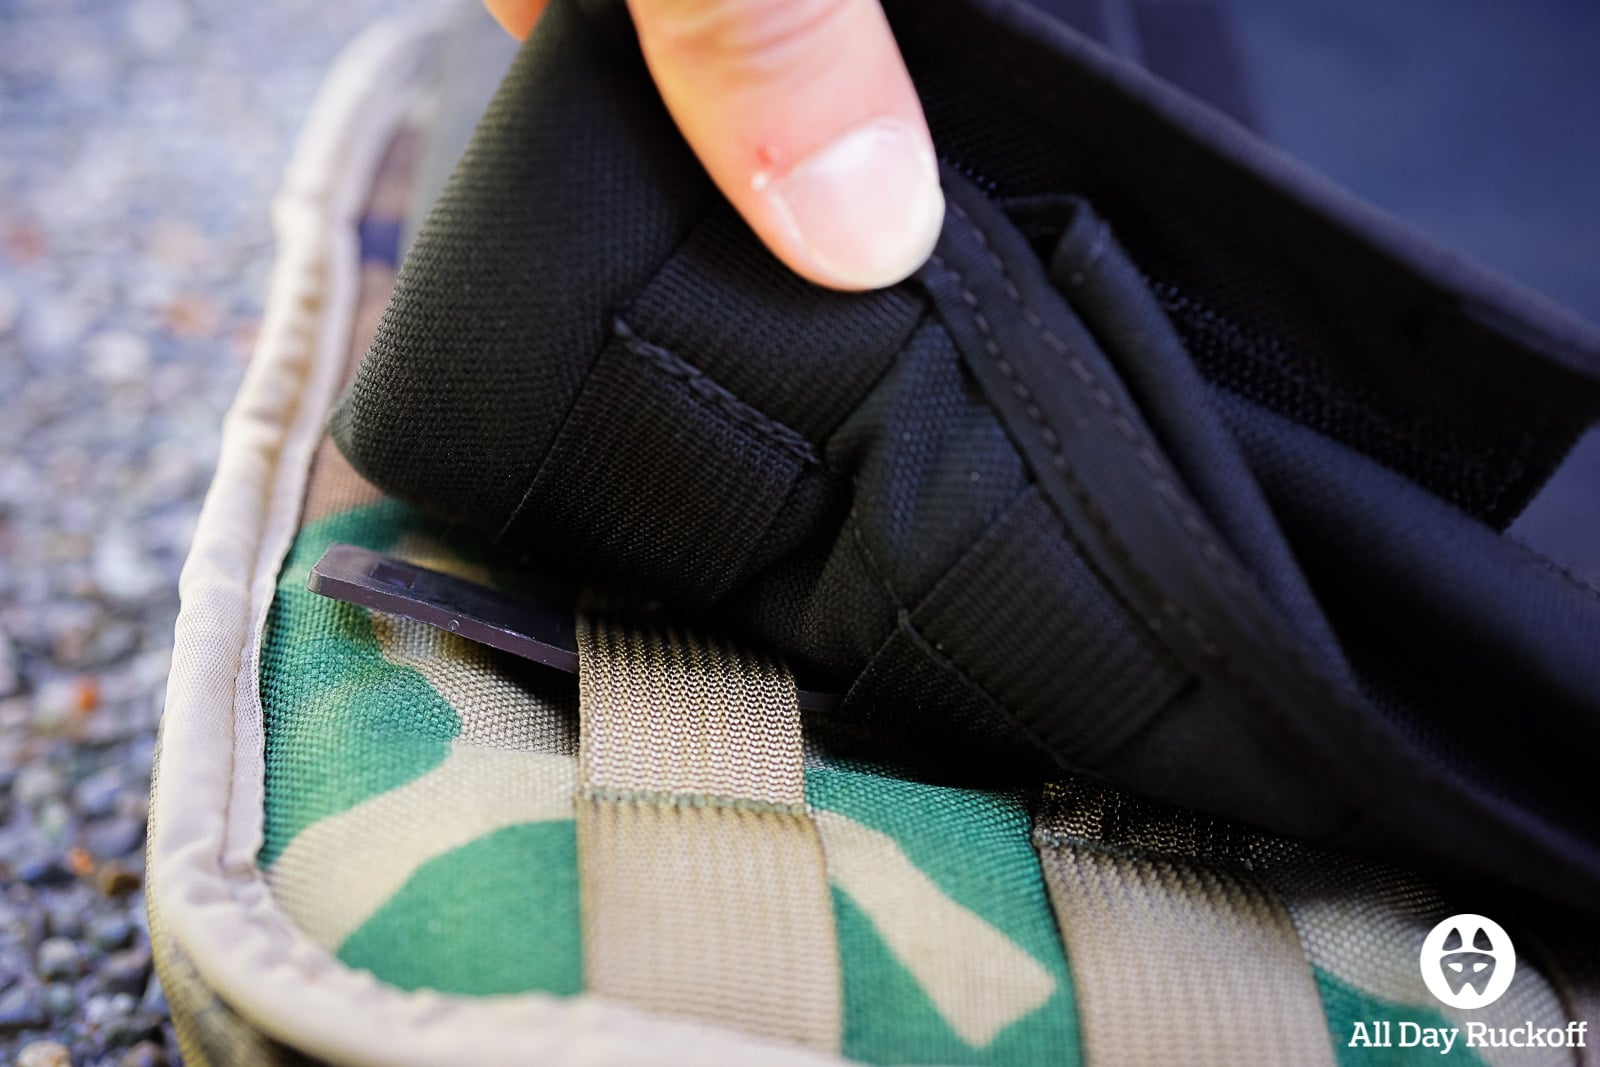
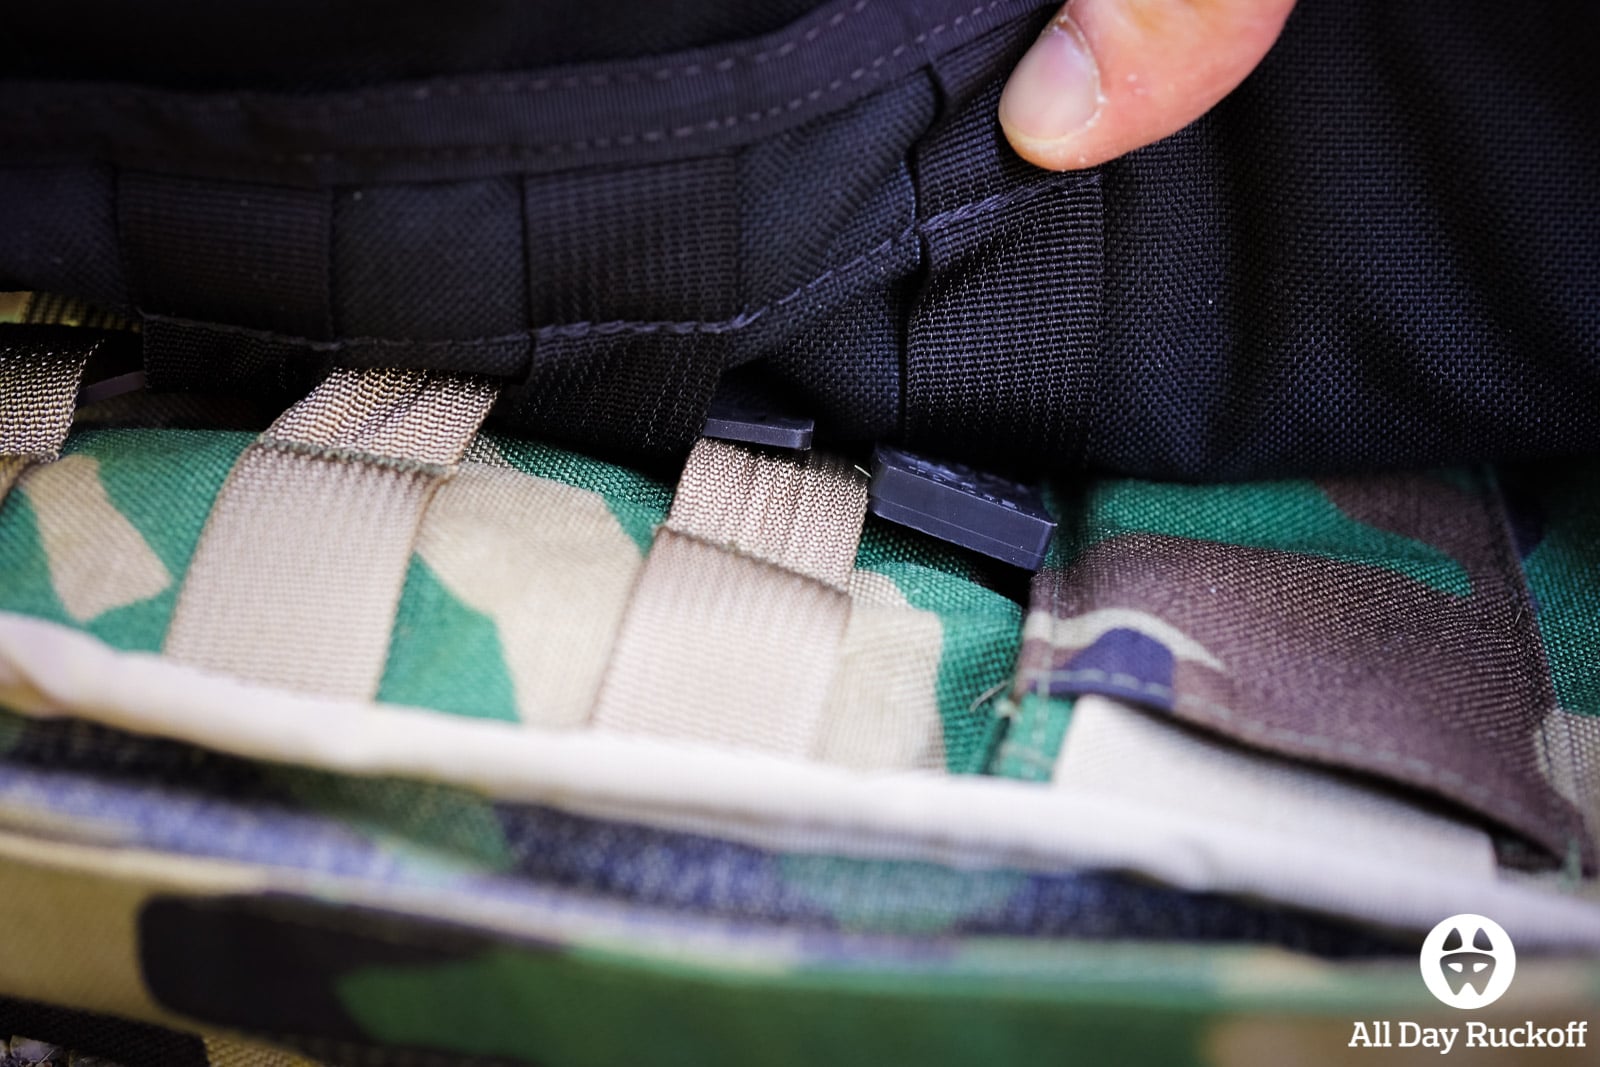
The Shaddox Tactical method uses the Long MALICE Clips (designed by Tactical Tailor) which generally cover five rows of webbing. What surprised me the most was the way Shaddox Tactical uses them actually covers six rows of webbing. This isn’t something I would have ever thought to do so I’m very glad I reached out and got their opinion. In their method the top three rows of the ruck and the top three rows of the pouch are used to secure the pouch to the ruck. Here are two ways you can weave the MALICE clips through the pocket and ruck to get them into the above configuration.
Weaving Option 1
When I worked to secure the pouch I found it easiest to weave one column at a time starting from one side of the pack (doesn’t matter which one) and making my way across to the other side.

Start with the MALICE clip at the top of the bag with the connection side on the bottom. Slide the connection side through the top row of webbing on the GORUCK bag and the other side through the top row of the pouch.
Weave both sides of the MALICE clip through the second row of webbing on the pouch.

Weave both sides of the MALICE clip through the second row of webbing on the ruck.

Weave both sides of the MALICE clip through the third row of webbing on the pouch.
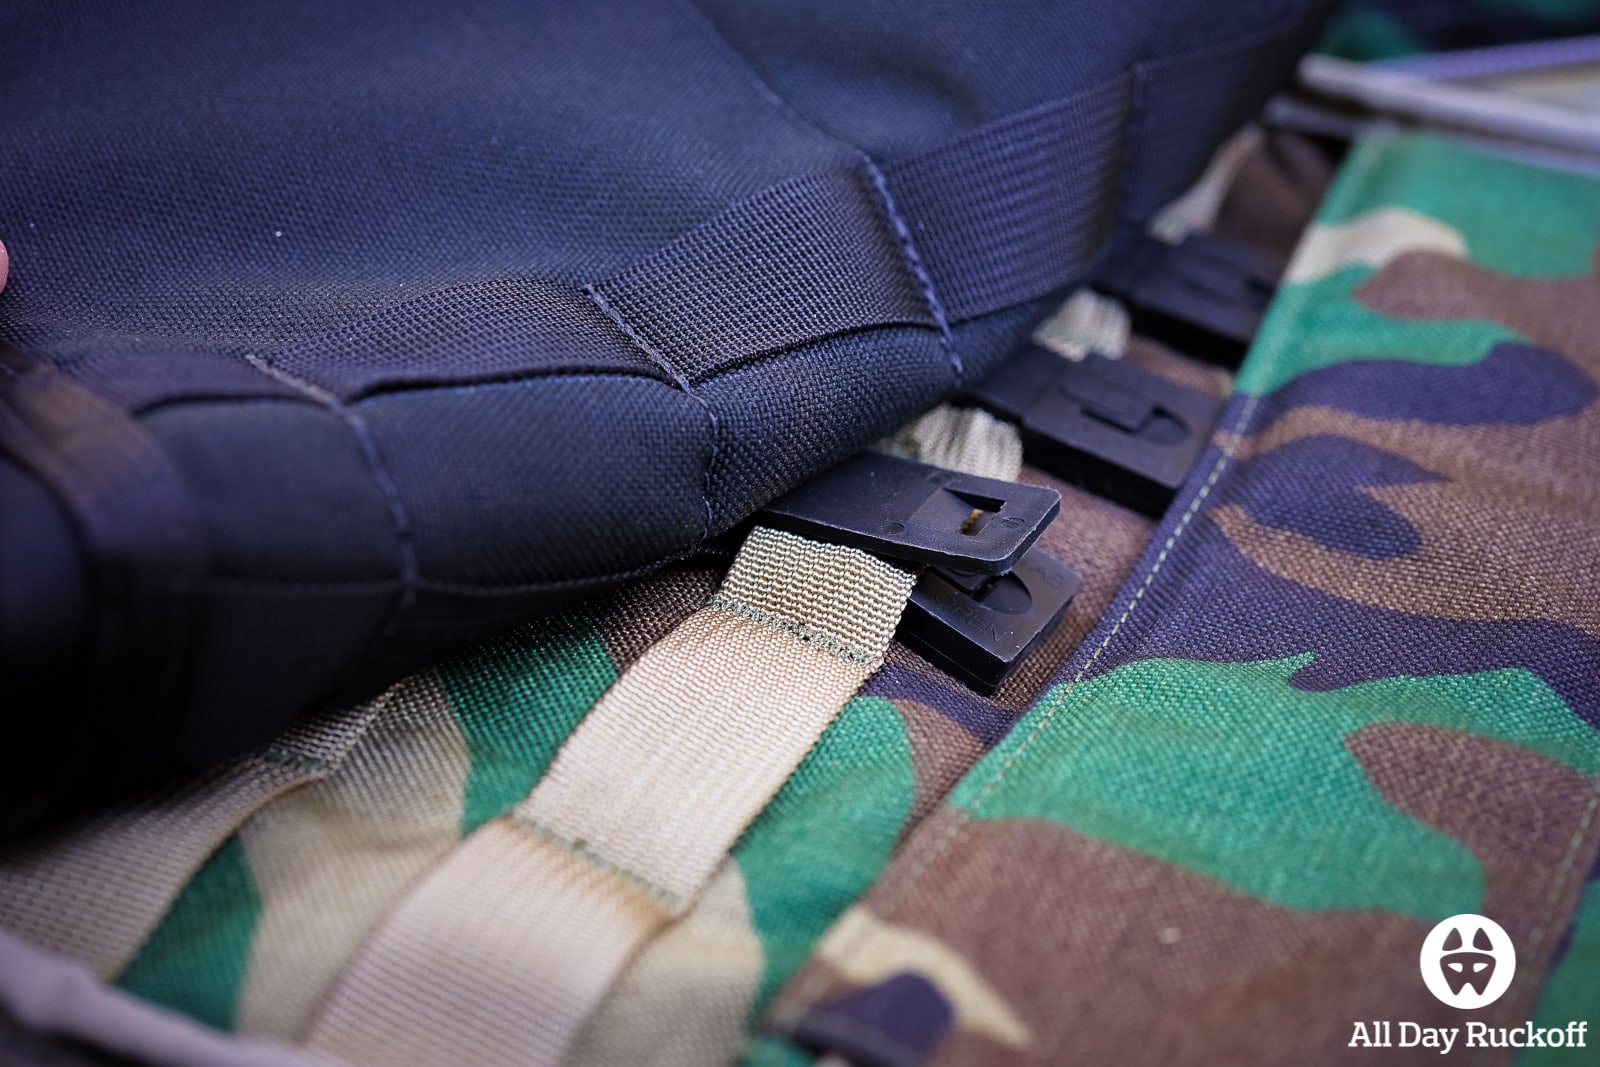
Weave the connection side under the third row of webbing on the ruck while running the other side of the clip over the third row.
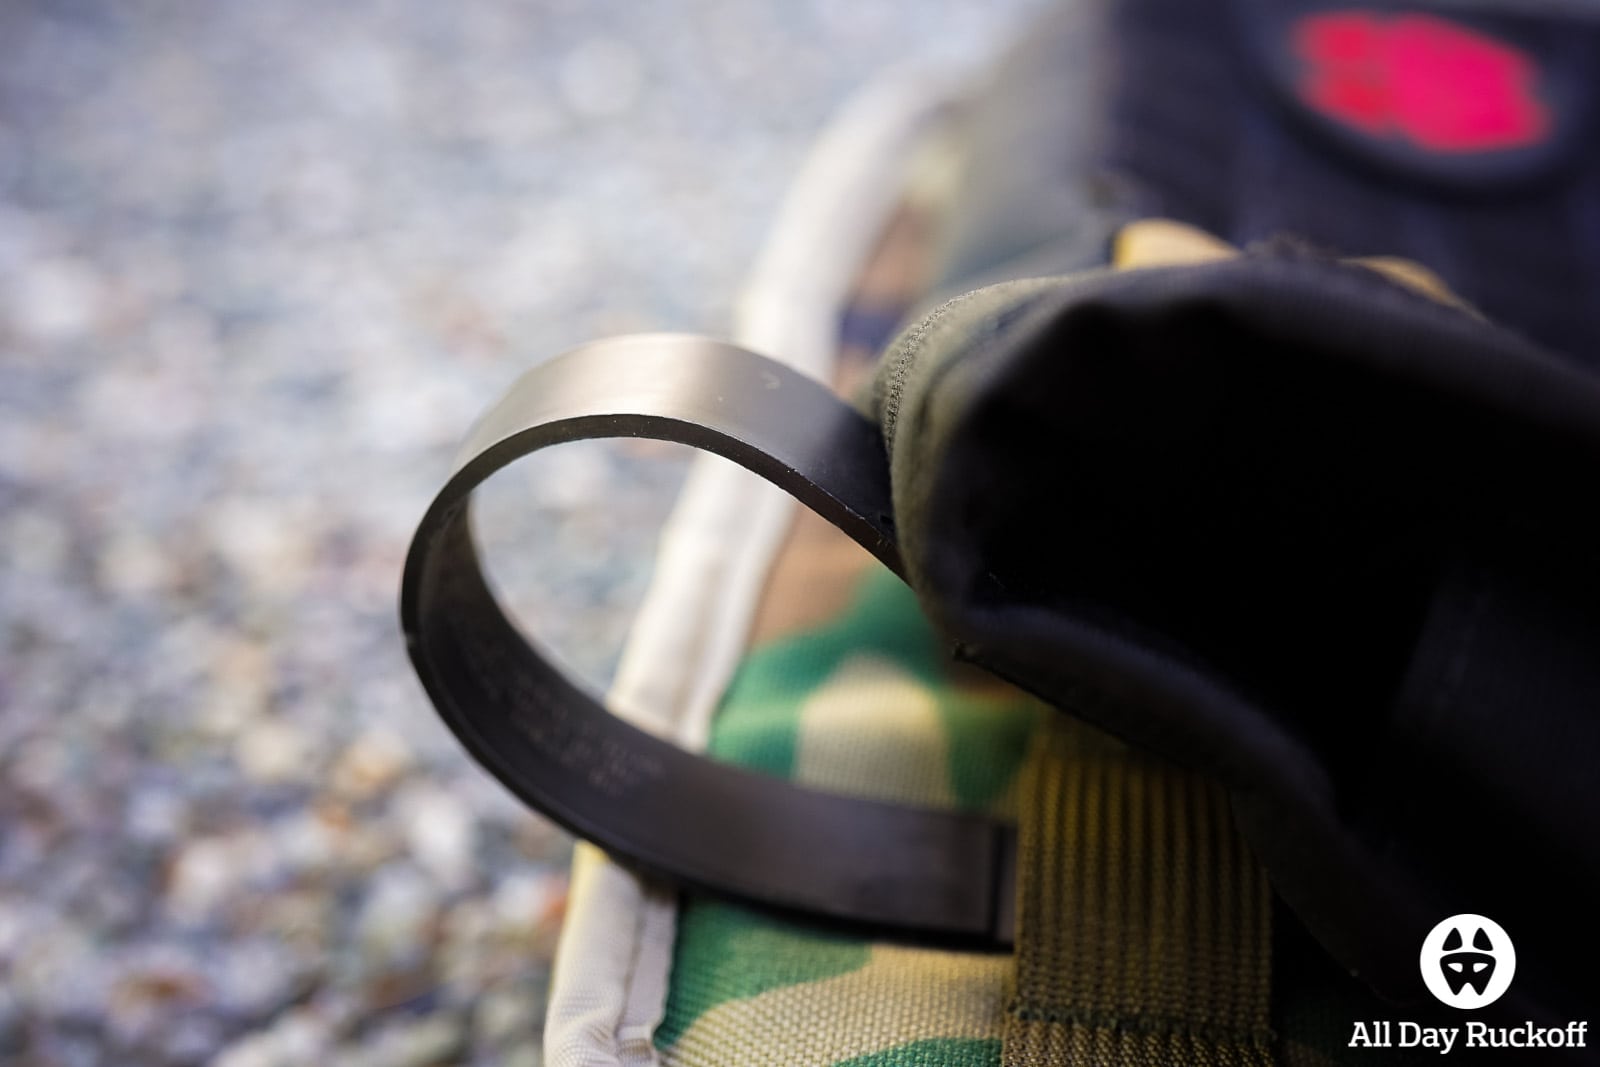
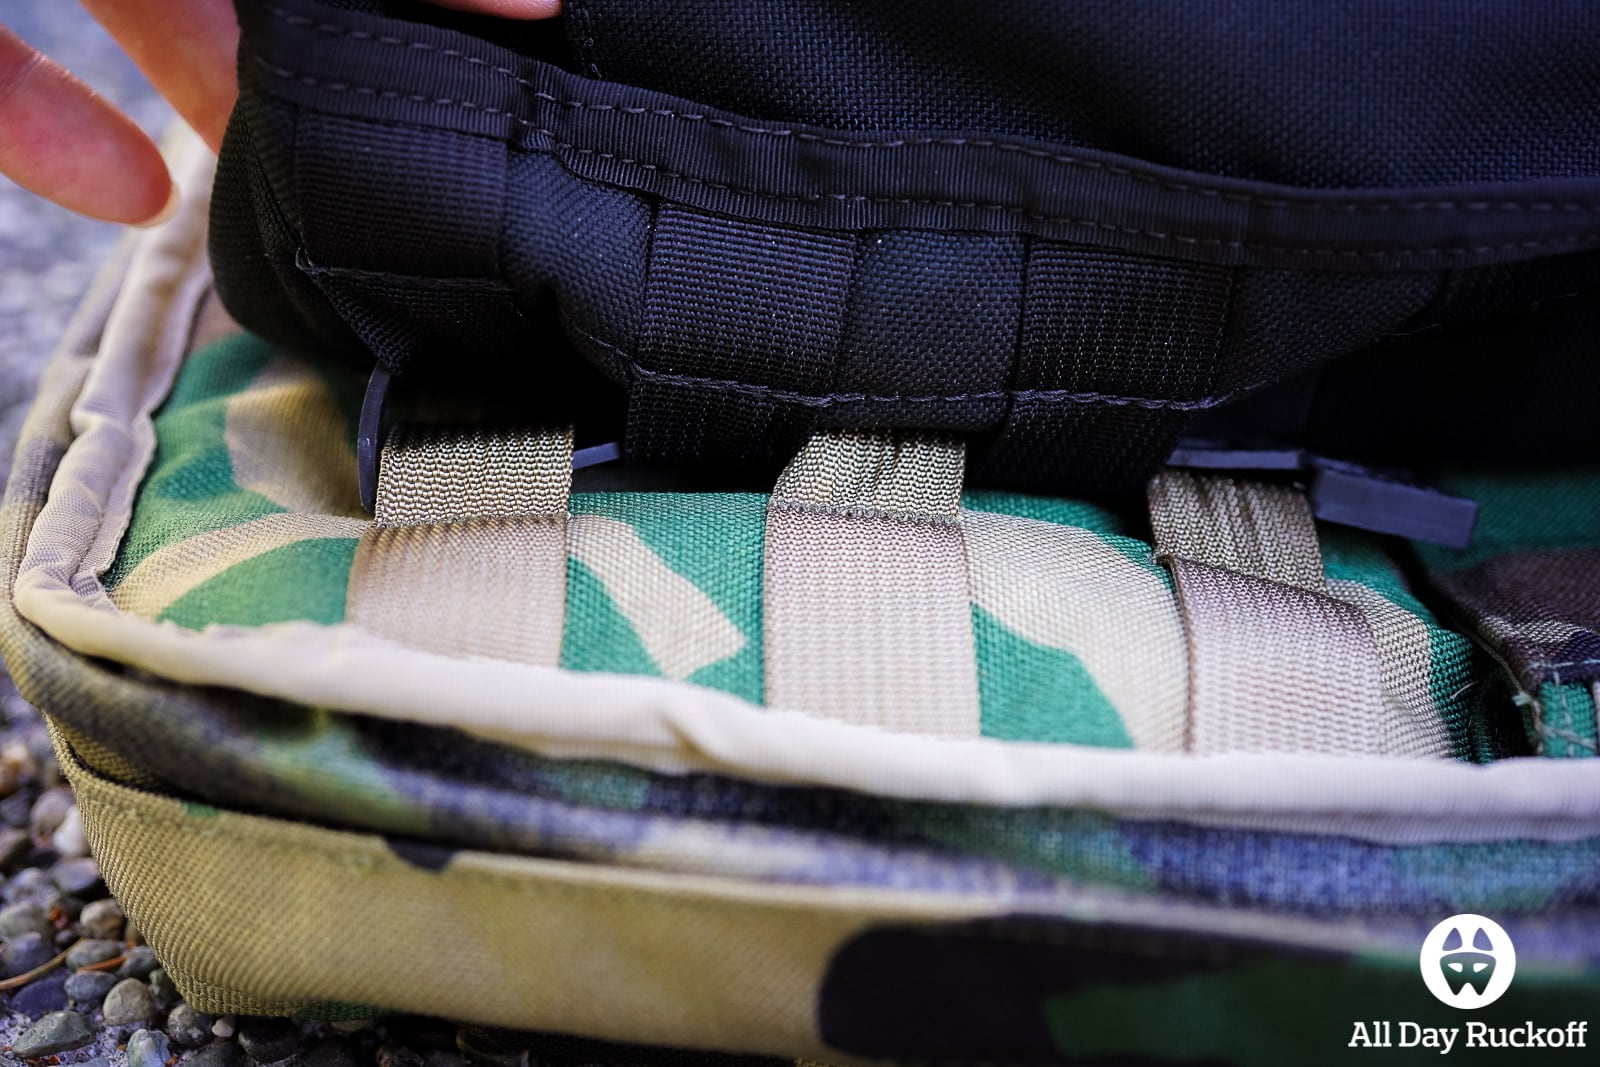
Pull the connection side out of the bottom of the third row and connect the MALICE clip together.
Make sure to pull on it to ensure it’s locked in tight. Repeat this three more times across the other columns and you’re set!
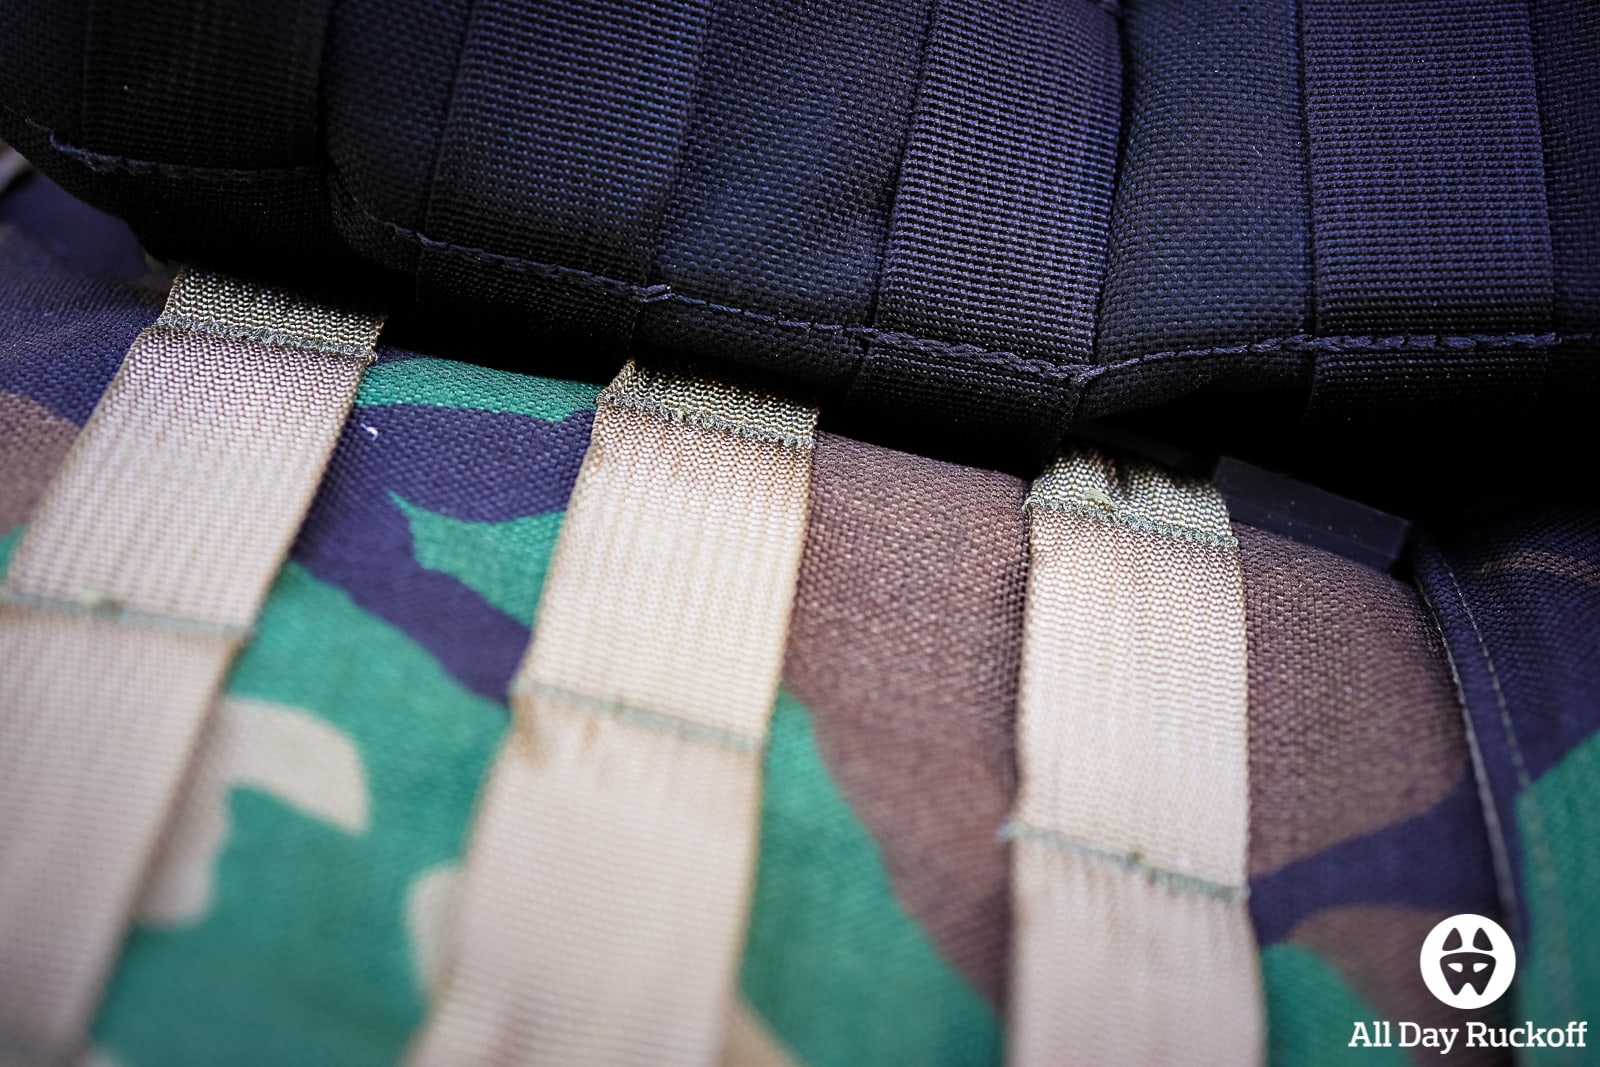
Weaving Option 2
The second weaving option follows the more traditional approach to using MALICE clips. Using this option I, again, found it easier to attach one clip at a time making my way from one side of the pack to the other side.
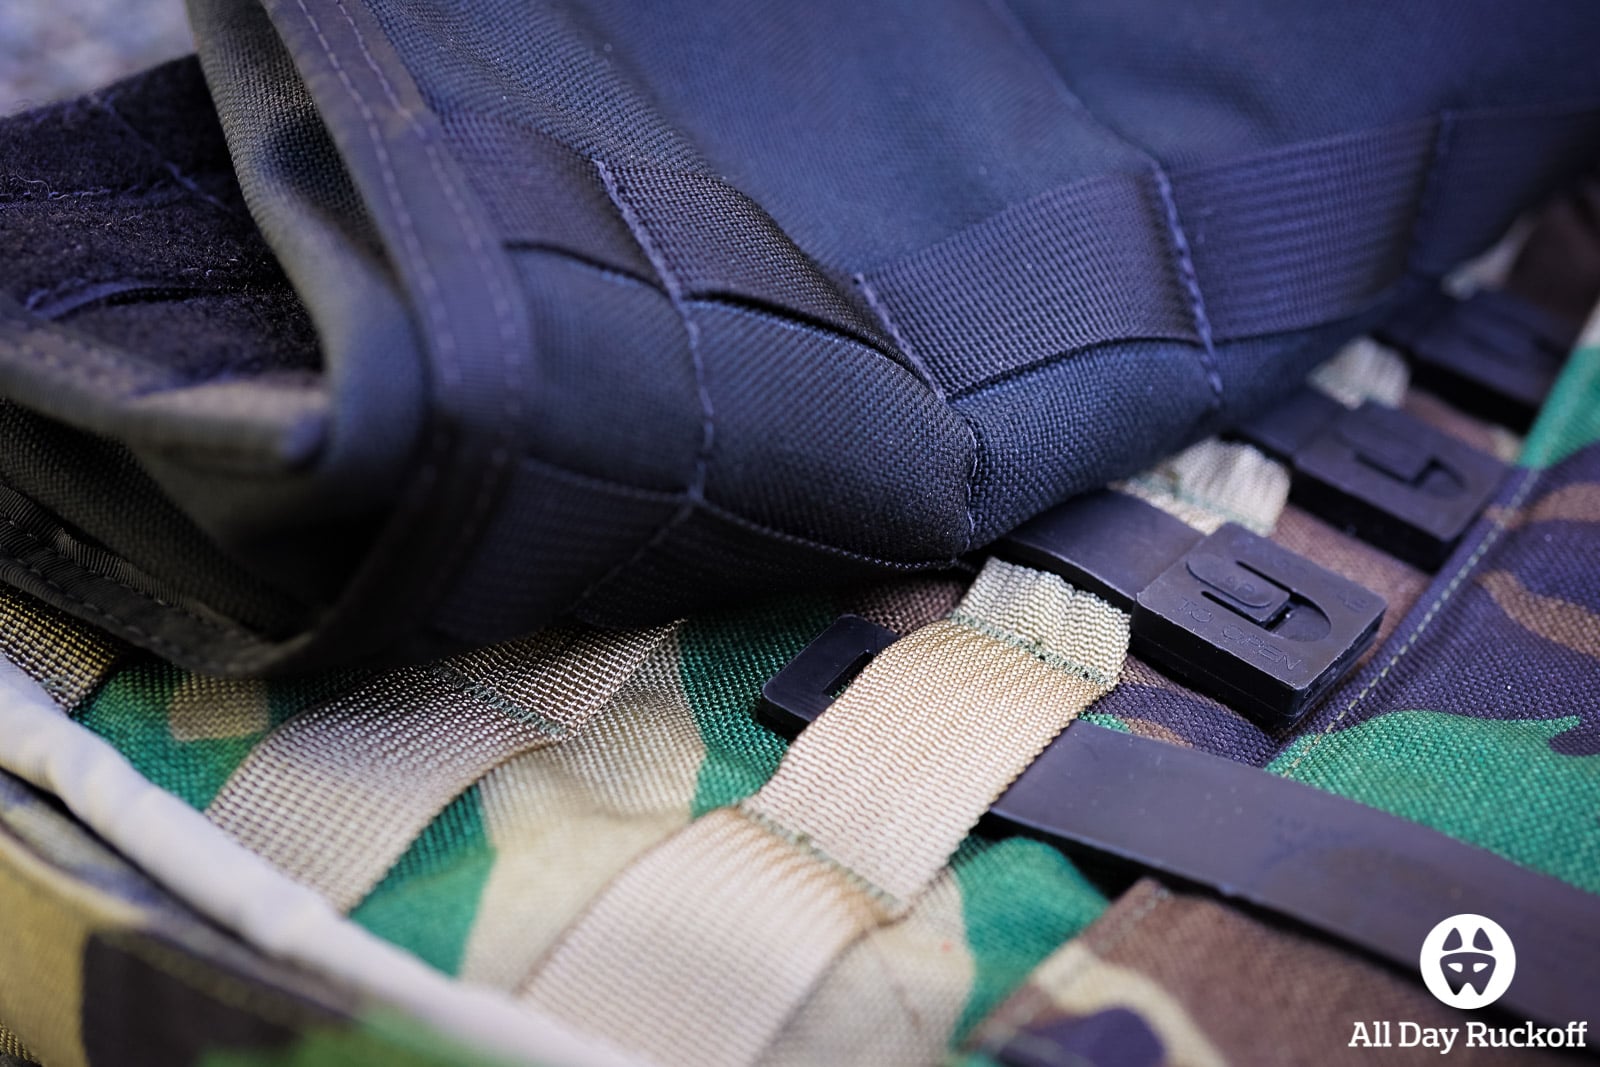
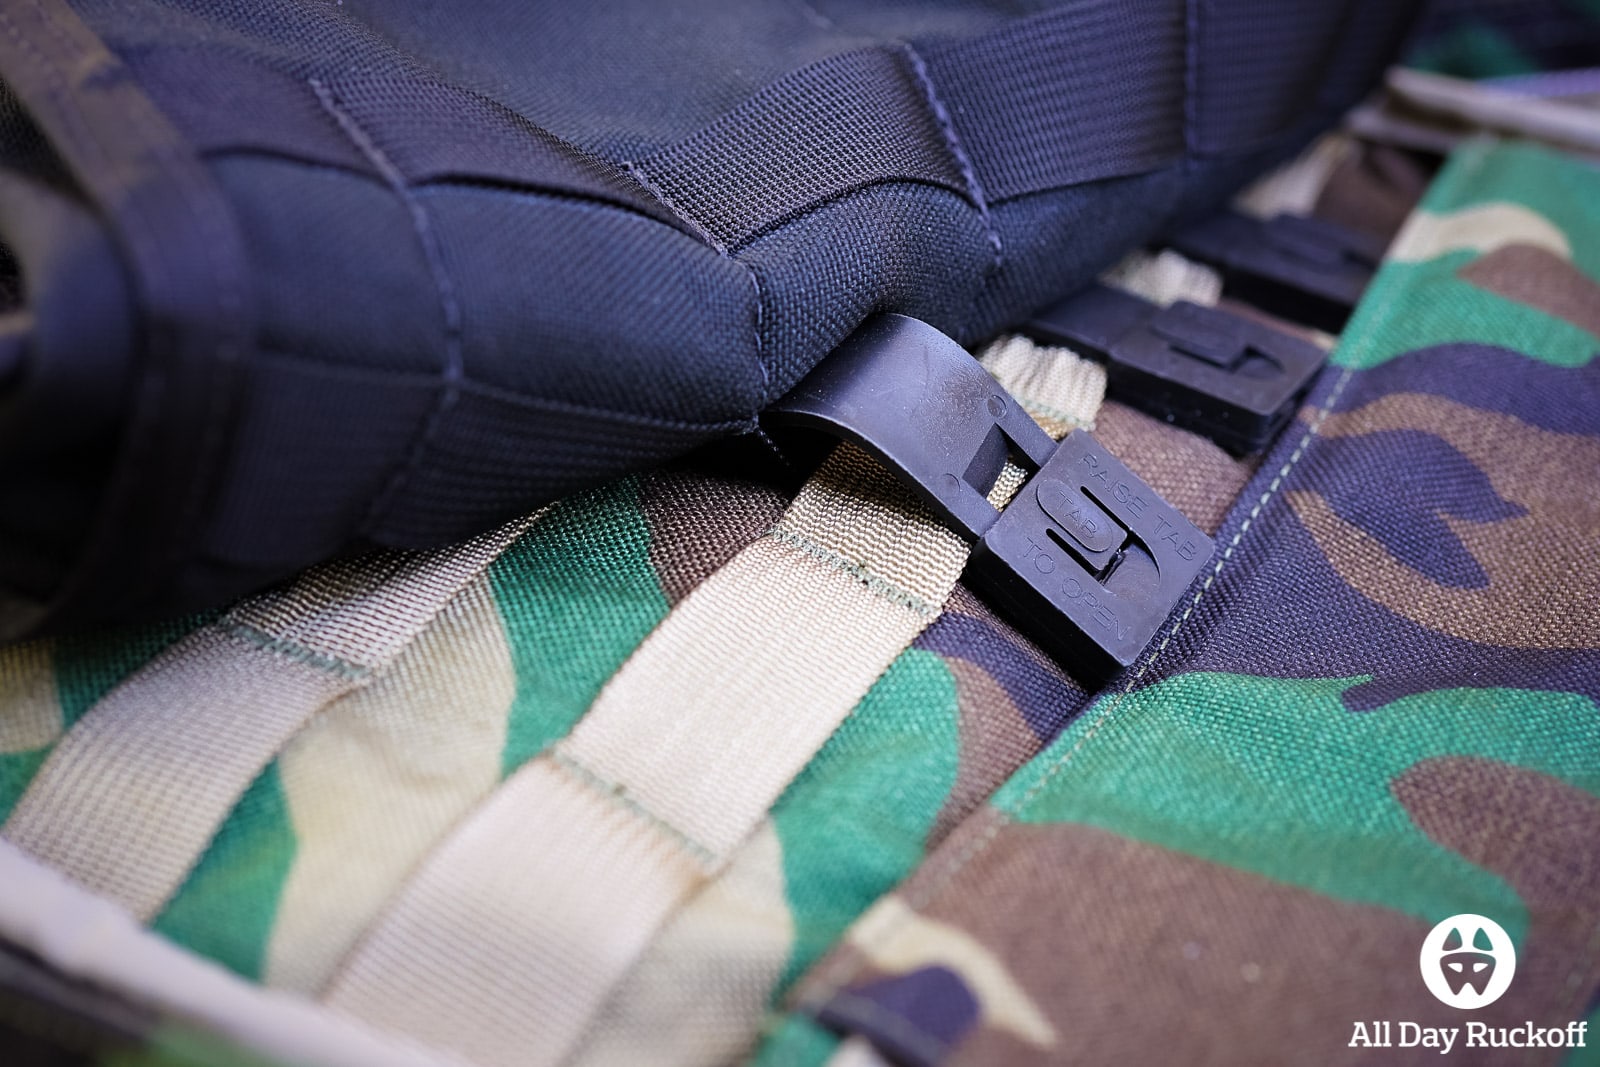
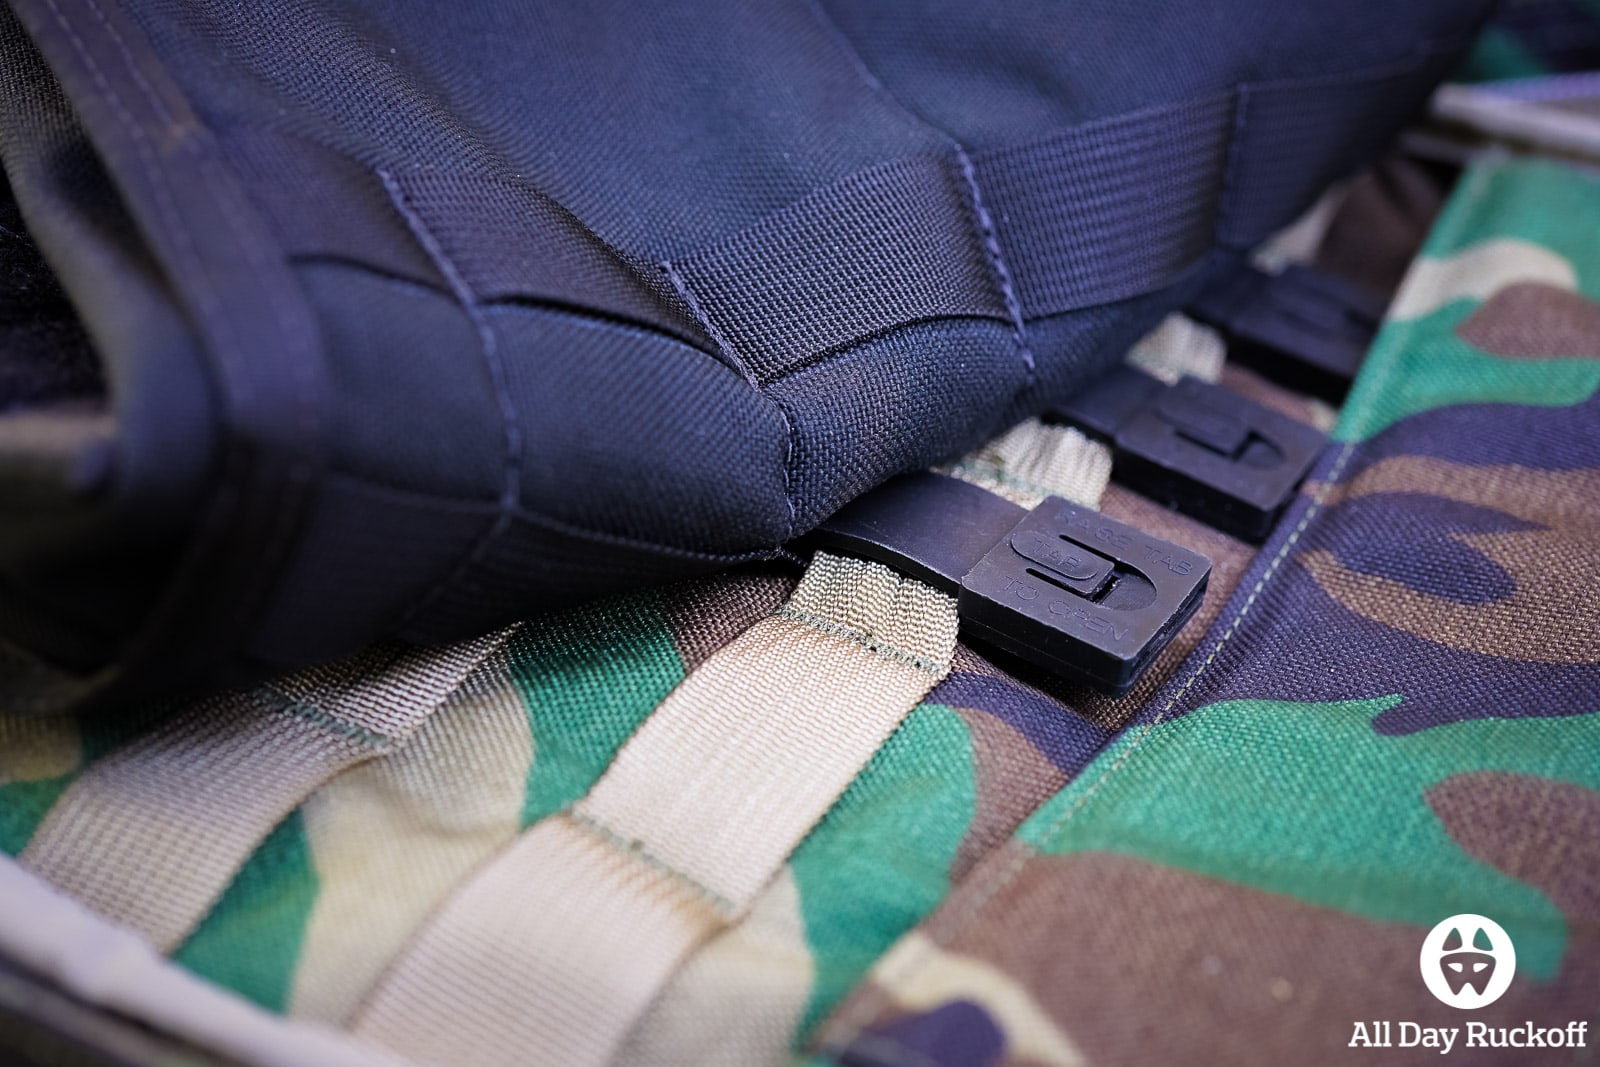
Starting by inserting the MALICE clip through the 3rd (from the top) row of webbing on the ruck. Ensure the connection side has the release facing up.
Route the MALICE clip through the 3rd (from the top) row of webbing on the pouch.

Route the MALICE clip through the 2nd (from the top) row of webbing on the ruck.
Route the MALICE clip through the 2nd (from the top) row of webbing on the pouch.
Route the MALICE clip through the top row of webbing on the ruck.

Pull it through until the connection point hits the row of webbing it initially was run through.

You should now have a lot of clip to weave back through on the other end.
Route the end of the MALICE clip through the top row of webbing on the pouch.

Continue the clip through the 2nd (from the top) row of webbing on the pouch.

Route the clip through the 2nd (from the top) row of webbing on the ruck.
Route the clip through the 3rd (from the top) row of webbing on the pouch.
At this point you’re probably going to need to pull the clip a little to get it to tighten up so that you’ll have enough room to make the connection. You’re essentially trying to route a clip designed for five rows of webbing through six rows of webbing.

Connect the clip together and you’re set! Do this again for the next column of webbing until you have all four columns secured.
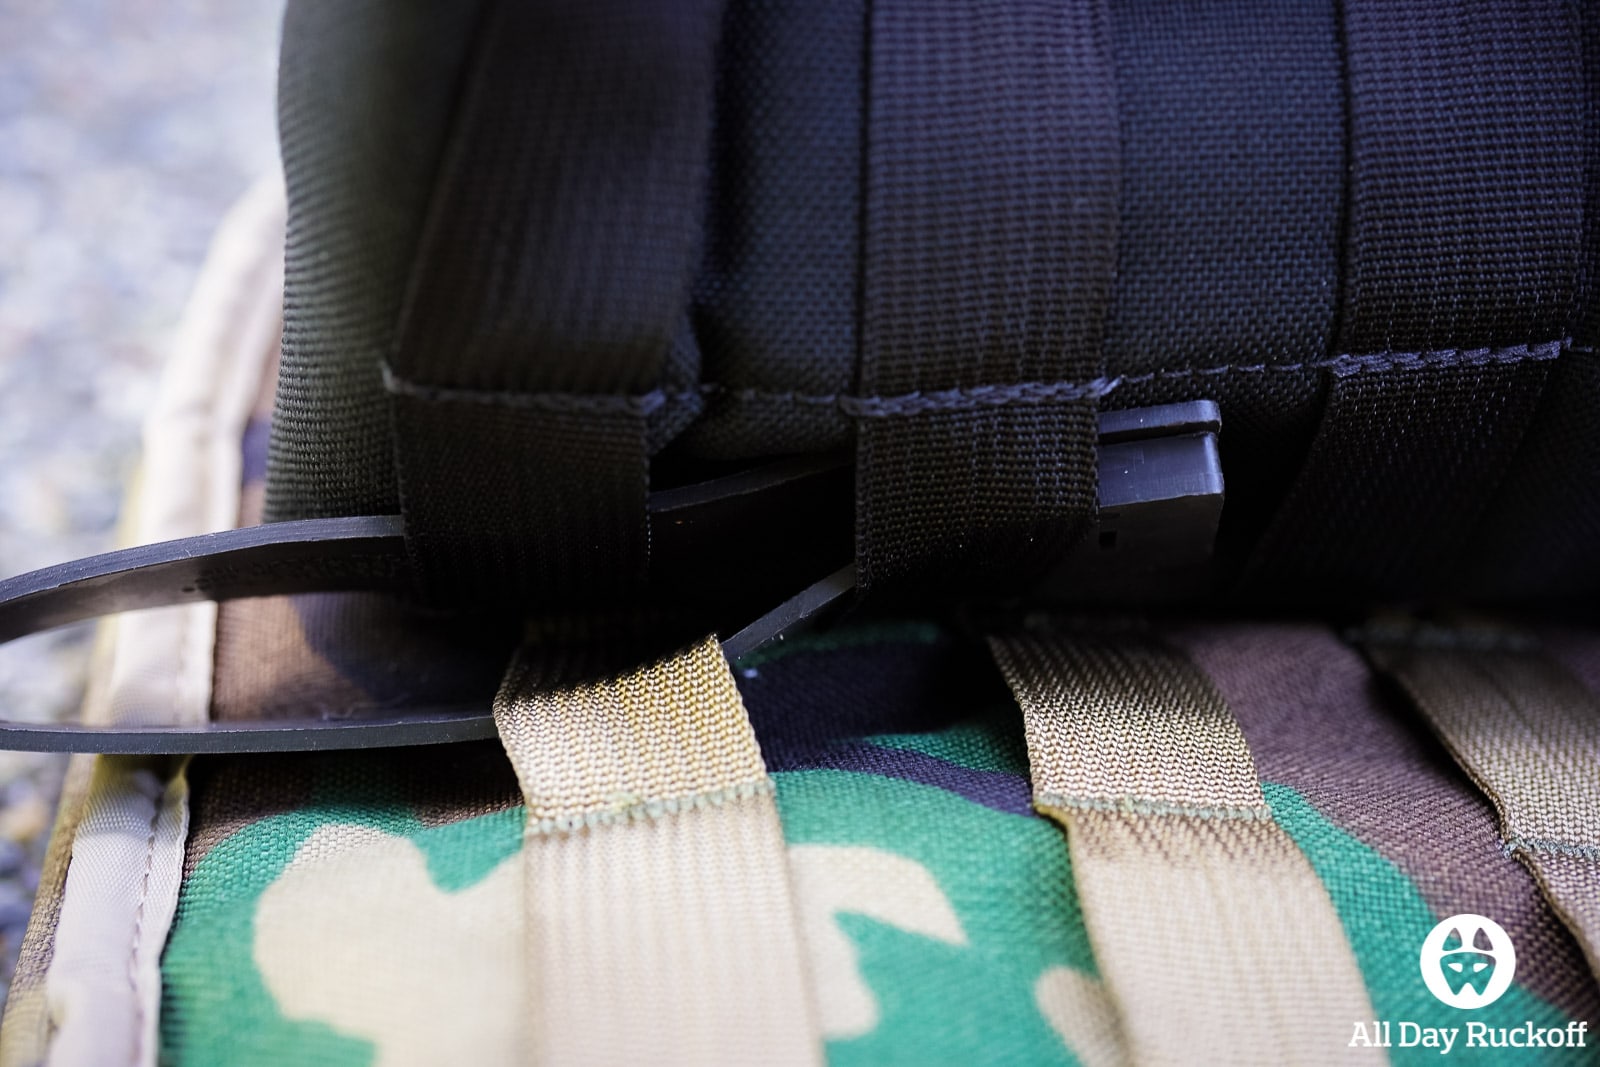
Final Touches

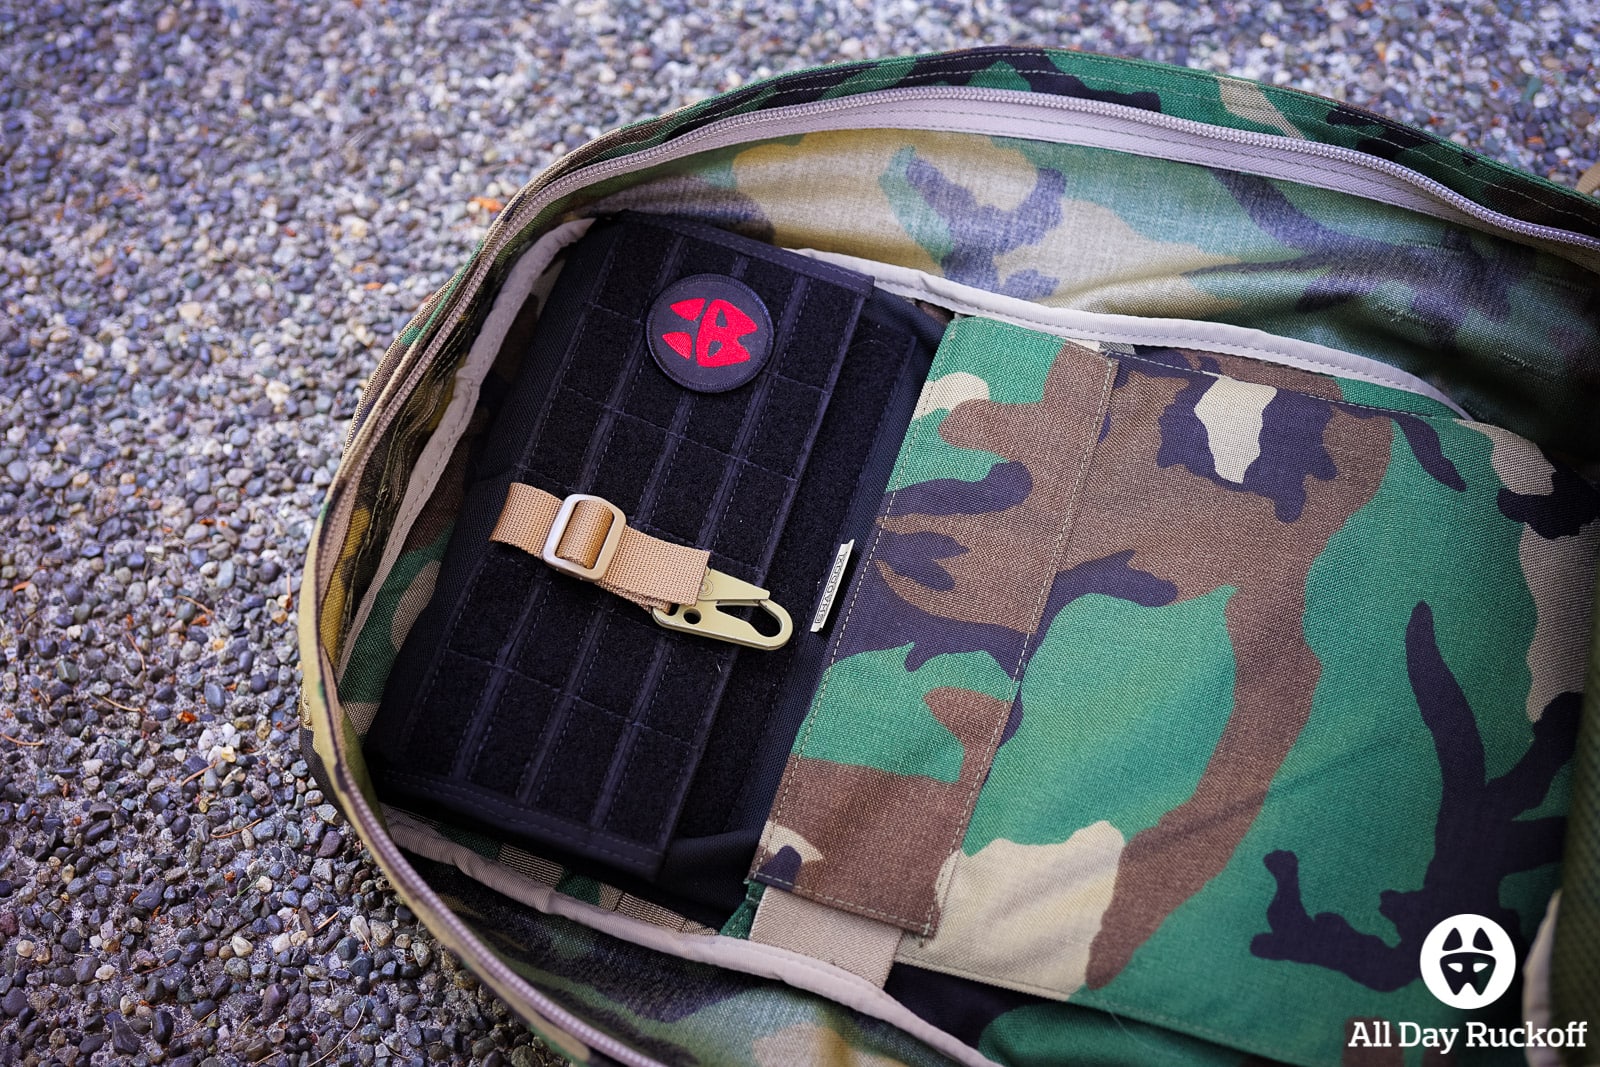
When you’re done you should have something that looks like this. Yours might (or might not) have the logo patch and an HK Quick Clip on it but mine do.

I found it’s a lot easier to ruck with this pouch when I slide it into the document pouch on the GORUCK bag.
Installation Thoughts
What are your thoughts on this installation method? Do you have one of these pouches and are you using it a similar way or did you install it differently? We would love to hear anything and everything in the comments… it seems a lot of people have their own tricks and tips for these pouches and it’s always great to learn some more!